November SPECIAL OFFER! Sign-up to our newsletter to receive the latest offers and news.
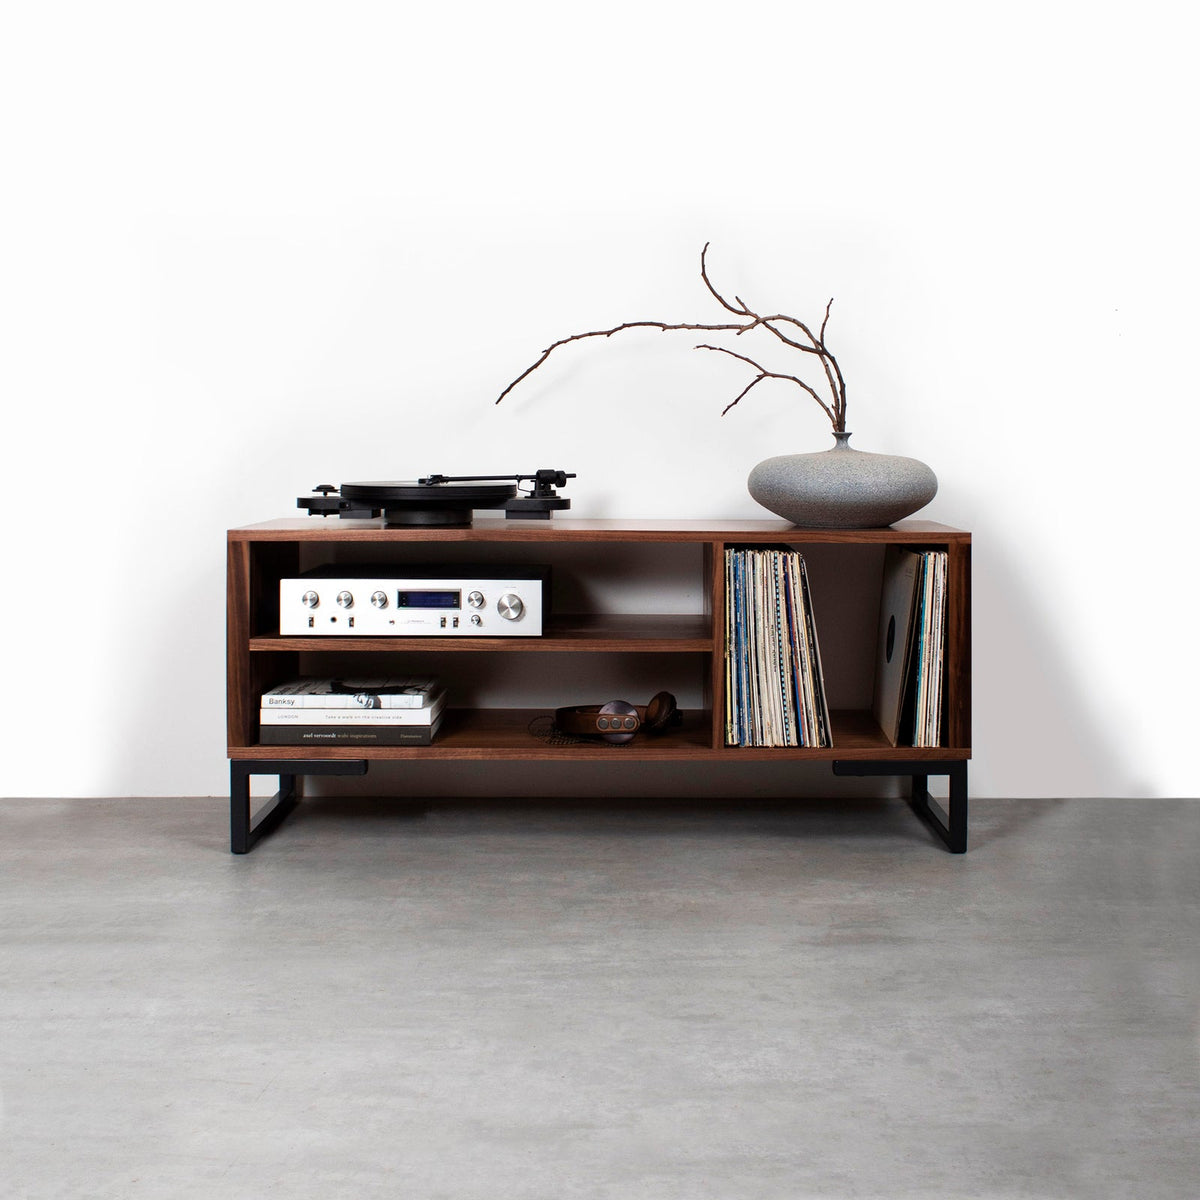
CD and Vinyl Storage: How to Store Both in One Solid Wood Unit
A 12-inch LP sleeve is about 31.5cm square, so CD and vinyl storage needs more thought than identical shelves. Give each format its own upright storage zone: allow roughly 33cm internal height and 32cm depth for LPs, checking your largest sleeves, and use smaller compartments or removable inserts for CDs.
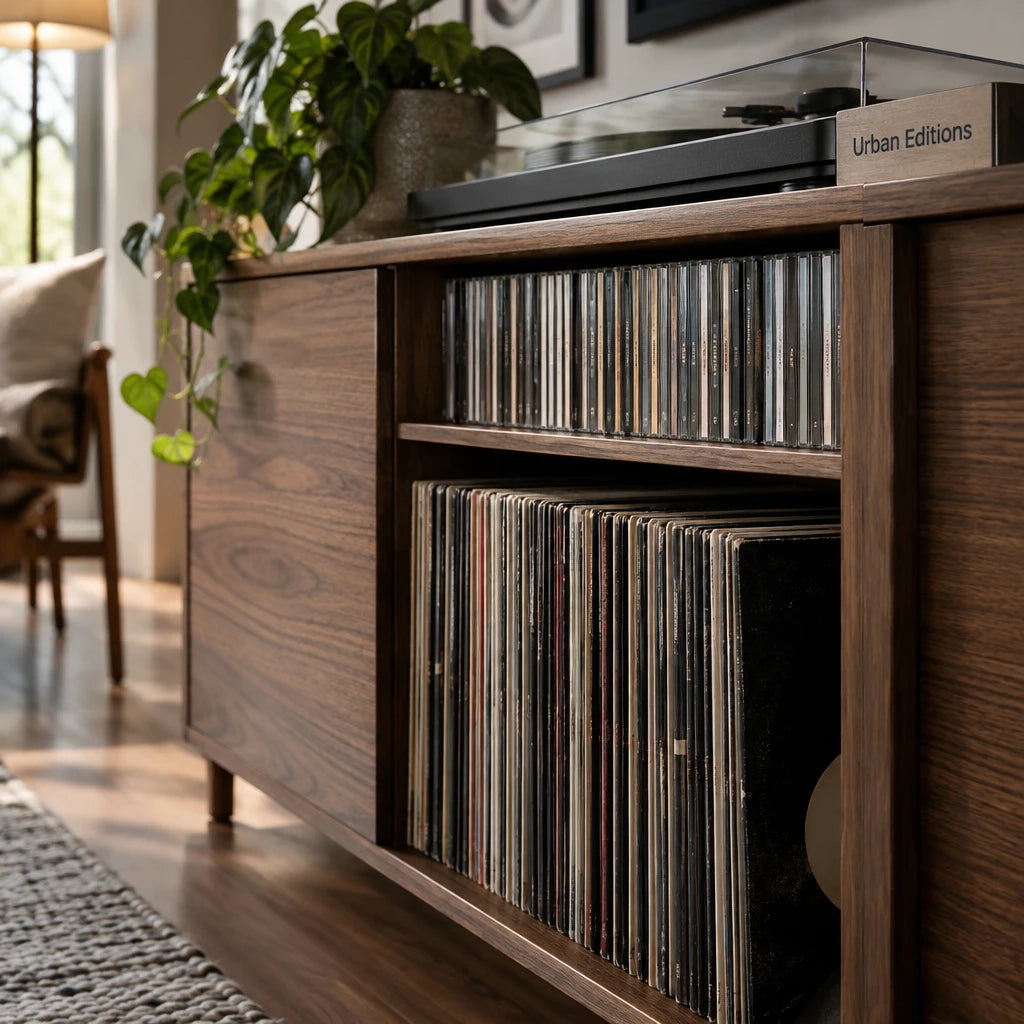
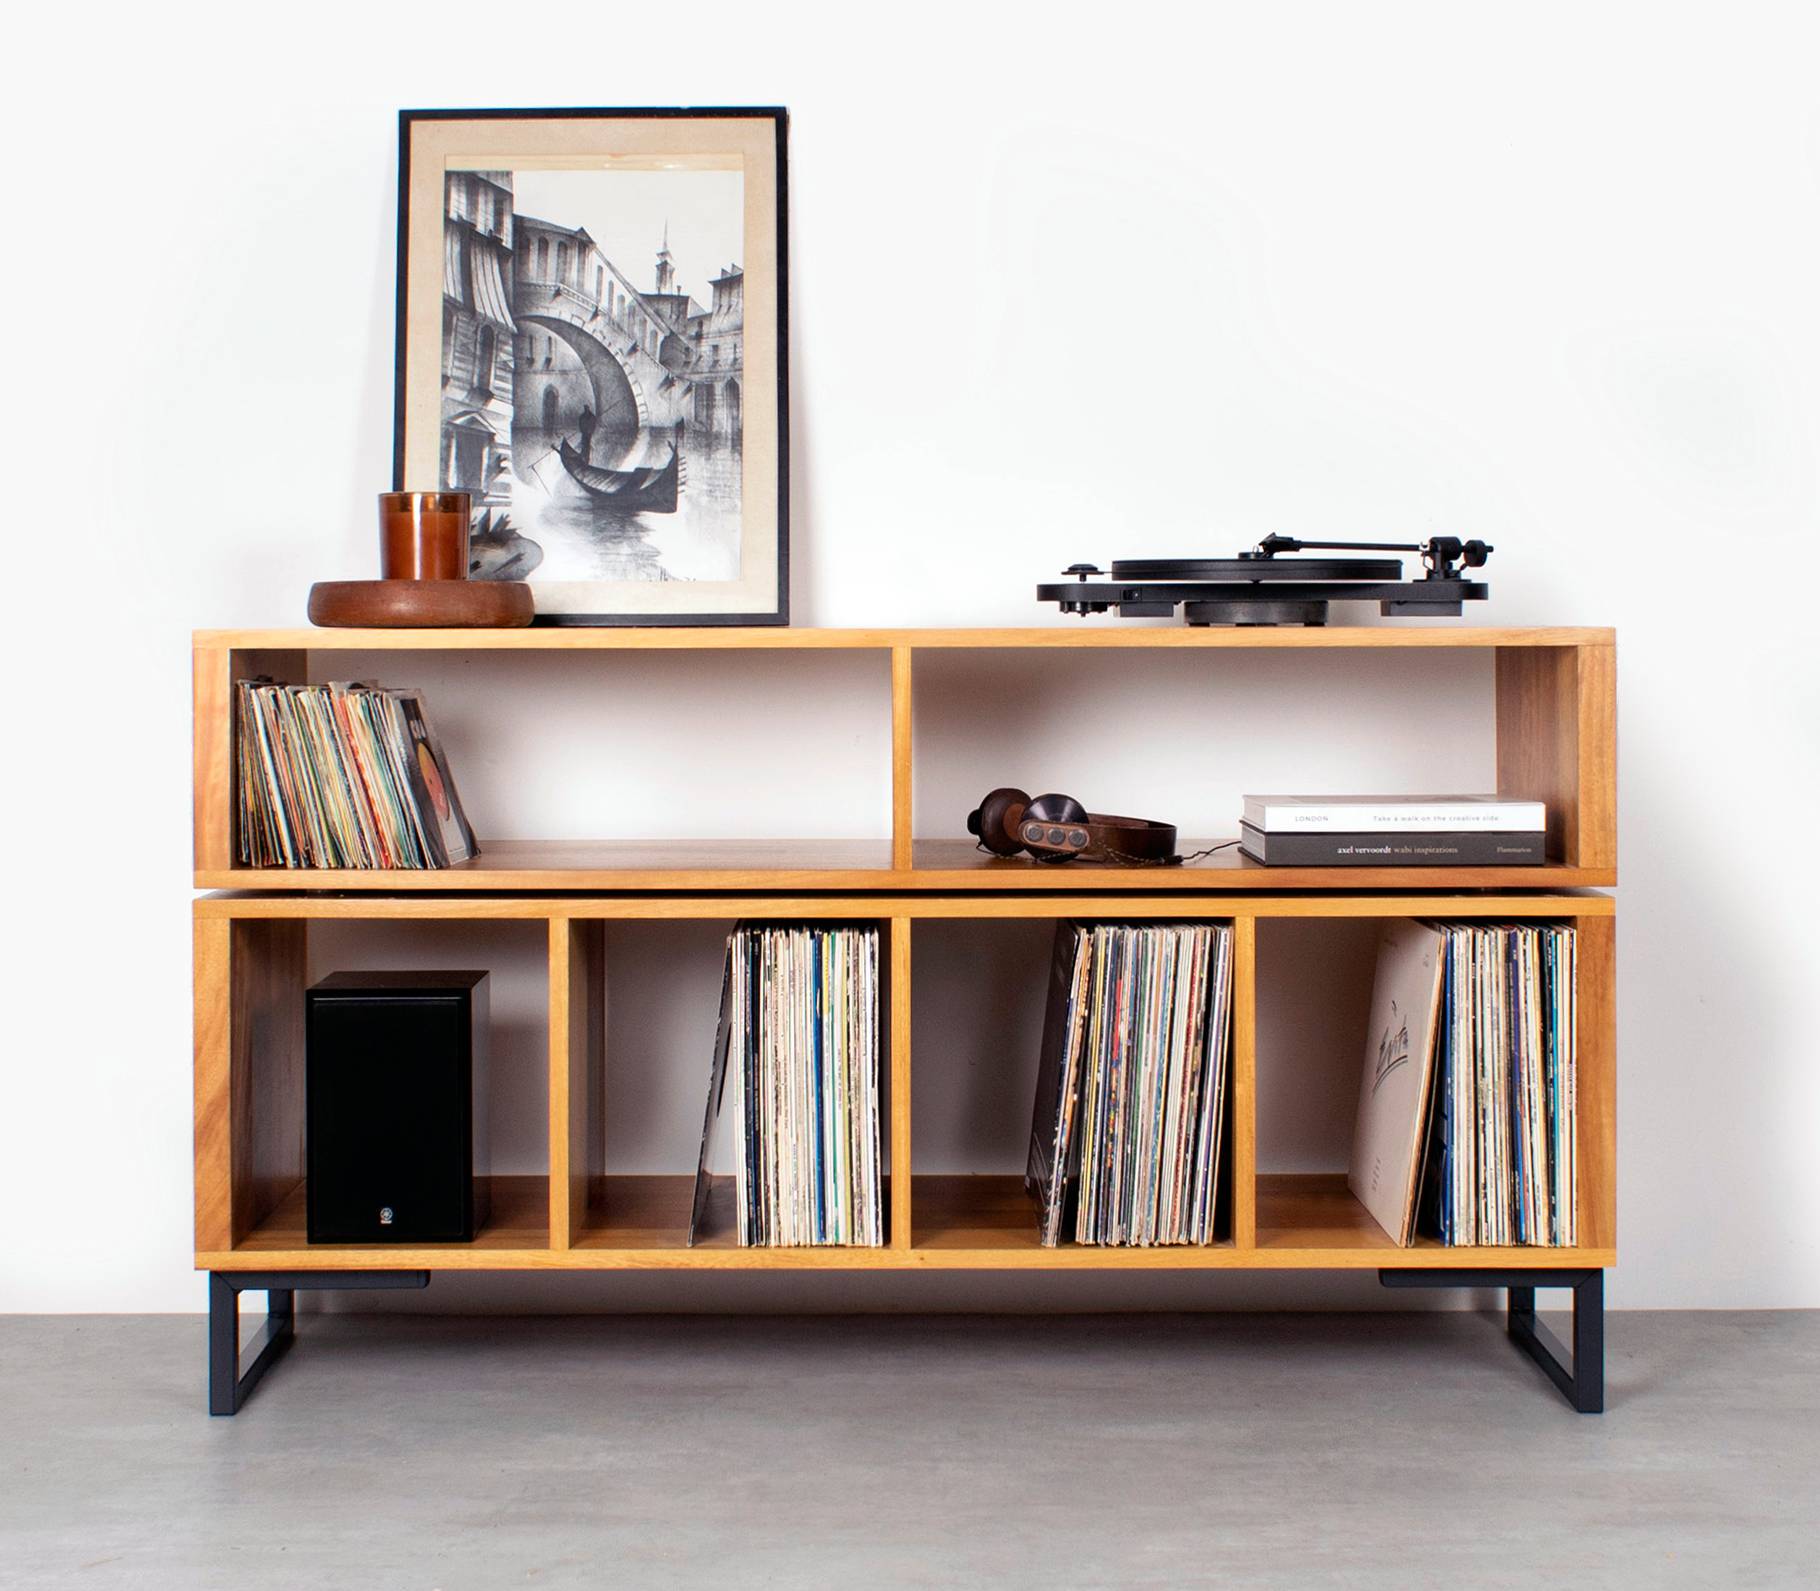
One solid wood unit can keep both collections visible without making either awkward to reach. Check shelf load limits, support records vertically and leave enough space to remove an album without squeezing its neighbours. The aim is furniture that fits how you listen, as well as your room.
Key Takeaways
Measure internal openings, not the furniture’s outside dimensions.
Give LPs and CDs separate, accessible storage zones.
Use removable inserts to divide oversized CD compartments.
Plan capacity from measured shelf runs, including larger editions.
Check shelf loads; solid hardwood alone proves no weight rating.
Measure your collection before choosing the unit
Start with the shelf space your collection occupies, rather than an advertised album count. Standard sleeves, double albums and boxed editions take up different amounts of room, so measured width gives you a better capacity estimate.
Count the exceptions
A standard CD jewel case is roughly 14.2cm wide, 12.5cm high and 1cm thick. Stored upright with its spine facing you, it needs a shelf deep enough for the 14.2cm dimension. Double cases, card sleeves and presentation boxes change that calculation.
LPs vary just as much. A gatefold, a sleeve that opens like a book, takes more space than a thin single sleeve. Protective outer sleeves add bulk too. Separate unusually tall or deep editions before you measure the main collection.
Measure a representative run
Use the cases and sleeves you actually own, including their protective covers. Follow this sequence:
Count your LPs and CDs separately.
Stand a representative group upright, without squeezing the cases together.
Measure the width of that group and note how many albums it contains.
Measure your largest box sets in height, depth and width.
Add space for new purchases and easy removal.
For example, if 80 LPs occupy 30cm, a collection of 160 needs about 60cm before you allow for growth. Adding 25% gives you space for 200 LPs, occupying roughly 75cm at the same packing density.
For 120 standard CDs measuring 1cm thick each, the current shelf run is 120cm. The same 25% allowance brings that to 150cm of CD shelf space. These are planning examples, not universal capacities: use your own measured run for the final calculation.
That growth allowance covers purchases, but it should not consume every millimetre. A collection that fits only when tightly compressed will be frustrating to browse from day one.
Sketch separate LP and CD zones
A compact mixed-format layout can use two neighbouring columns: one with tall LP bays, the other with smaller CD compartments. Matching the outside shape does not mean matching the shelf spacing.
An illustrative two-column layout
Using the example collection above, sketch one LP column with two bays and one CD column with four rows. Both columns have 40cm clear internal width, but their shelf heights and usable depths differ.
Storage zone
Clear width
Clear height
Usable depth
Planned capacity
Upper LP bay
40cm
33cm
32cm
About 100 LPs
Lower LP bay
40cm
33cm
32cm
About 100 LPs
Four CD rows, each
40cm
15cm
16cm
About 37–38 standard CDs
CD rows combined
160cm total
—
—
About 150 standard CDs
The two LP bays provide 80cm of shelf width. In this example, the planned collection uses about 75cm, leaving 5cm across the bays for handling and division.
The four CD rows provide 160cm in total. A planned collection of 150 standard cases uses 150cm, leaving 10cm distributed between the rows. Thicker cases reduce that count.
This is an illustrative layout, not a product specification. Shelf thickness, the cabinet sides and any base all add to the finished dimensions. The LP and CD shelves do not need to line up across the central divider.
Use inserts to recover wasted space
A removable insert is a smaller shelf assembly placed inside a larger compartment. In an LP-height bay, it can create two CD rows without permanently changing the cabinet.
A 33cm-high opening can, for example, accommodate two 15cm-high CD rows separated by an 18mm shelf, with a little clearance remaining. The insert still needs proper support and enough width to remove cases comfortably.
Reduce the usable depth too. A rear stop or shallow insert keeps CD spines close to the front, instead of letting cases disappear towards the back. Do not put CDs behind LPs: that turns every CD choice into a record-moving exercise.
The main objection to mixed storage is wasted space. Separate zones solve it, while removable inserts let you reclaim a CD compartment for vinyl if your listening habits change. Keep one taller opening for presentation boxes rather than forcing every edition into standard spacing.
Check clearances inside the cabinet
Judge fit by the clear opening: the space left between shelves, sides, backs and door fittings. External dimensions tell you whether furniture fits the room, not whether your sleeves fit inside it.
Give sleeves room to move
The LP allowance in the opening is a starting point for ordinary sleeves. Choose nearer 35cm usable depth where larger outer sleeves, recessed backs or doors would otherwise leave the collection crowded.
Measure your tallest sleeved record from bottom to top. Then allow enough room above it to grip the sleeve and lift it slightly as you pull it forward. A record that slides into an empty bay can still be difficult to remove from a full one.
Check the front edge as carefully as the back. A door hinge, raised lip or decorative frame can narrow the opening even when the shelf itself is wide enough. On a closed cabinet, the entire sleeve should sit behind the door without bending.
Keep CDs shallow and box sets separate
For ordinary upright jewel cases, around 15cm clear height and 16cm usable depth provides a practical starting point. Those dimensions refer to cases standing on edge with their spines visible, rather than lying flat.
Oversized CD editions need their own measurements. A box measuring 20cm high will not fit a standard CD row, however much spare width you have. Put it in a taller shared-format bay or reserve an adjustable section.
Before committing to a layout, compare four measurements on the drawing: the narrowest opening, usable shelf depth, clearance beneath each shelf and space lost to fittings. A cardboard rectangle cut to the size of your largest sleeve makes a useful physical template.
Also check access beside the furniture. A compartment tucked behind the arm of a sofa may technically fit the collection, but it will not give you an easy view of the spines.
Match shelf strength to the loaded collection
Solid hardwood is well suited to durable furniture, but the material name alone does not establish a shelf’s load capacity. The span, thickness, joints and supports all affect strength, as does the position of the weight.
A short shelf supported at both ends behaves differently from a long uninterrupted shelf. For record storage, keep unsupported spans around 60cm or less as a conservative starting point. That is a layout guide, not a substitute for a stated load limit.
Estimate the weight you will add
Weigh a representative batch of sleeved albums on household scales. Include a fair share of gatefolds and heavier editions rather than selecting only your lightest records.
Suppose 20 sleeved LPs weigh 5kg. That gives an average of 250g each, so 100 similar LPs weigh about 25kg. A shelf intended to hold that collection needs a stated capacity above 25kg, with room for changes in what you store.
Do the calculation for each shelf, not just the cabinet as a whole. A total furniture rating does not necessarily mean one shelf can carry all that weight. Include any boxes or equipment sharing the same surface.
Distinguish dividers from supports
A structural divider carries weight into the cabinet below. A loose bookend keeps records upright but does not strengthen the shelf. They may look similar from the front, yet they perform different jobs.
Where possible, place heavier collections in the lower bays and align load-bearing divisions above supports beneath them. A long cabinet needs a clear route for weight to reach its base, rather than relying on the top or bottom panel to bridge a wide gap.
Confirm the intended load for each shelf and the top surface once the layout is settled. Give the maker your estimated weights and proposed bay widths, because both affect the answer. A thicker-looking edge or a solid wood description is not a load rating.
Keep both formats upright and easy to browse
Store LPs vertically with support at the ends of each run, and arrange CDs upright with their spines facing forward. The collection should stay stable when you remove several albums, not only when every space is full.
A storage zone is a dedicated part of the cabinet sized for one format, with its own clearance, support and access.
For LPs, add dividers or firm bookends where a partly filled bay leaves records leaning. Divisions around 30–40cm apart make a long run easier to manage. A loose divider needs to resist the records’ sideways pressure rather than sliding away.
Avoid flat stacks of LPs. They put weight on the sleeves below and make the bottom album harder to retrieve. Upright storage also lets you find a record without handling several others first.
Choose an ordering system you can maintain across both formats. Alphabetical order by artist is straightforward, while separate genre groups work well if that is how you choose music. You can use the same system in both zones without interfiling CDs among records.
Leave a little movement in each run. You should be able to separate neighbouring sleeves or cases with your fingers, then return an album without forcing it into a tight gap. Use spare capacity for browsing rather than treating it as a target to fill immediately.
Removable CD inserts should stay put during use. A shallow shelf that shifts whenever you pull out a jewel case adds an unnecessary two-handed task. Check that each row has a stable base and that cases cannot slip behind it.
Keep frequently played albums within your easiest reach. Less-used box sets can occupy the taller end compartment, provided their weight suits that shelf.
Make room for the player and the room itself
A combined unit can also hold a record player, provided its top is large enough, level and rated for the equipment’s weight. Plan the turntable and storage together, because the deck may determine the cabinet’s overall depth.
Allow for the lid and cables
Measure the turntable’s full footprint, including its feet, plugs and any lid movement. A storage bay deep enough for LPs does not automatically provide a deep enough top for the player.
For an illustrative deck measuring 42cm wide and 35cm deep, a 45cm-deep top leaves 10cm beyond the deck body for positioning and rear connections. The actual space needed depends on how its plugs and lid project.
Check the lid in its open position, especially below a wall shelf. Leave a usable route to the sockets, with cable openings large enough for the plugs rather than only the wires. Keep speakers on separate supports where practical, so their vibration is not fed directly into the turntable surface.
Choose a stable position
Keep records, CDs and solid wood furniture away from direct sunlight, radiators and damp walls. Heat and changing moisture levels affect the collection and the cabinet in different ways, so choose a position with steady room conditions.
In a UK living room, a south-facing window can put direct sun across a low cabinet for part of the day. Look at the proposed position at different times, rather than judging it only on an overcast morning.
Allow equipment its specified ventilation space. An amplifier adds heat as well as weight, and should not be squeezed into spare space above a row of CDs.
Select the hardwood unit around your drawing
Once the internal layout works, choose the timber and proportions. Oak or ash gives a lighter overall appearance; walnut provides a darker one. A wood sample lets you compare the actual colour with your floor and other furniture.
Keep the brief practical: clear bay dimensions, the number of CD rows, any removable inserts and the weight on each surface. The grain is the enjoyable part, once the albums fit.
Conclusion
Draw your proposed cabinet from the front and side before choosing its finished size. Mark the clear openings, shelf loads and turntable footprint, then place your largest sleeve and box-set measurements beside them. Choose fixed CD shelves if your format balance is settled; choose removable inserts if you expect more vinyl later. That single drawing gives you a useful basis for selecting or customising the unit.
Frequently Asked Questions
Can CDs and vinyl records share the same storage unit?
Yes, CDs and vinyl can share one unit when each format has its own accessible zone. Use taller bays for LPs and smaller shelves or inserts for CDs, rather than placing one format behind the other.
How tall and deep should vinyl storage shelves be?
Allow roughly 33cm clear internal height and at least 32cm usable depth for ordinary LP sleeves. Measure your largest protected sleeves and box sets before choosing the final openings, particularly if the cabinet has doors.
Is solid wood shelving strong enough for a record collection?
Solid wood shelving can support a record collection when its construction and load rating suit the weight. Check the rating for each shelf, not just the whole cabinet; shelf length and support positions matter as much as the timber.
Should I choose open shelves or doors?
Choose open shelves for frequent browsing and doors if you prefer to conceal the collection and reduce dust settling on it. With doors, check hinge clearance and the usable depth when closed, and keep equipment ventilation separate from the record-storage space.