November SPECIAL OFFER! Sign-up to our newsletter to receive the latest offers and news.
Hi-Fi Cabinet Guide: Sizing Solid Wood Storage for Your Amp, Turntable and Records
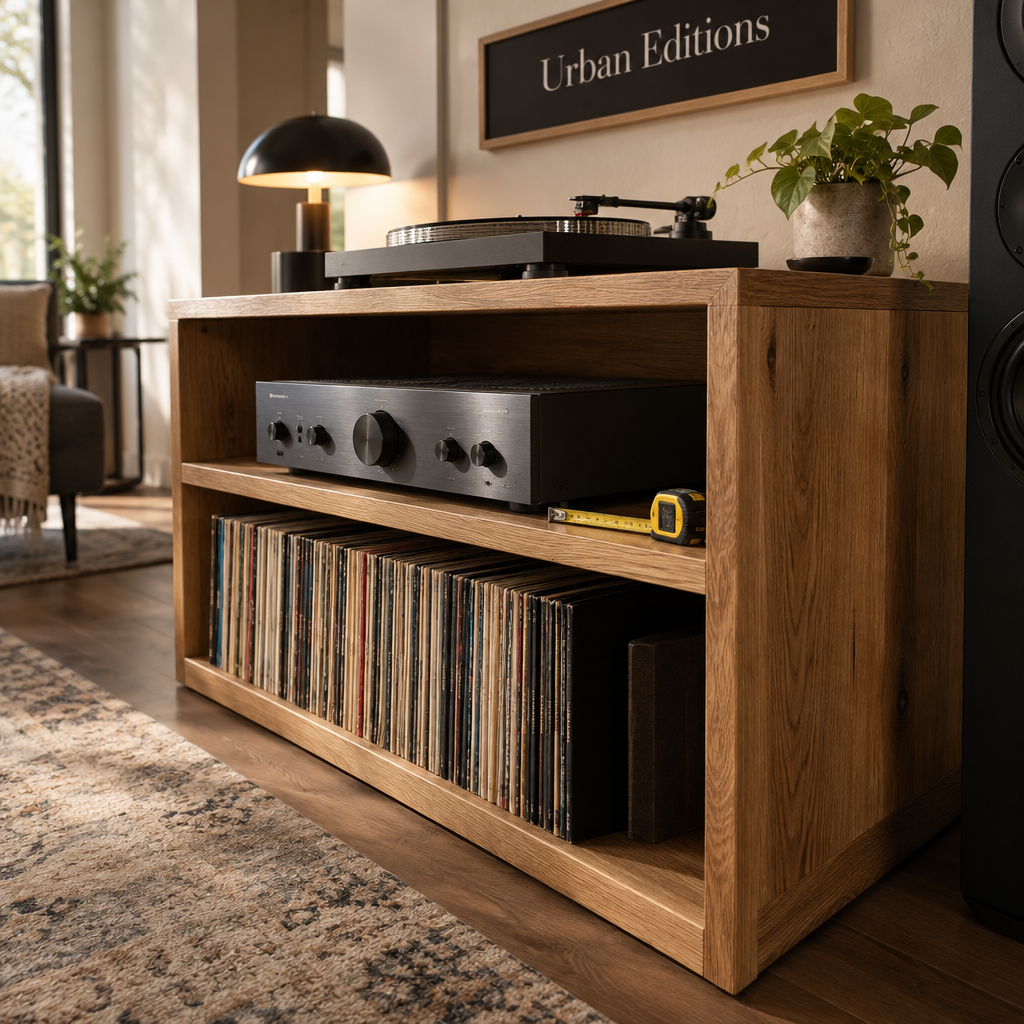
50 heavyweight 180-gram LPs weigh 9 kg before you add their sleeves. Size your hi-fi cabinet around usable internal space, not outside dimensions: measure your amplifier, turntable and sleeved records, then add the manufacturer’s ventilation gaps, rear plugs, cable bends and opening lid clearance.
Those measurements describe three different needs: a hot amplifier, an opening turntable and records you can reach comfortably. We recommend resolving each separately before combining them into a furniture brief. Check the loaded shelf capacity, leave space for future equipment, and choose your wood once the working dimensions are settled.
Key Takeaways
Compare clear shelf openings, not overall cabinet dimensions.
Follow your amplifier’s own ventilation instructions.
Measure connected plugs and the turntable’s open lid.
Size record compartments around sleeves and browsing space.
Check shelf loads, spans and support positions.
Leave useful room for your next component.
Measure the space your equipment actually uses
Start with the equipment you own or have chosen, rather than a cabinet width that suits the wall. A component’s published dimensions are useful, but they rarely describe everything the furniture needs to accommodate.
Use this measuring sequence:
Record each component’s dimensions. Measure width, depth and height, including feet, knobs and anything projecting from the case.
Connect the rear cables. Measure to the furthest plug or relaxed cable bend, without pushing the cable against a wall.
Copy the ventilation requirements. Note the amplifier manual’s gaps above, beside and behind the unit.
Open the turntable lid. Measure its highest point and how far it moves backwards; include access to the record and controls.
Measure your sleeved records. Include outer sleeves, gatefold albums and any box sets you intend to store.
Add weights and future requirements. Record component weights, the loaded record collection and any planned replacement equipment.
Keep these measurements together, ideally beside a simple front and side sketch. Mark the clear opening: the unobstructed space between the cabinet’s structural parts.
A cabinet advertised as 1,000 mm wide will have less than 1,000 mm inside. For example, two 25 mm sides leave 950 mm before you account for a central divider. Door hinges, rails and shelf supports can reduce access further.
Also measure the route into each compartment. A shelf can be wide enough once the amplifier is inside, yet have a narrower front opening that prevents you from inserting it.
Give the amplifier room to release heat
An amplifier compartment needs enough space for both connections and cooling. The manufacturer’s ventilation instructions decide the minimum gaps; an attractive opening that merely fits the case is not enough.
The three parts of your setup need different allowances:
Item
Measure first
Space to add
Final check
Amplifier
Case, feet and projecting controls
Manufacturer’s ventilation gaps and connected cable depth
Vents remain clear in the installed position
Turntable
Footprint and height above its support
Lid movement, rear connections and hand access
Lid opens without touching furniture or wall
Records
Largest sleeves and box sets
Finger clearance and room to remove an album
Records stand upright without being tightly packed
Heat clearance
There is no universal ventilation gap that suits every amplifier. Designs release different amounts of heat, and vents may sit above, below or beside the case. Keep those routes open rather than assuming heat only escapes upwards.
Translate the manual into a clear opening. For illustration, a 430 mm-wide amplifier requiring 50 mm on each side needs a compartment at least 530 mm wide. Those are hypothetical requirements, not a general rule for amplifiers.
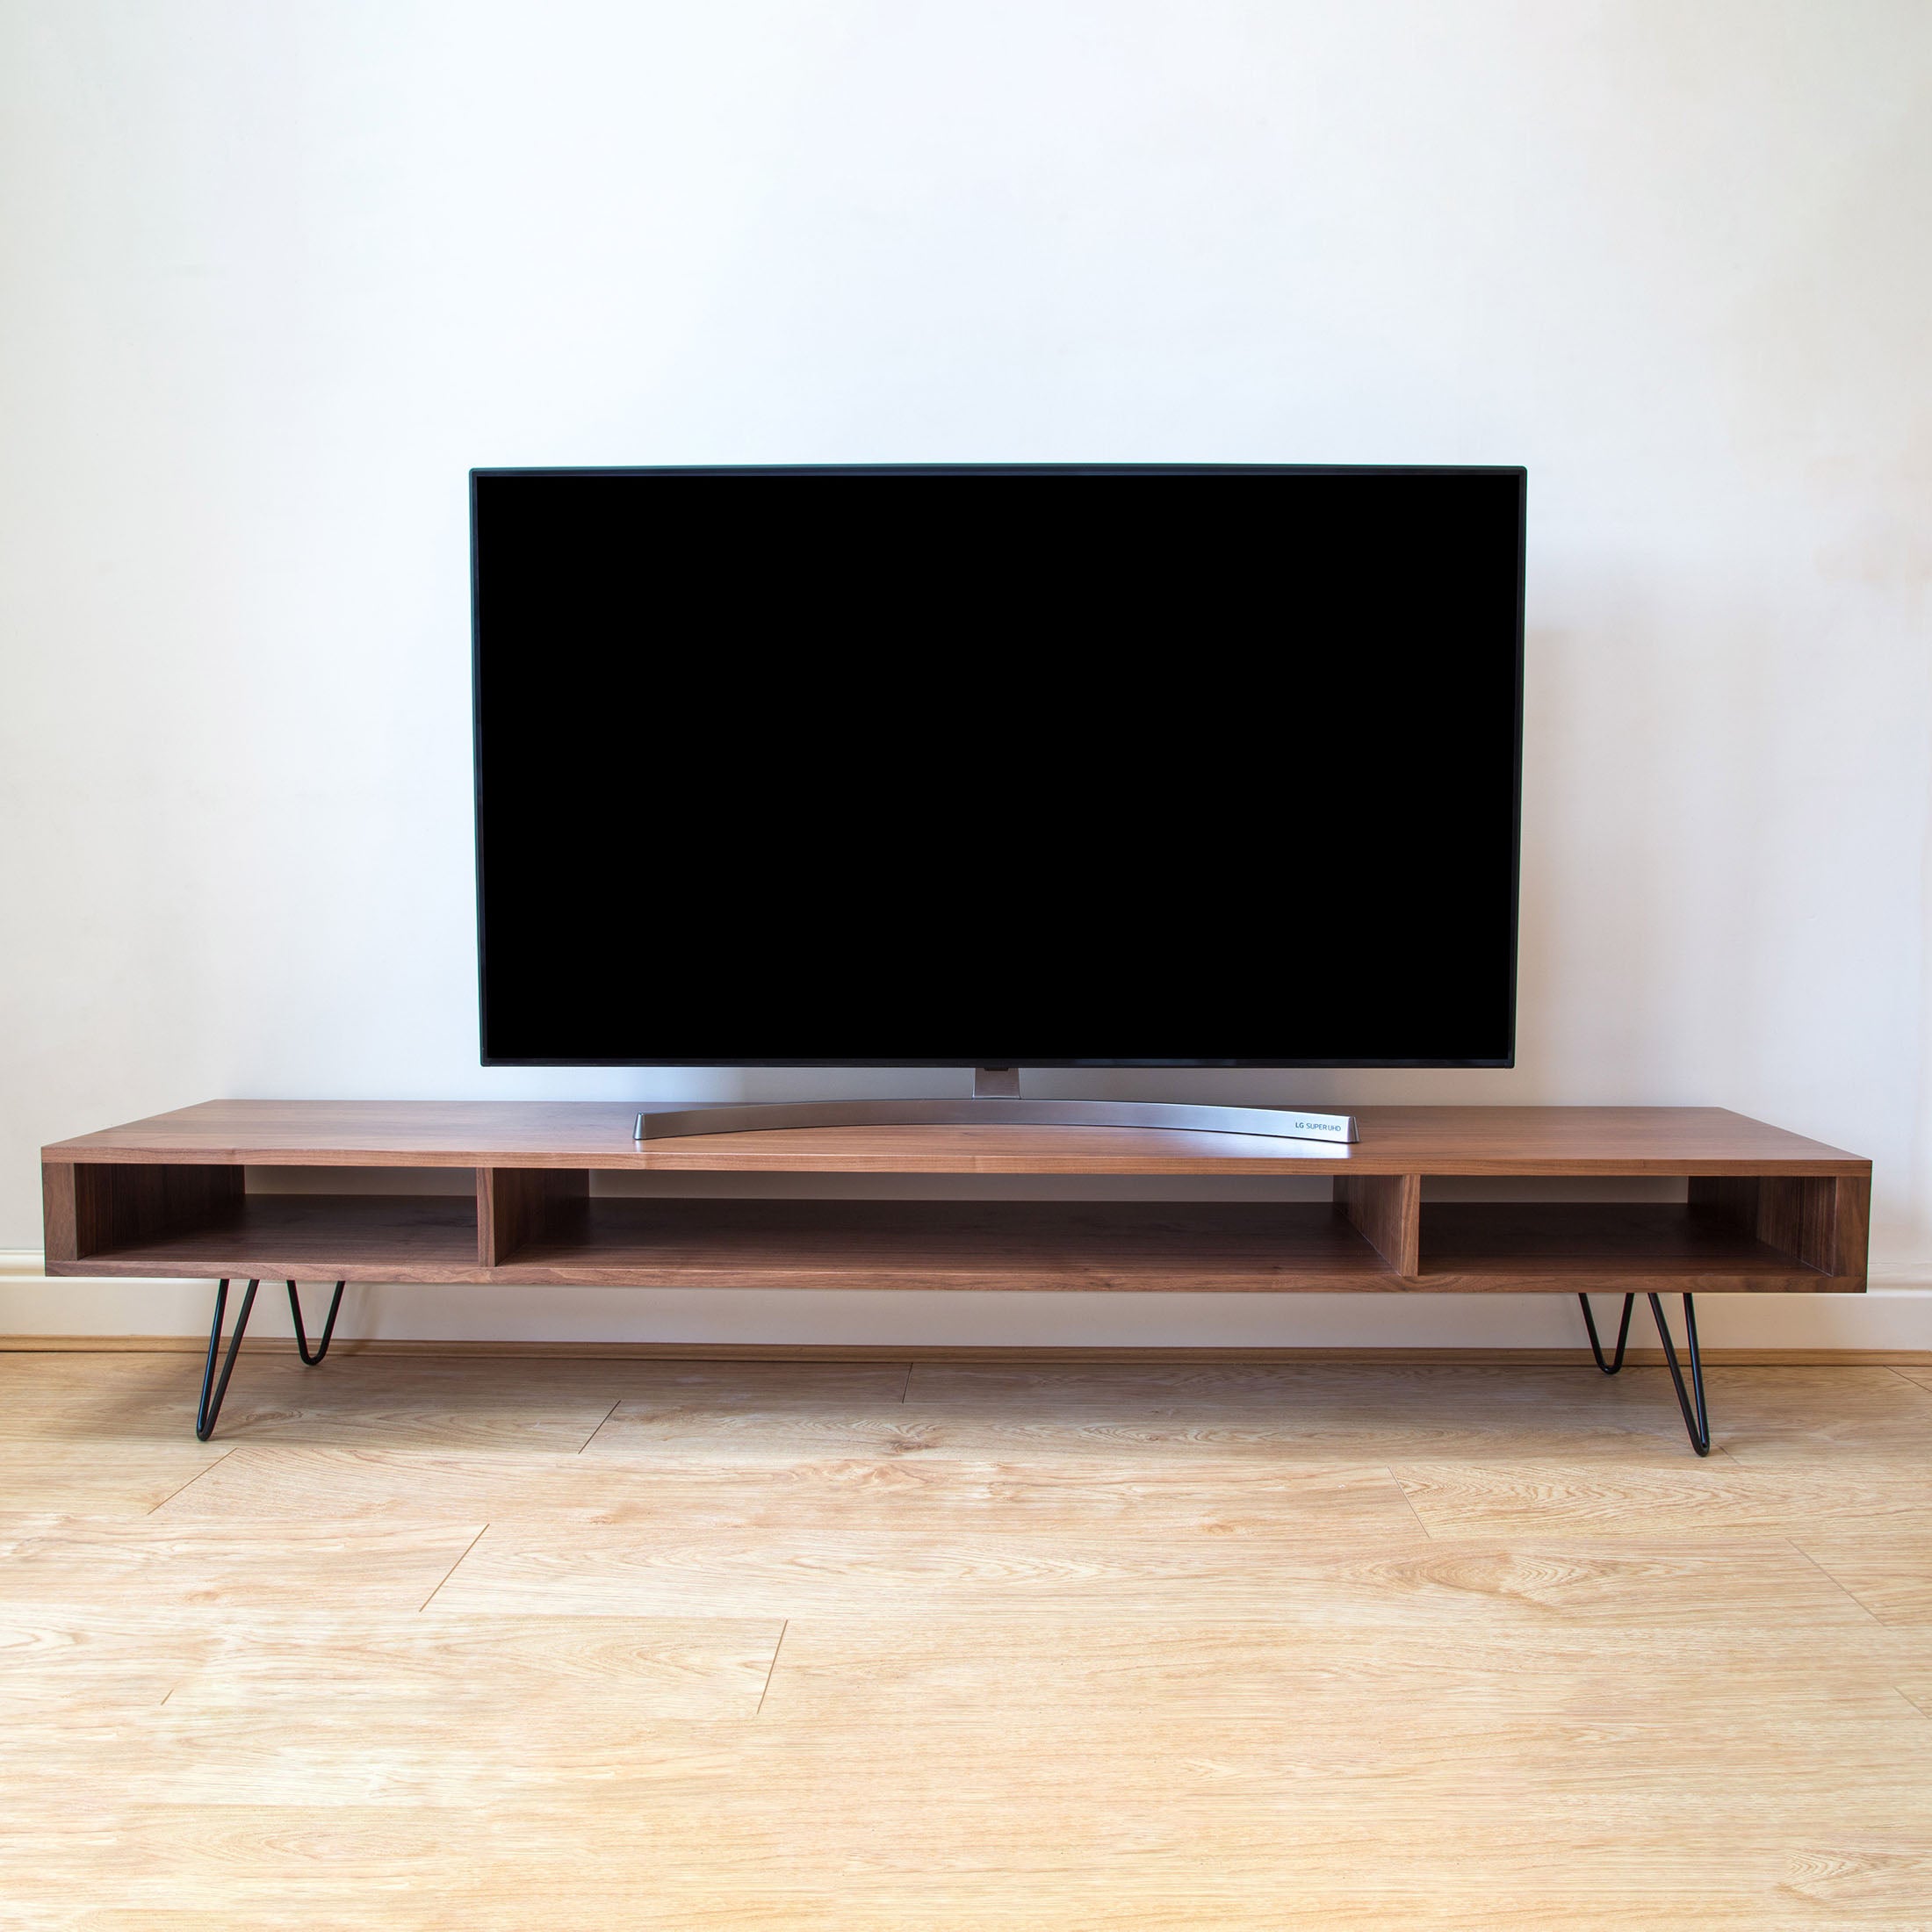
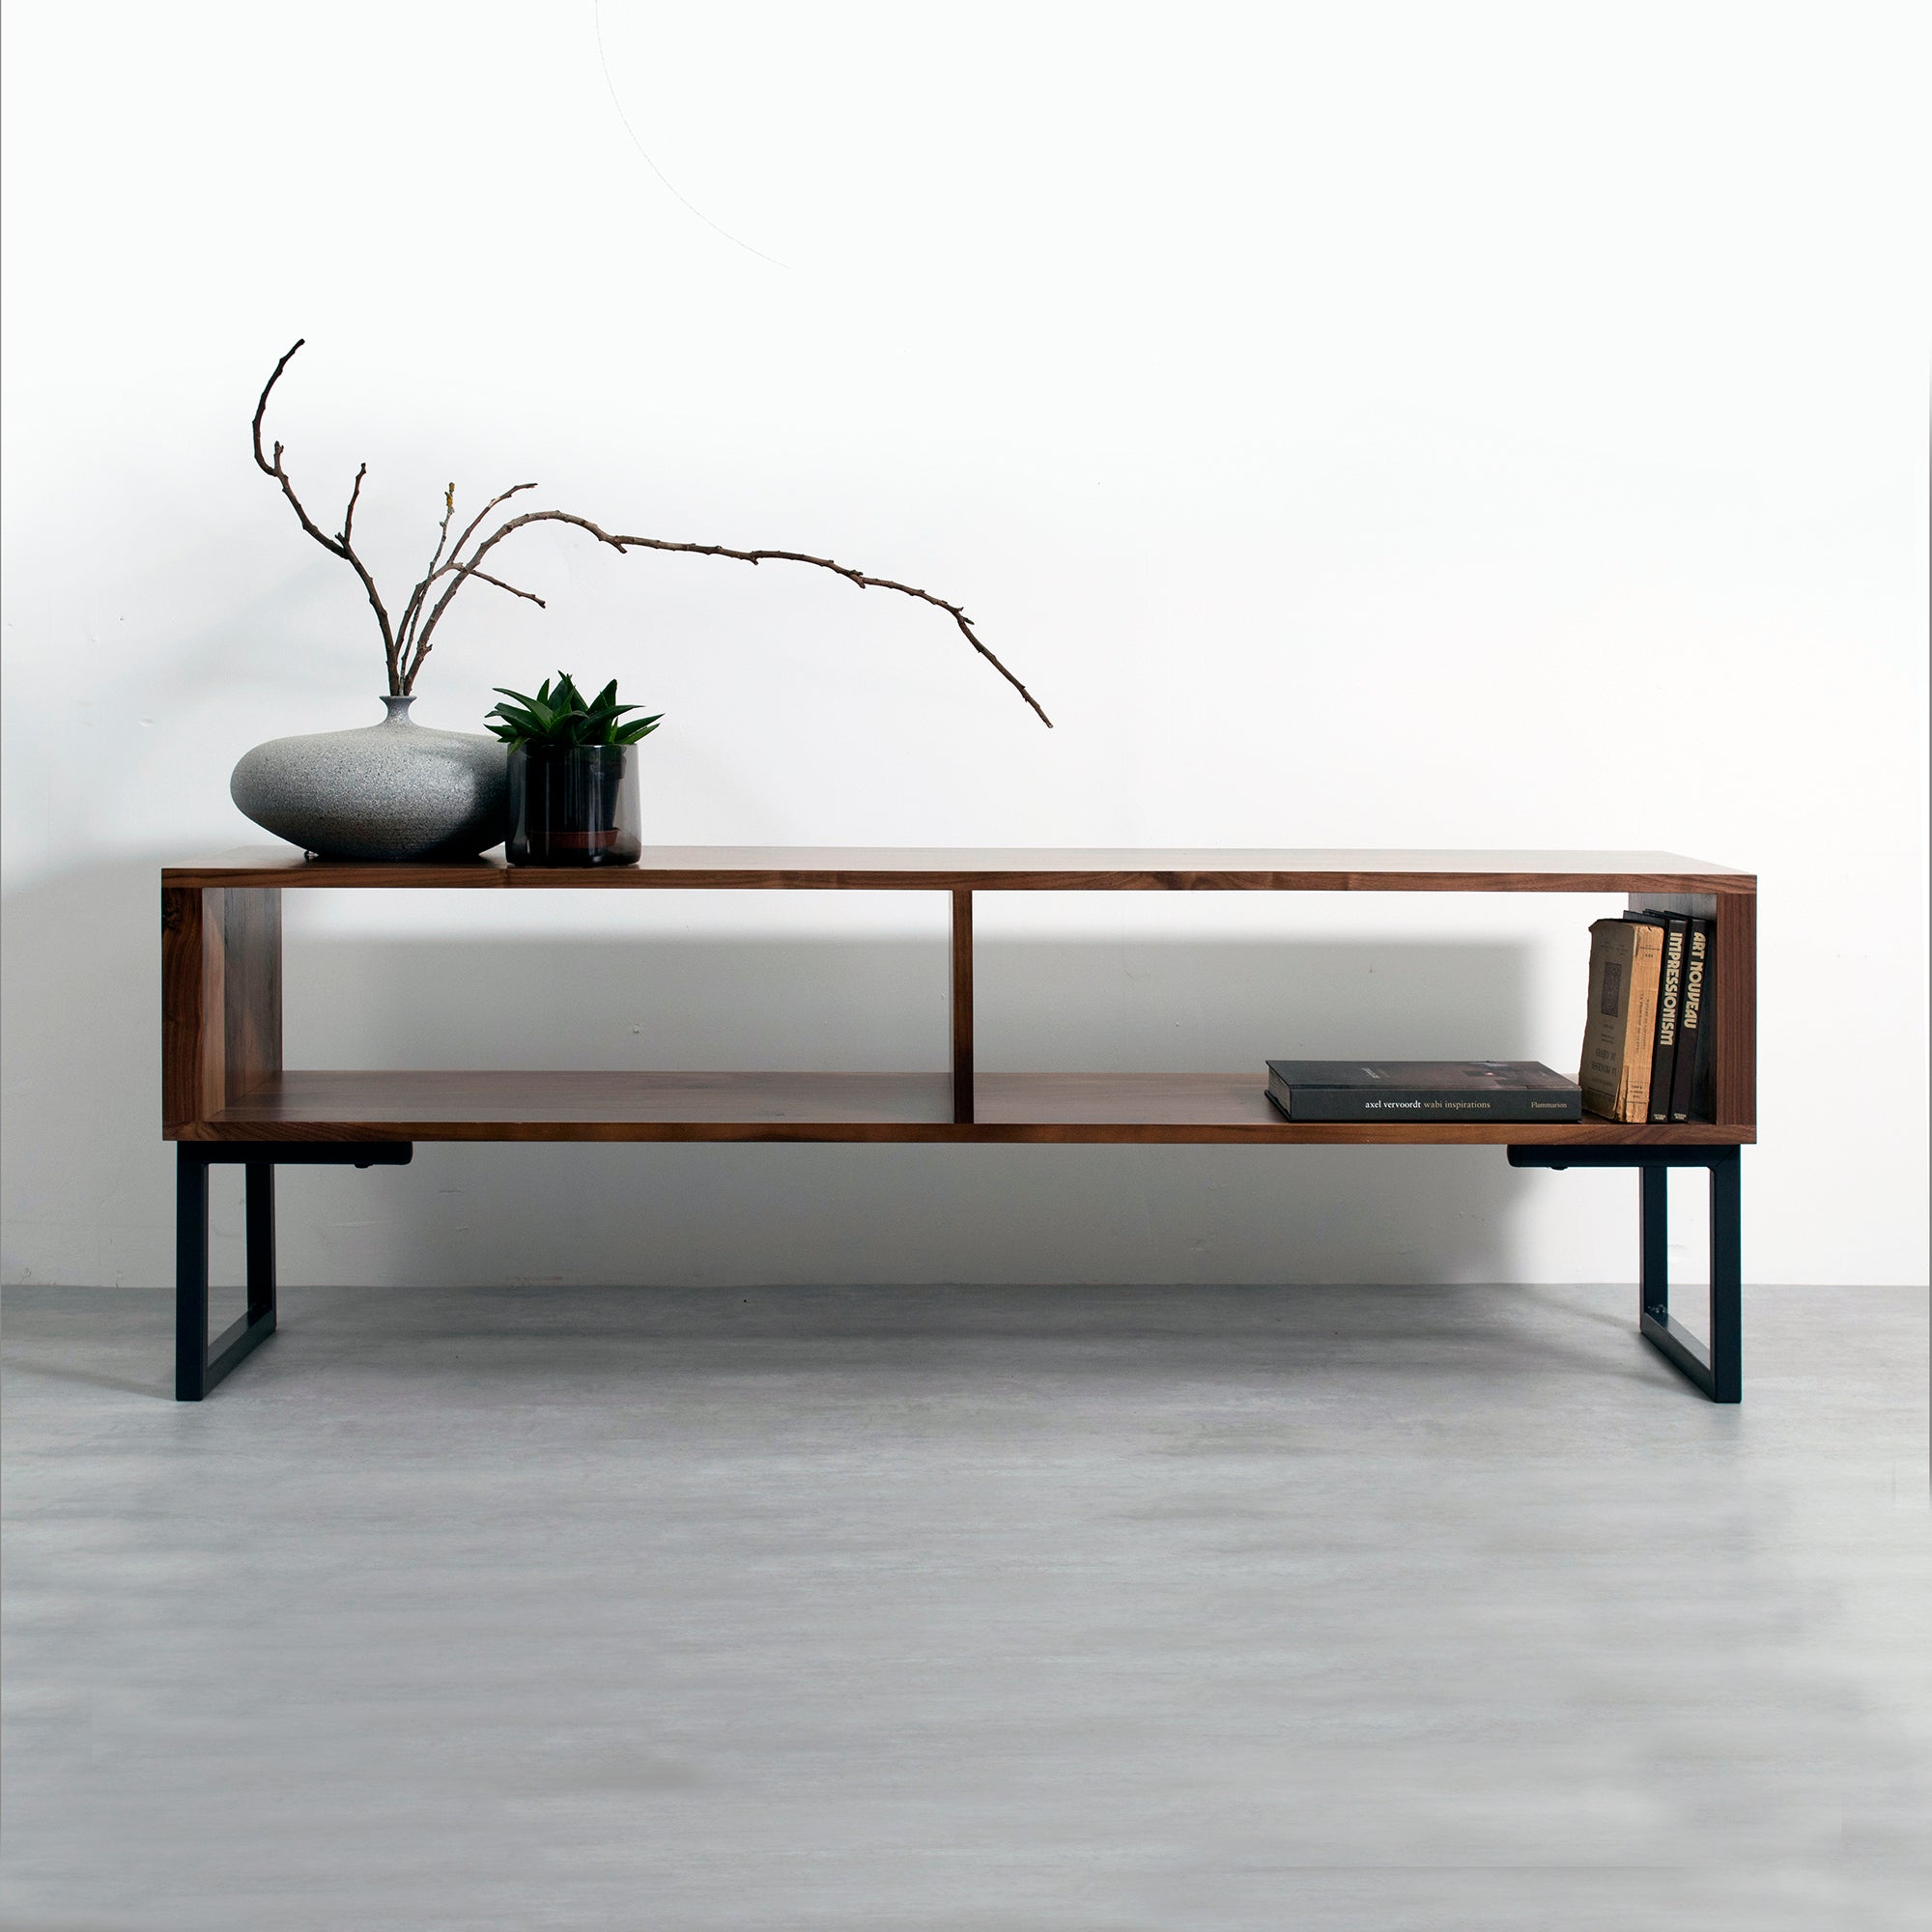
An open back improves access and airflow, but it does not cancel the specified top or side gaps. Choose an open rack when your amplifier requires unrestricted space; use an enclosed cabinet only where its layout meets the equipment’s instructions.
Rear access
For initial planning, allow roughly 50–100 mm behind the equipment case for ordinary plugs and cable bends, then replace that allowance with your connected measurement. Stiff cables or large connectors can need more.
For example, a 350 mm-deep case with connections extending another 80 mm needs 430 mm of usable depth. A back panel sits beyond that requirement, not within it.
Arrange the cable exit near the sockets without filling the amplifier’s air path with spare cable. If the cabinet has a removable rear panel, check that you can remove it after positioning the furniture against the wall.
Check the turntable with its lid open
Give your turntable a stable, level surface and enough space to use it without reaching around another component. The closed footprint is only the starting point; the open dust cover often determines where the shelf can sit.
Lid movement
Measure the lid in its fully open position, both above and behind the turntable. Some covers lean backwards beyond the rear edge, so a wall can obstruct them even when no shelf sits overhead.
Make a full-size side template from cardboard if you are comparing a cabinet drawing with your equipment. Mark the supporting surface, the rear wall and the shelf above, then trace the lid’s movement.
Do not plan around removing the cover unless that suits how you intend to use the turntable. A detachable lid still needs somewhere to rest while you play a record.
Everyday access
Leave room to lift an LP onto the spindle, reach the speed control and operate the arm without brushing the furniture. Operating space means room for your hands as well as the equipment.
A support height of about 760–910 mm is a useful starting range for standing record changes. Try the proposed height using an existing surface before settling it; your height and whether you listen seated will affect the result.
Keep speakers off the turntable’s supporting surface where possible. Speaker vibration can reach the stylus through the furniture, and a heavier wooden top does not guarantee isolation. Separate stands or another suitable surface give you more freedom to position the speakers.
Finally, level the turntable according to its instructions. Use a spirit level on the surface specified by its maker, rather than assuming that a level cabinet top means the platter is also level.
Size vinyl storage around sleeves and browsing
For ordinary 12-inch LPs, start with approximately 340–350 mm of clear height and usable depth, then measure your largest sleeved albums. This gives more practical access than sizing a compartment around the bare disc.
Sleeve clearance
A 12-inch disc is about 305 mm across, but its jacket is larger, typically around 315 mm square. Protective outer sleeves can extend beyond that, especially at the opening.
Allow space above the sleeves so you can lift an album without scraping it along the underside of a shelf. At the back, make sure records rest against a suitable stop rather than slipping into a cable opening.
For smaller formats, typical jackets are around 185 mm square for 7-inch singles and 260 mm square for 10-inch records. Clear openings of roughly 210 mm and 285 mm respectively provide a starting point, but oversized sleeves need measuring.
Box sets deserve their own dimensions. A collection that fits today can become awkward when one taller set has to lie across the top.
Capacity and browsing
Estimate capacity from a measured sample of your own collection. Sleeve thickness varies too much for a dependable records-per-centimetre rule.
For example, if 25 mixed albums occupy 100 mm of shelf width, a 500 mm compartment would hold about 125 at the same packing density. Reserve 50 mm for handling and growth, and the practical capacity becomes about 112 albums.
That spare space lets you separate sleeves and withdraw a record without pulling its neighbours along. Do not treat a tightly filled compartment as usable browsing storage.
Keep records upright, with dividers or suitable supports where a partly filled bay would otherwise let them lean heavily. Separate frequently played albums from deep archive storage if reaching the lower shelf would make daily listening awkward. Your favourites deserve the easiest reach, if you ask us.
A worked layout: 1,200 mm wide, with two bays
Here is a hypothetical layout, not a product specification. It shows how equipment measurements become cabinet dimensions, and why an outside width alone cannot establish fit.
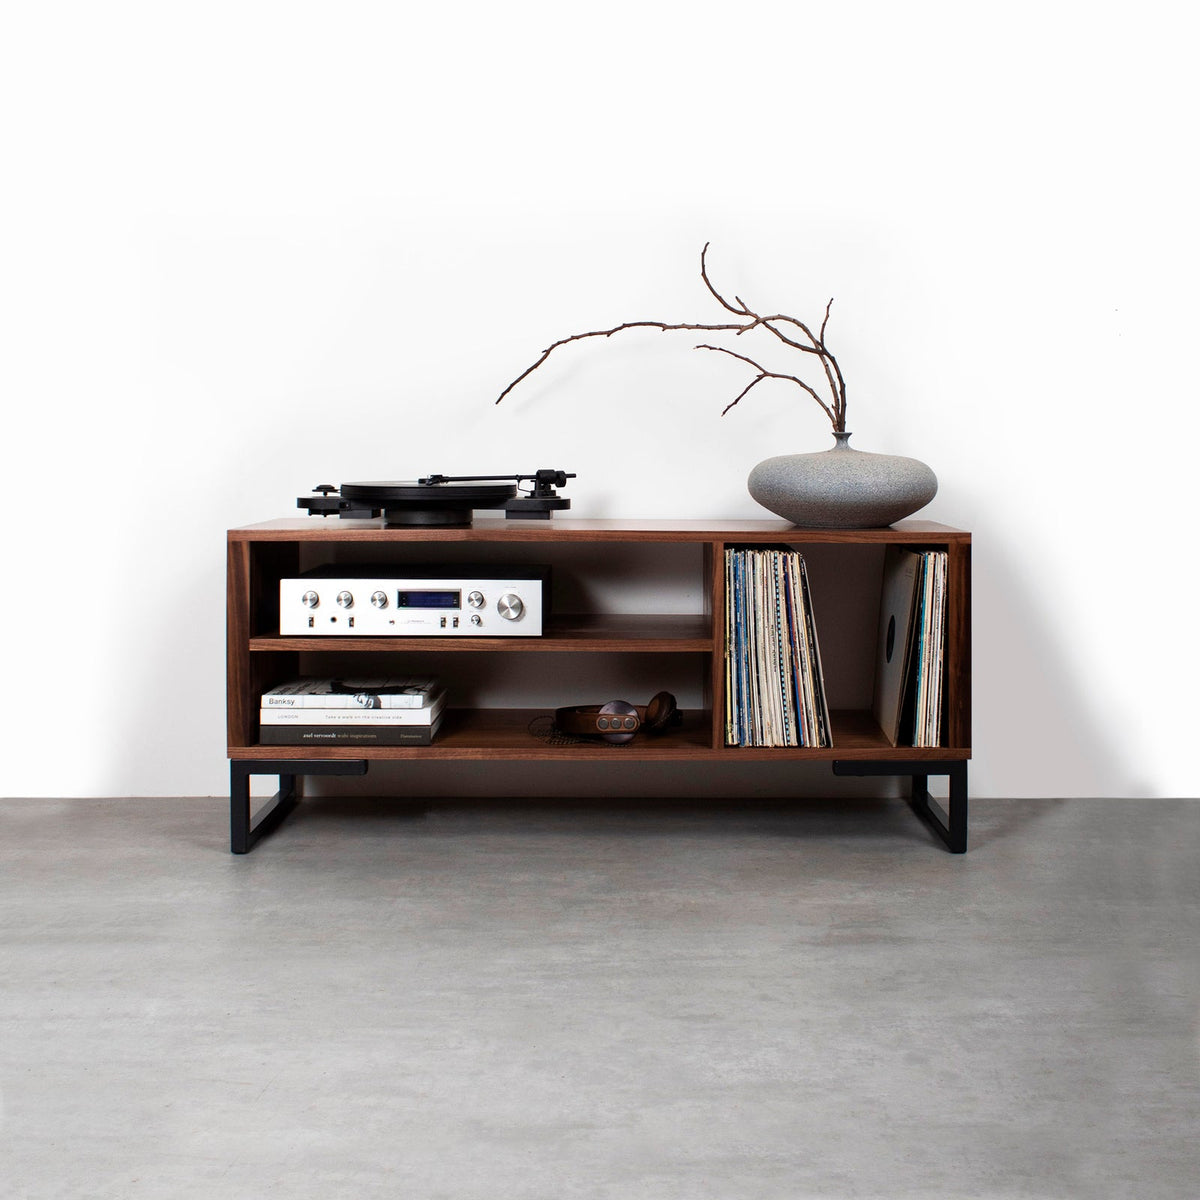
Assume a 1,200 mm-wide cabinet with 25 mm sides and a 25 mm central divider. That leaves 1,125 mm of combined clear width: one 550 mm bay and one 575 mm bay.
Equipment bay
Our example amplifier measures 430 mm wide, 350 mm deep and 120 mm high. Assume its manual requires 50 mm at each side and 150 mm above it, while its connected cables need 80 mm behind.
Its required space is therefore 530 mm wide, 430 mm deep and 270 mm high. A clear equipment bay measuring 550 × 480 × 300 mm accommodates those dimensions. The assumed ventilation arrangement still needs an open air path; those dimensions do not make a sealed box suitable.
With a 20 mm back inside an overall depth of 500 mm, the cabinet provides 480 mm of usable depth. That leaves 50 mm beyond the amplifier’s connected depth.
Records and turntable
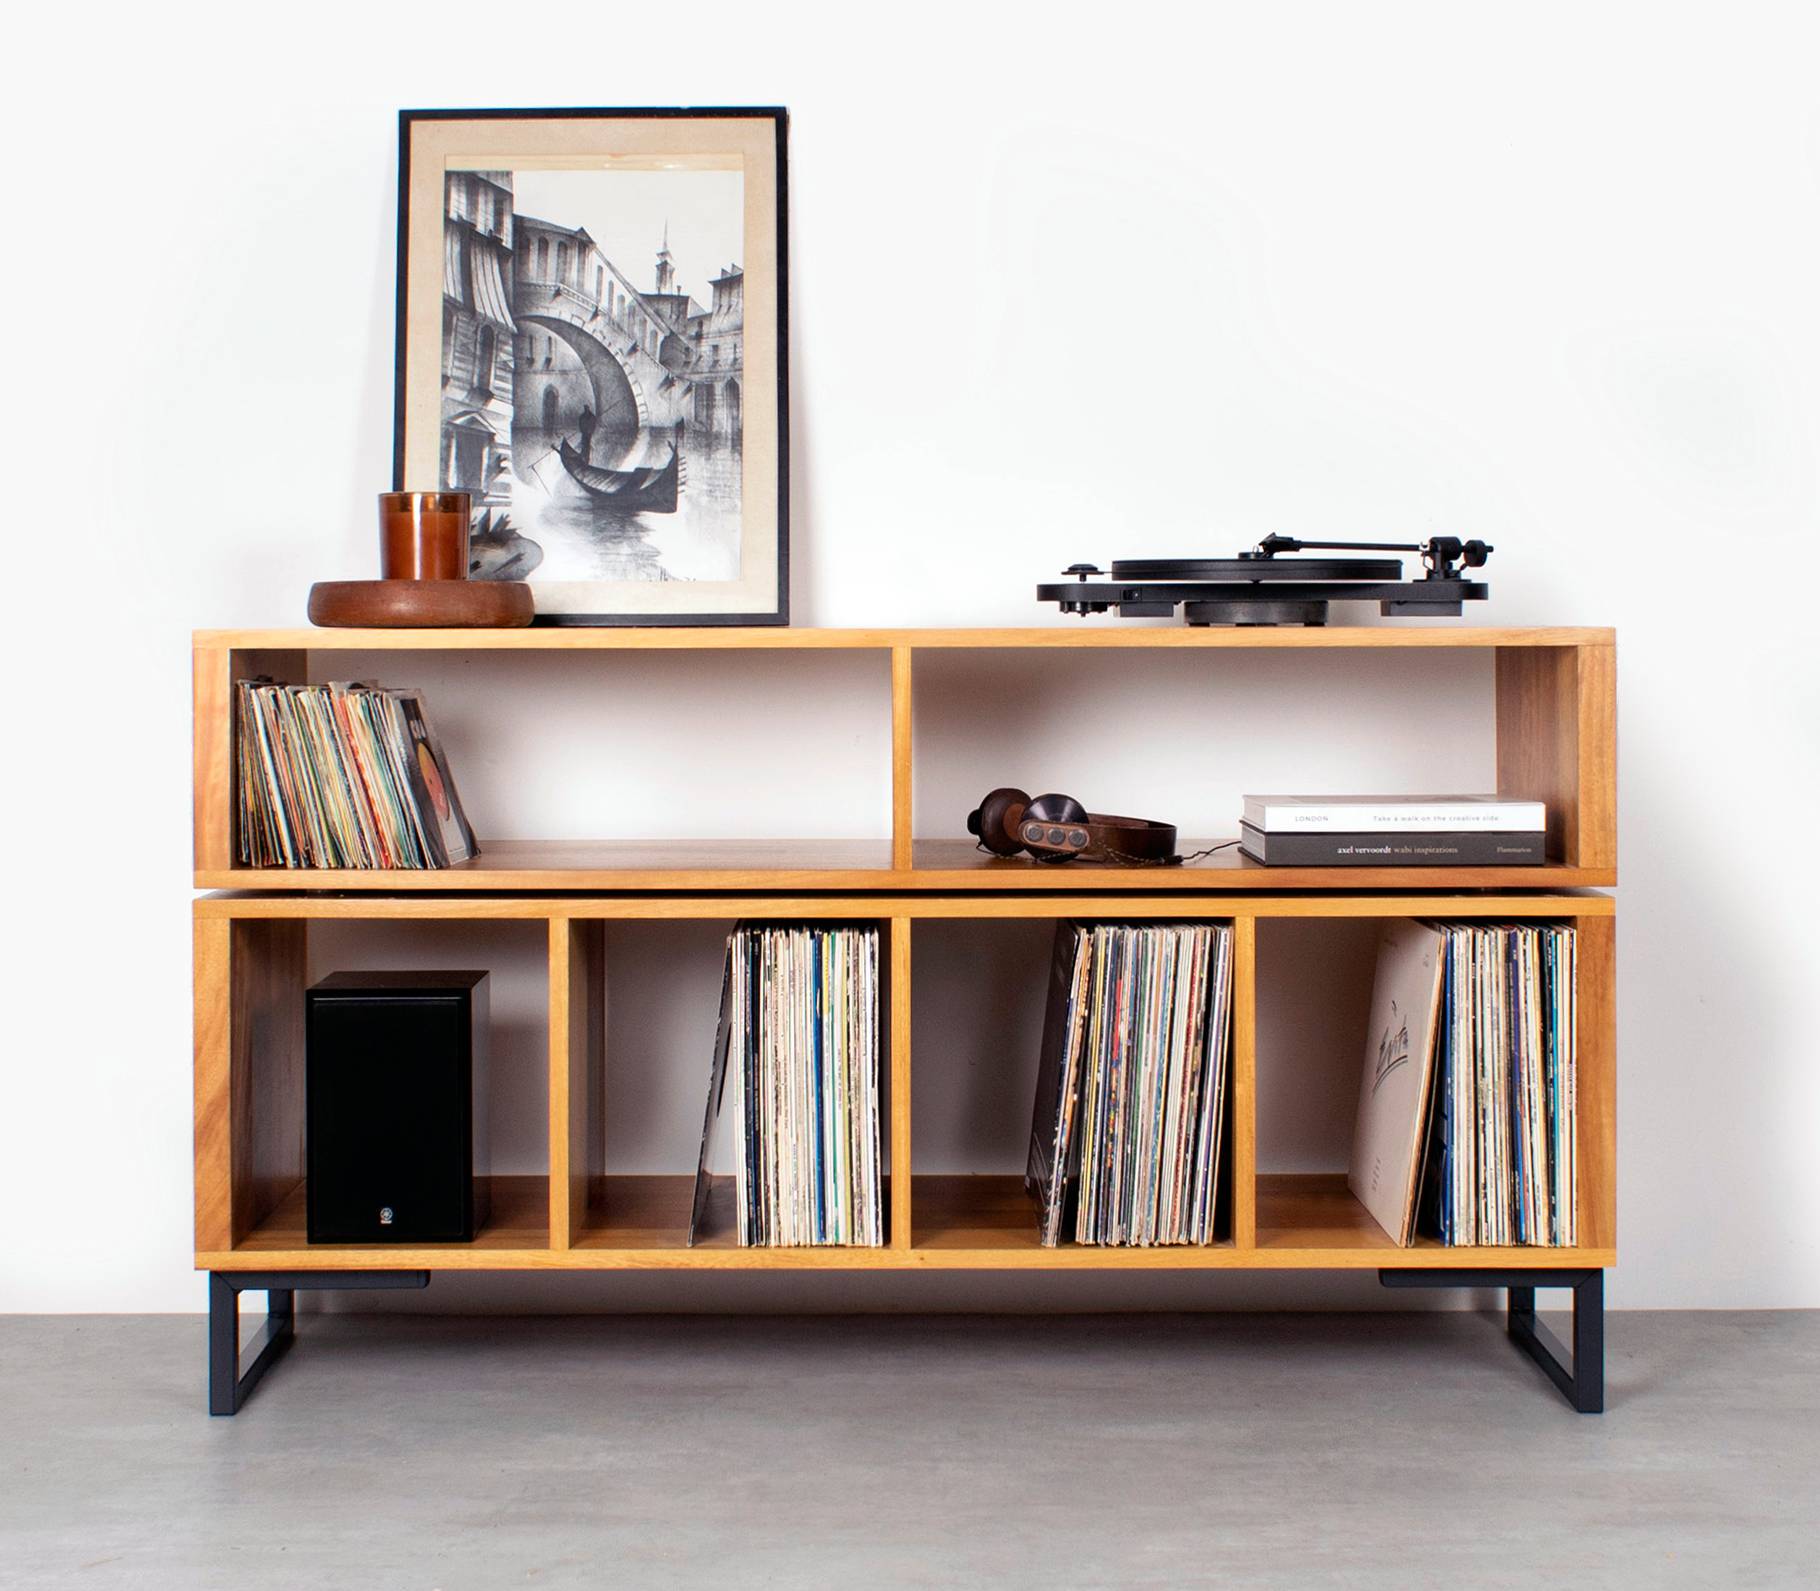
Place two record compartments below, each 350 mm high and matching the bay widths above. Their combined clear width is 1,125 mm, but their eventual capacity depends on your sleeve sample and the browsing space you reserve.
Using 25 mm top, middle and bottom panels gives a body height of 725 mm: 300 mm for equipment, 350 mm for records and 75 mm for panels. Add 100 mm legs, and the supporting top sits 825 mm above the floor.
A hypothetical 450 × 360 mm turntable fits on the top, but the drawing is not complete until its connected rear depth and open lid are marked. The amplifier’s empty neighbouring bay could hold another component, provided its own clearances fit.
These dimensions establish fit only. The loaded shelves still need a separate capacity check.
Solid hardwood still needs a load check
Solid hardwood offers a durable, attractive material for a hi-fi cabinet, but it does not establish the strength of a particular shelf. Thickness, span, joints and support positions all affect how the furniture carries weight.
Loaded shelves
Ask for the capacity of the exact shelf and configuration you intend to use, including adjustable shelves. Distinguish a load spread across the shelf from a heavy amplifier supported on four small feet.
A shelf load rating is the weight a particular shelf is designed to carry under stated support and loading conditions.
Weigh a representative batch of records with their sleeves. If 20 albums weigh 5 kg, a collection of 120 similar albums weighs about 30 kg. Add a 12 kg amplifier on the same supporting shelf, and the combined load is 42 kg.
Count those loads wherever they pass through the structure. A lower shelf, base or set of legs may support more than the items directly above it.
Shelf spans
A central divider reduces the unsupported shelf length, often making it more useful than a thicker-looking front edge. Two shorter supported bays can carry a record collection more effectively than one wide, uninterrupted opening.
Confirm whether the stated capacity applies to your chosen width. A rating for a shorter shelf should not be carried over to a wider version without checking its construction.
Seasonal movement
Solid wood expands and contracts across its grain as indoor humidity changes. Well-designed joints and fixings allow that movement rather than trying to prevent it.
Choose oak, walnut, ash or iroko for the appearance you want, then judge the cabinet’s structure separately. No species automatically improves sound quality or guarantees a suitable shelf capacity.
Keep the cabinet away from radiators and strong local heat sources. Follow the care instructions for its actual finish; an oiled surface and a lacquered surface do not necessarily need the same treatment.
Use a measured shopping checklist
Compare cabinets against a written usable-space brief, rather than trying to remember every allowance while browsing. Include both the minimum dimensions and the features that let you use the setup comfortably.
Before choosing, check these six points:
Clear openings: usable width, height and depth for each component, after panels, hinges and supports.
Working clearances: amplifier ventilation, connected cables, lid movement and room for your hands.
Record access: largest sleeves, upright support, browsing room and realistic capacity.
Loaded capacity: each shelf’s rating, its span and the total load through the base.
Future flexibility: removable or adjustable shelves where useful, plus space for a named planned upgrade.
Room fit: sockets, skirting boards, wall clearance, door access and comfortable listening-room circulation.
Adjustable shelving earns its place when your equipment height is likely to change. Fixed dividers remain useful where they support heavy records, so ask which parts of a design can move rather than expecting every opening to be adjustable.
At Urban Editions, you can use that brief to browse oursolid hardwood media units and compare customisable designs against your measured requirements.
Choose the layout before the wood sample. A finish can change how the cabinet sits visually in your room; it cannot recover missing clearance behind an amplifier.
Conclusion
Make one front-view sketch and one side-view sketch before selecting your cabinet. Mark the clear openings, connected equipment depth, open lid and loaded shelf weights. Choose an open layout if the amplifier needs unrestricted space; choose enclosed storage when its working clearances fit. Keep that measured brief beside you when comparing dimensions, so the piece you order suits your listening routine as well as your room.
Frequently Asked Questions
What size hi-fi cabinet do I need for an amplifier and turntable?
Choose dimensions that accommodate each component’s full working space, not just its case. Put the amplifier in a correctly ventilated bay and the turntable on a surface with lid and hand clearance; side-by-side equipment needs more width than a stacked arrangement.
Can I open my turntable’s dust cover beneath a shelf?
Yes, if the clear opening accommodates the cover’s entire movement and leaves room to handle records. Measure the fully open height and rear projection, then test the proposed shelf position with a cardboard template before choosing the cabinet.
Is an open hi-fi rack better than an enclosed cabinet?
Choose an open rack when your amplifier’s instructions call for unrestricted ventilation or you change connections frequently. An enclosed cabinet suits a quieter visual appearance and concealed storage, provided its openings and clearances meet the equipment’s requirements.
Can I put a turntable directly above an amplifier?
Yes, if the amplifier’s required clearance and airflow remain unobstructed beneath the supporting shelf. Give each component its own working space, and avoid routing turntable cables across amplifier vents or placing a separate phono stage directly beside a large power supply.