October SPECIAL OFFER! Sign-up to our newsletter to receive the latest offers and news.
Amp Rack for Hi-Fi and Vinyl Systems
A stack of 50 180-gram LPs weighs 9 kg before sleeves, according to The Urban Editions’ hi-fi storage guide. An amp rack for a hi-fi and vinyl system should support your amplifier’s weight, keep it stable and ventilated, and leave room to connect it. If your turntable shares the furniture, separate it from amplifier heat and vibration; measure every component, cable and shelf before choosing.
Key Takeaways
Check each shelf’s published capacity against the full component load.
Follow the amplifier manual for clearances; never block ventilation.
Keep a turntable level and separate from amplifier heat.
Measure connectors, cable bends, controls and lid travel, not casing alone.
Choose audio shelves or media furniture to suit your equipment and records.
An amp rack is practical support, not a sound upgrade
An amp rack is equipment furniture: it needs to hold your components securely and leave space for air, cables and everyday access. Choose it for how your system fits and works, rather than expecting the rack itself to improve sound.
An amp rack is practical equipment furniture: it supports your components, allows airflow and cable access, and keeps your system stable.
Start with support and access
Measure each component, including its feet, knobs and controls. A shelf that fits the amplifier’s casing might still be too shallow once you add plugs at the back. Leave room to reach controls and connections without shifting other equipment.
Check the load rating, too. Add the weight of the equipment planned for each shelf and compare it with the rack maker’s stated capacity. A thick-looking shelf or heavy-feeling unit doesn’t tell you its safe load. Check whether the figure applies to one shelf or the whole rack.
A rack cannot fix every sound problem
A stable, level surface helps your equipment sit as intended, particularly if you play records. The floor, the furniture and where you place the system all affect how much movement reaches a turntable. Solid wood alone doesn’t guarantee isolation from vibration.
An amp rack won’t automatically improve sound quality. Its value is practical: it supports the system, gives components room to breathe and makes connections easier to manage. Treat broad claims about a rack transforming your sound with caution, and prioritise fit, ventilation and stability.
Measure the full system, including cables and clearances
Measure more than the amplifier’s outer casing. Your usable shelf space needs to accommodate the component and whatever it needs to work properly, including cable connections and open space around vents.
Measure each component
Work through the system before comparing furniture:
Measure each component’s width, depth and height, including feet and protruding controls.
Add the space needed for rear plugs and the natural bend of each cable.
Check how far a turntable lid opens and whether controls remain reachable.
Read the amplifier manual for its ventilation and placement instructions.
Add the equipment’s weight on each shelf and compare it with the stated load limit.
For example, an amplifier that fits between the shelf edges may still be a poor fit if a power plug pushes it forward or a cable presses against a vent. Measure the connected setup, not just the bare component.
Check the rating and the room
Confirm whether a capacity figure is per shelf or for the complete rack; those limits aren’t interchangeable. Include every component you plan to store, and don’t assume that a stronger-looking top can carry the load.
Think about future equipment while checking the layout. An extra streamer or disc player needs its own space and must not block ventilation or access to another component. A rack that only fits the system on paper can become awkward once it’s connected.
Finally, check where the rack will stand. Doors, skirting boards and nearby furniture can affect how far you can push it back and reach the cables. A careful floor plan avoids a setup that fits the room but leaves you unable to plug in equipment.
Amplifier ventilation depends on its design
There isn’t one ventilation gap that suits every amplifier. Follow the clearance in your amplifier’s manual, because the amount and direction of airflow depend on the model and where its vents sit.
Follow the manual’s placement guidance
Look for instructions about the top, sides and rear of the unit. Some amplifiers need open space above them; others have vents in different positions. Don’t cover those openings with another component, a shelf or stored items.
If the manual doesn’t give a clear measurement, don’t treat a tight fit as safe by default. Confirm the required clearance with the manufacturer, since cooling arrangements vary. Avoid enclosed furniture unless its design allows the amplifier to meet those requirements with the doors shut.
Check airflow after connecting everything
Cables can block the space you allowed when measuring. After installation, check that plugs haven’t pushed the amplifier against the back of the shelf and that the vents remain unobstructed. Airflow needs to work in the finished setup, not just in an empty furniture diagram.
Take extra care if you stack components or add a shelf above a warm-running amplifier. Follow the instructions for the amplifier and for any equipment placed nearby. If the rack forces you to close off a vent or leave too little clearance, choose a more open position.
Room conditions matter as well. Don’t place the amplifier close to a radiator or in direct sunlight, where additional heat can build up around it. A rack with open access makes it easier to spot blocked vents when you change or add equipment.
Put the turntable on a separate, level surface
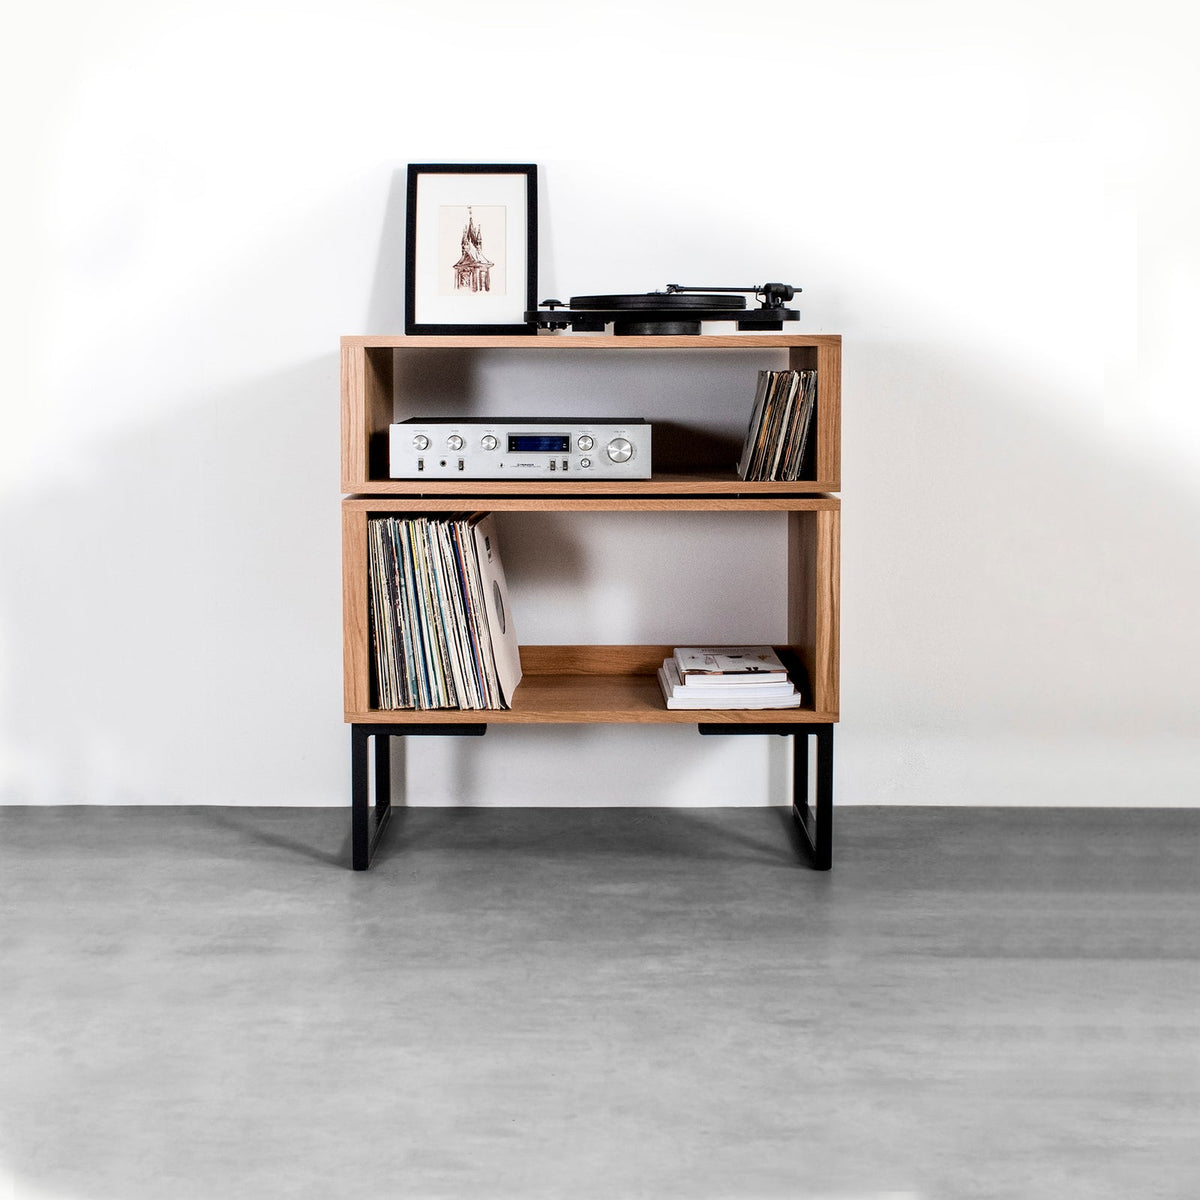
An amplifier and turntable can share one unit, but they shouldn’t share a shelf. Give the turntable a stable, level surface and place the amplifier separately, with the ventilation space its manual specifies. This keeps everyday access straightforward and avoids putting both components directly on the same surface.
Separate the turntable from heat and movement
A turntable responds to movement through its furniture and the floor. Keep it away from direct speaker vibration and heavy footfall where practical, and don’t assume that a specialist-looking rack will remove every source of movement.
Avoid placing the turntable beside an amplifier’s vents or where warm air is directed towards it. If they share a unit, put the turntable on its own stable shelf and the amplifier on a separate, ventilated one. Check that the shelf layout doesn’t obstruct the turntable lid or controls.
Level the loaded setup
Set the rack on a stable part of the floor and check that it doesn’t rock once equipment is in place. A turntable needs a level surface for normal use, so check the shelf with the rack loaded rather than relying on how it looked before installation.
Put a heavier amplifier on a lower shelf if the rack’s design and ventilation guidance allow it. Keeping heavier equipment lower can make the unit feel steadier, but never trade away the airflow the amplifier needs. Don’t use loose packing that can shift under load.
If the floor is uneven and the rack has no adjustable feet, choose a more stable position rather than improvising a support that could move. A rocking unit can disturb the turntable and put strain on connected cables. Check the setup again after moving furniture or changing the equipment.
Choose furniture around your equipment and vinyl
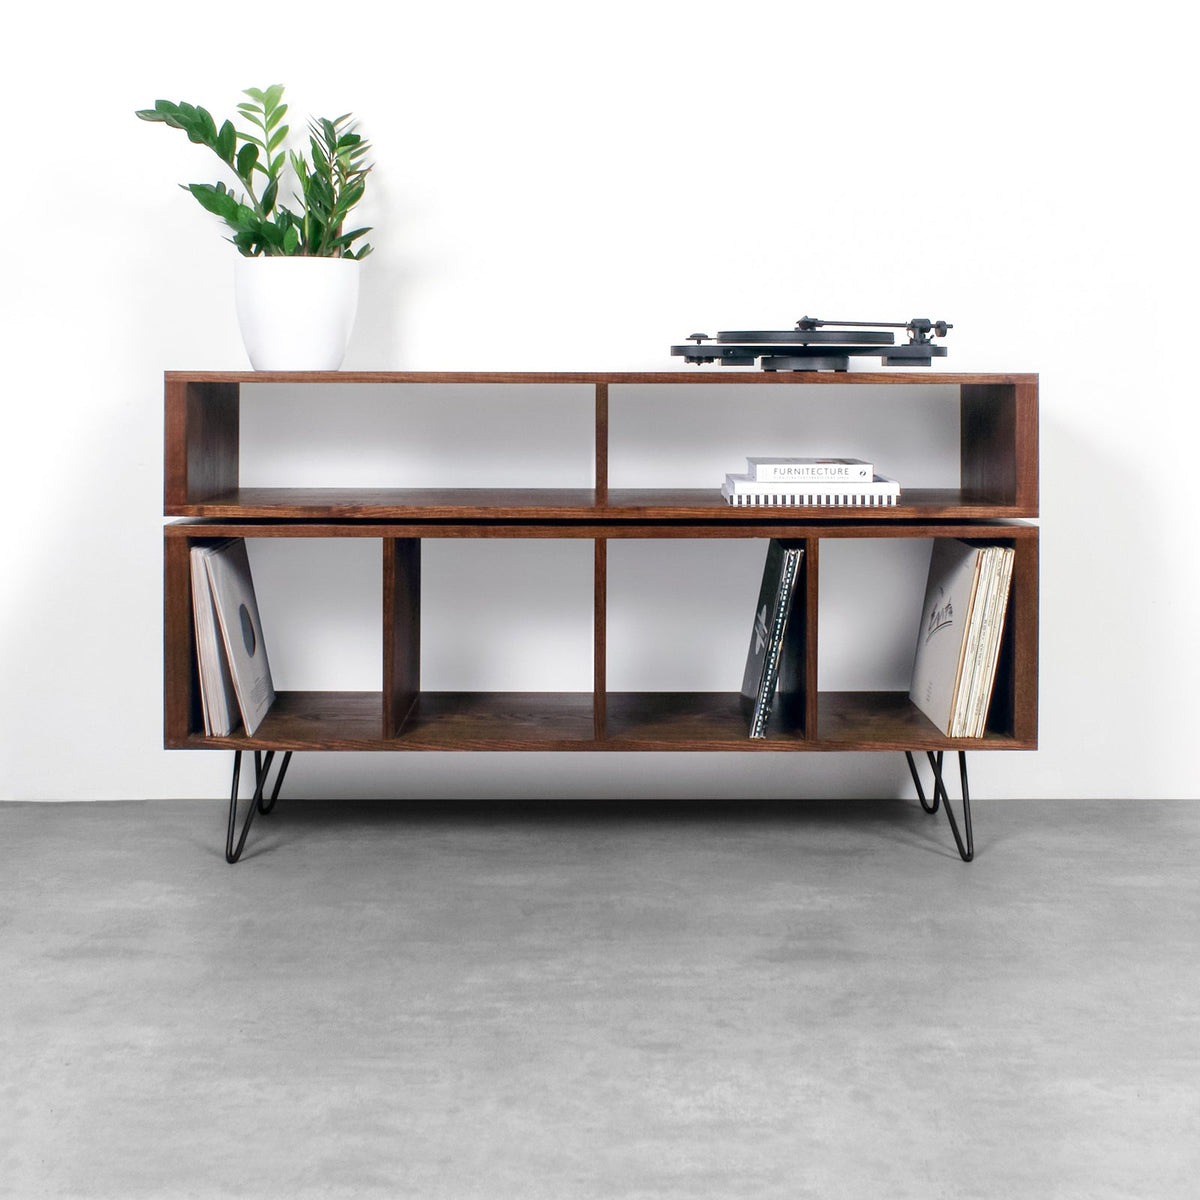
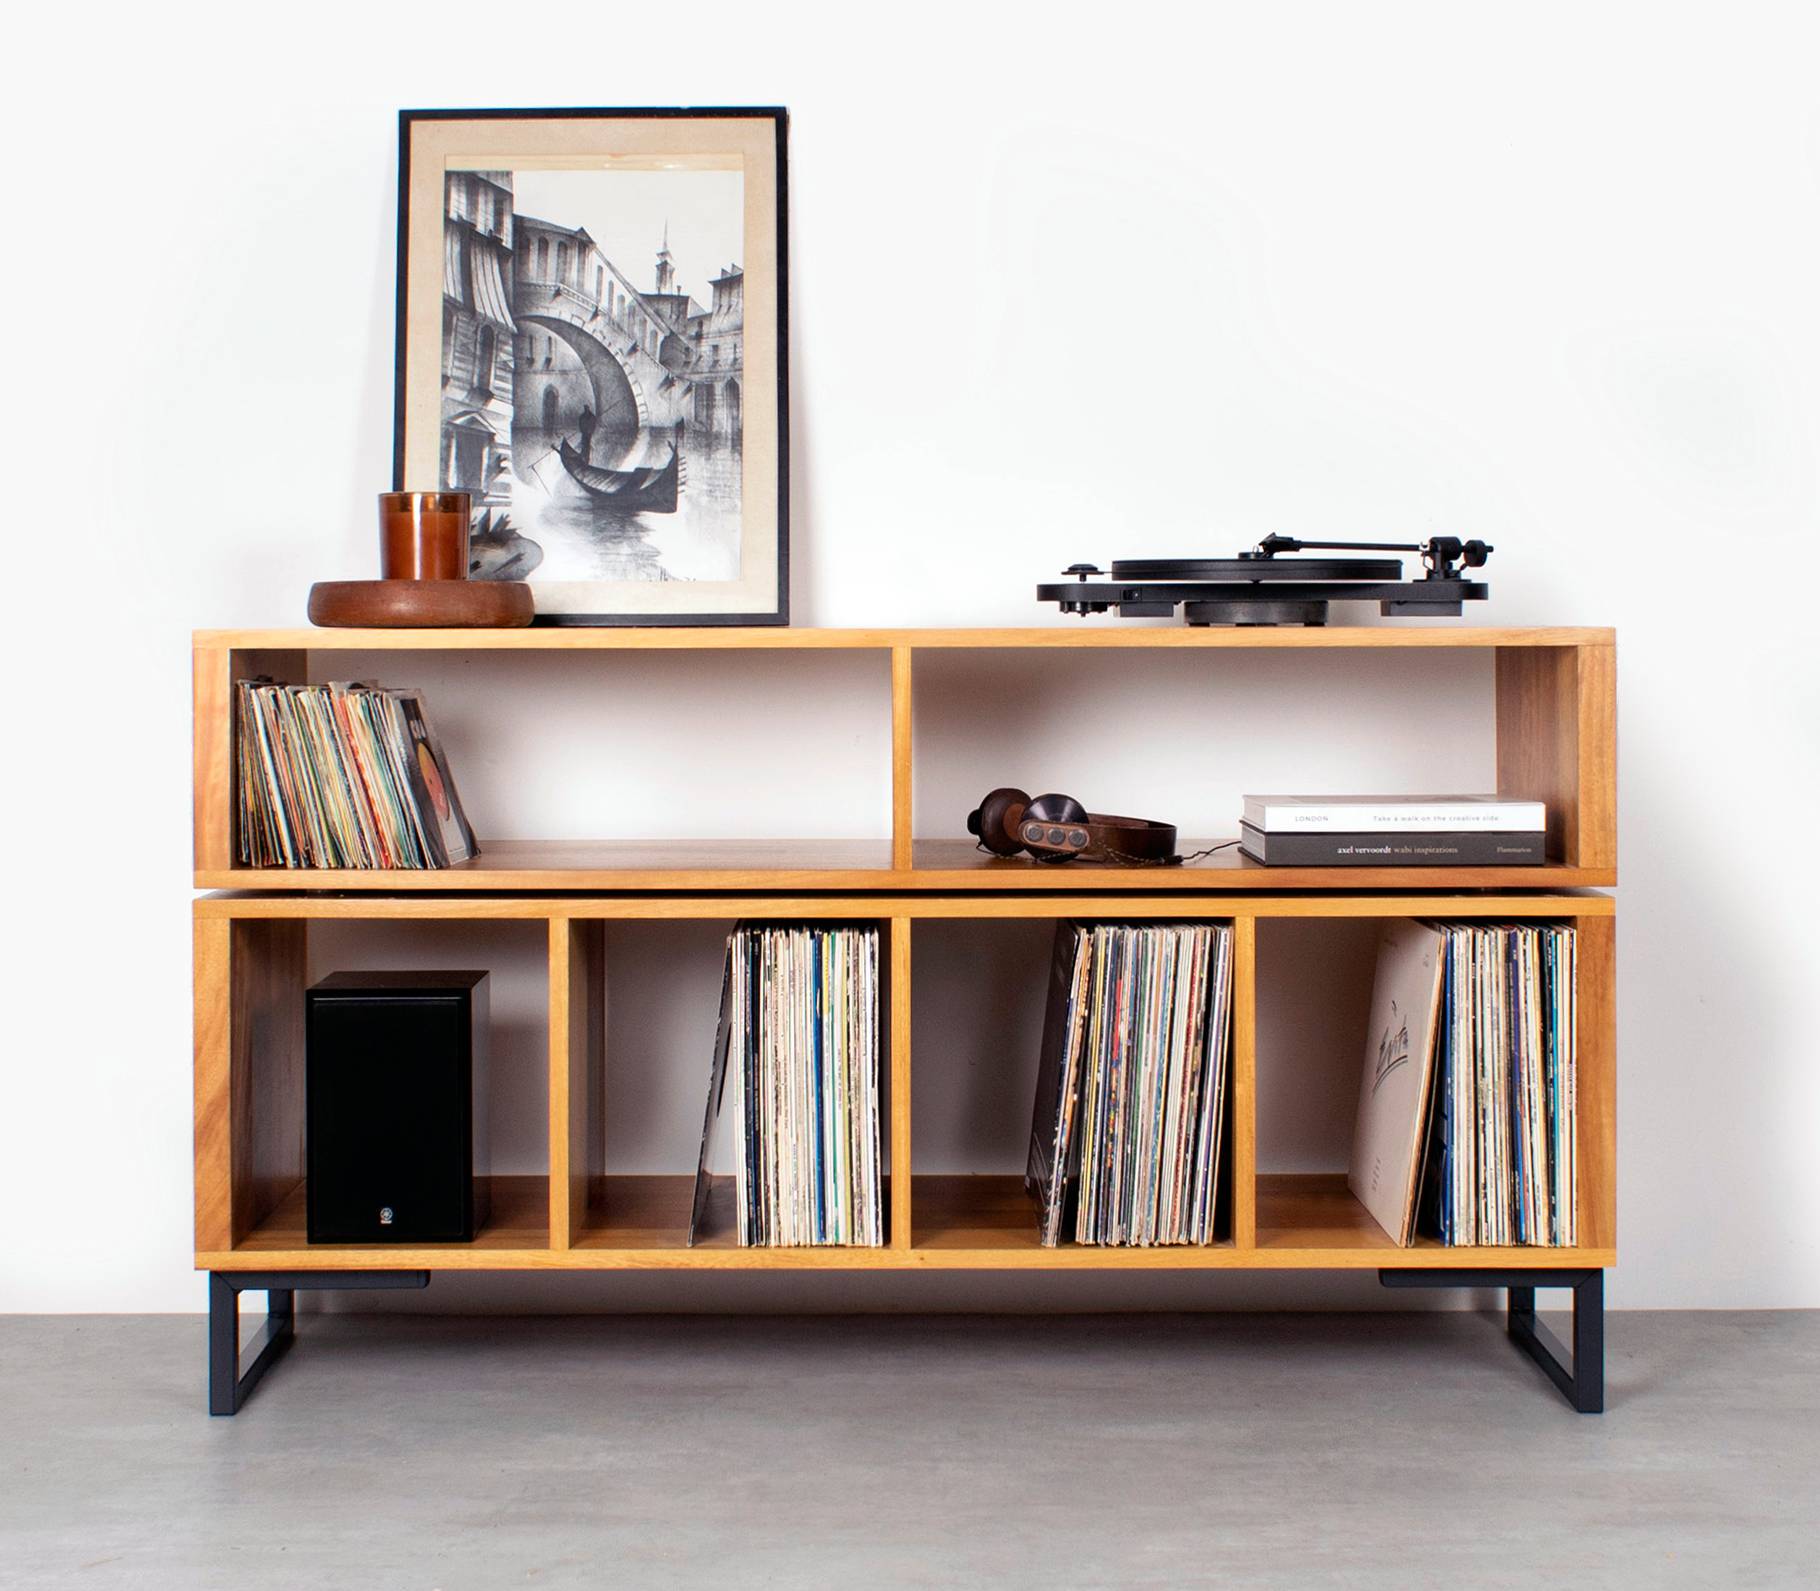
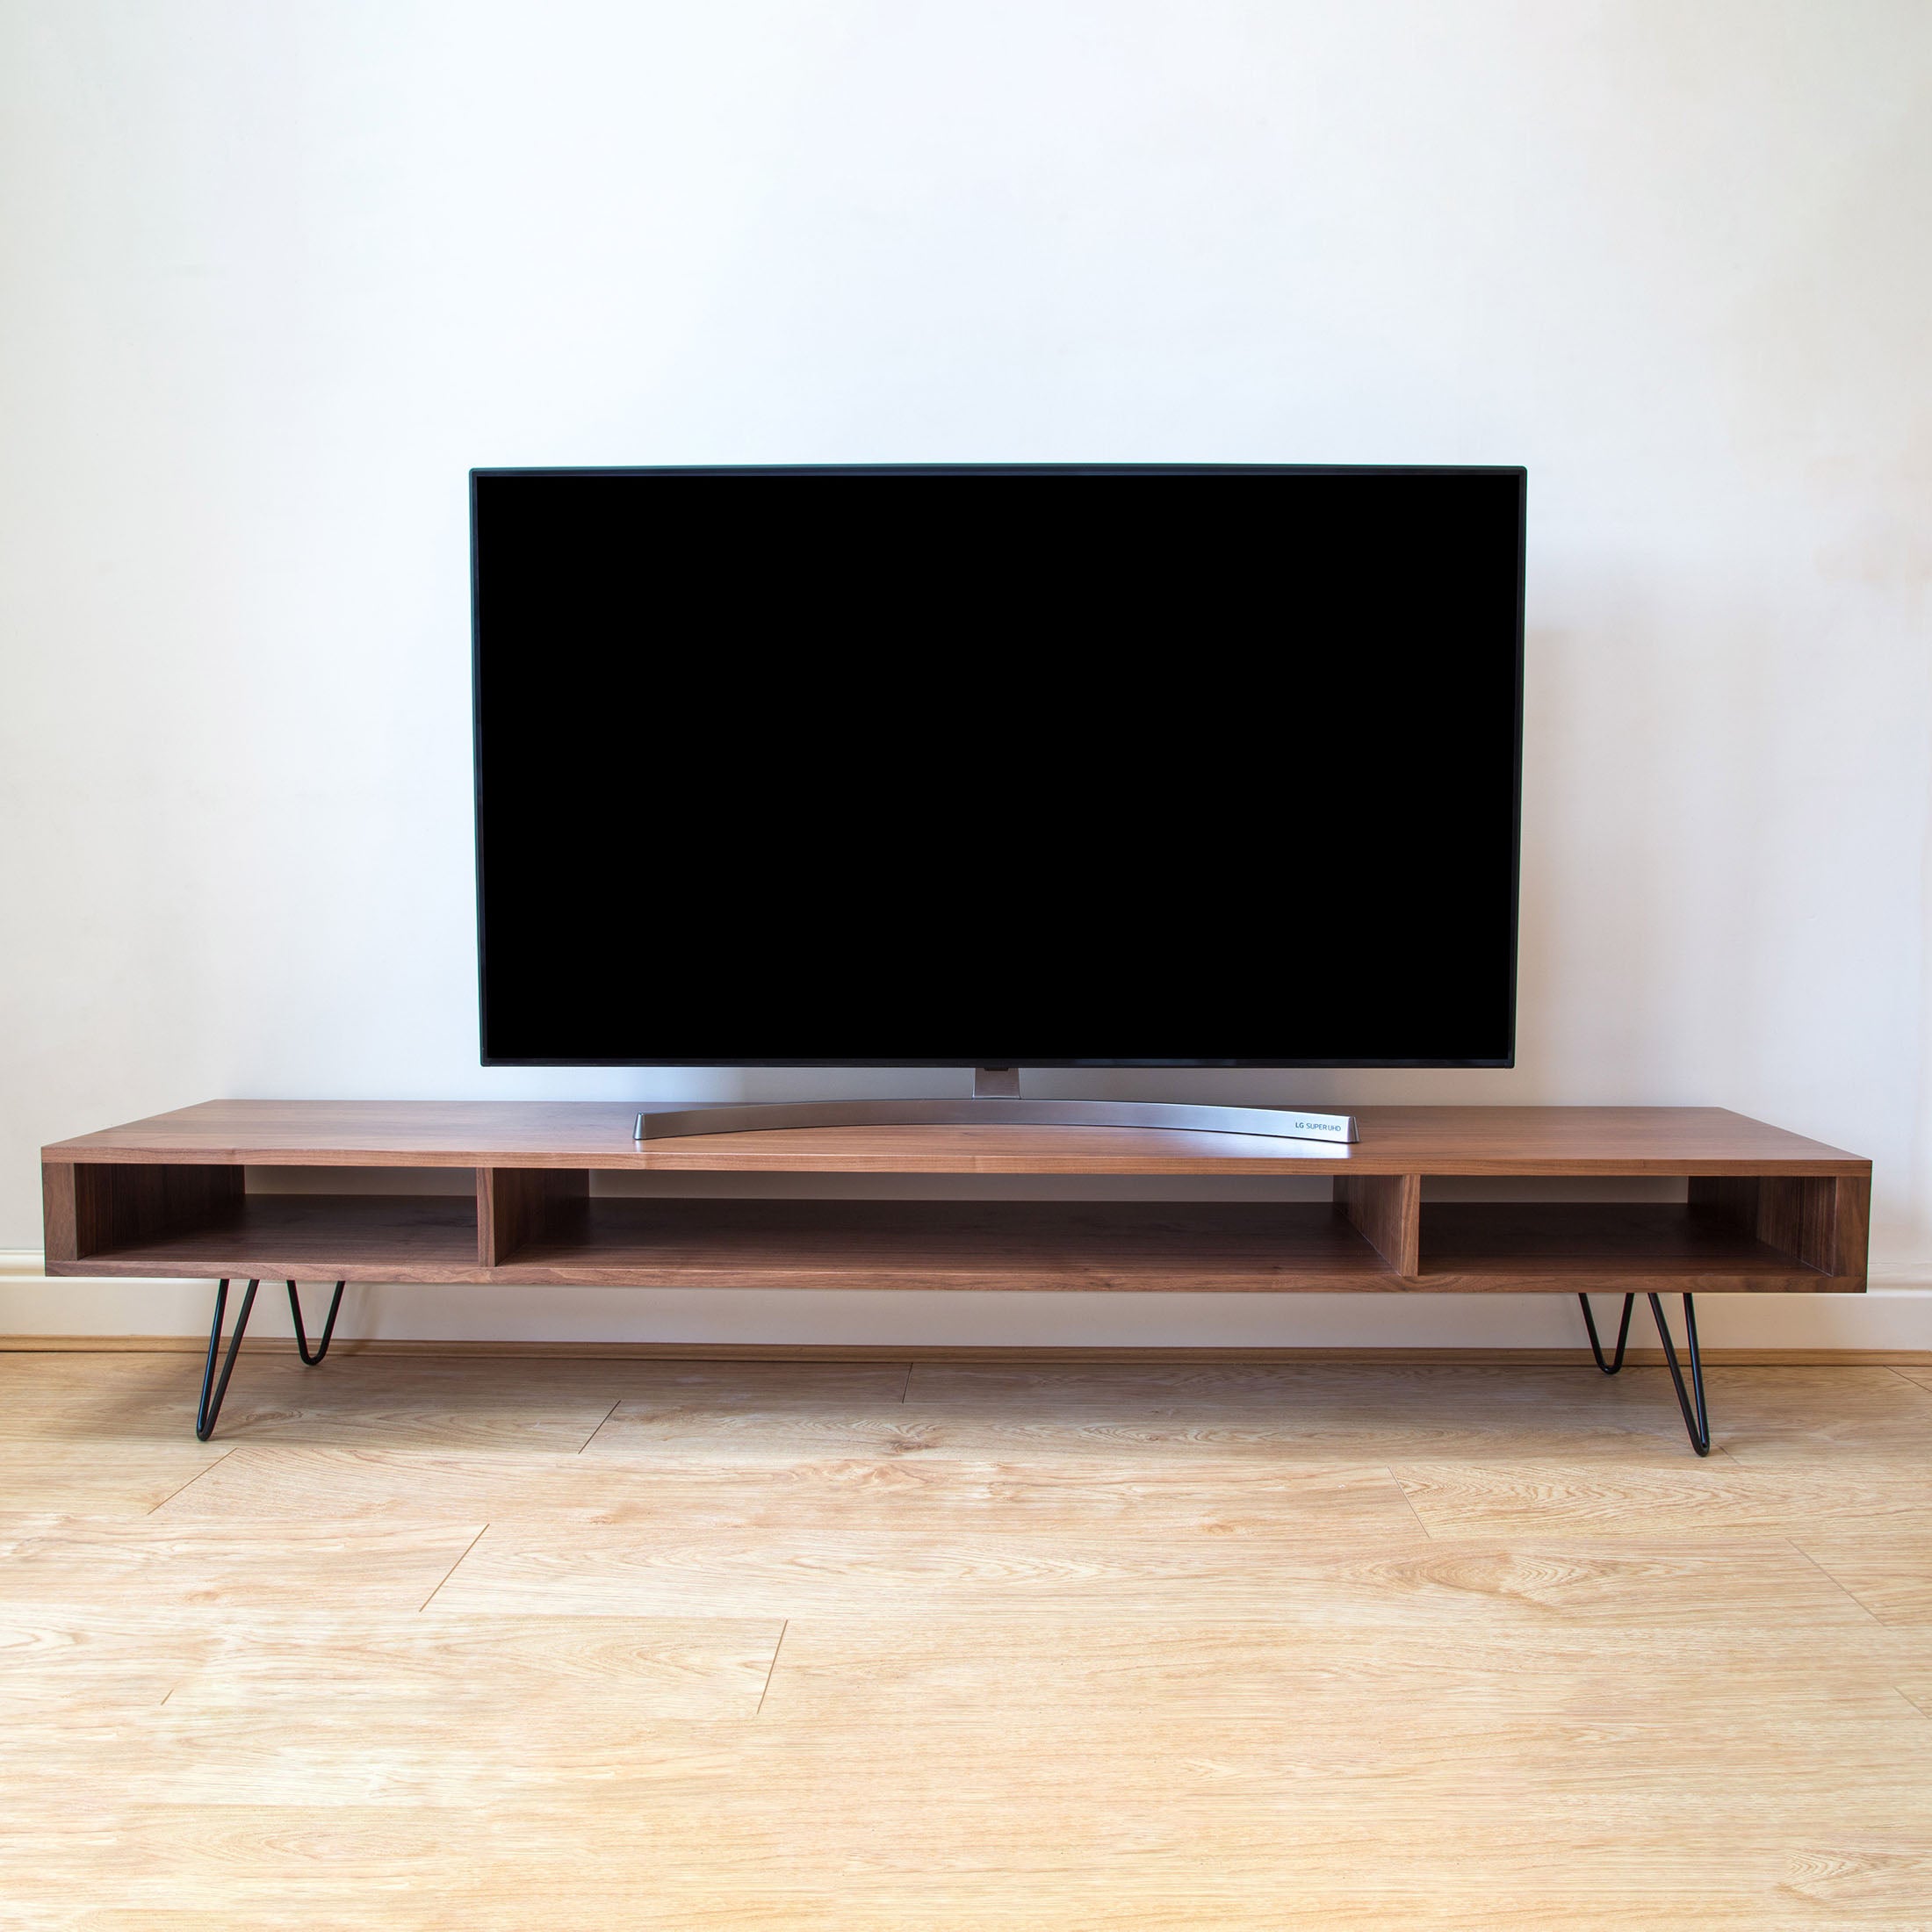
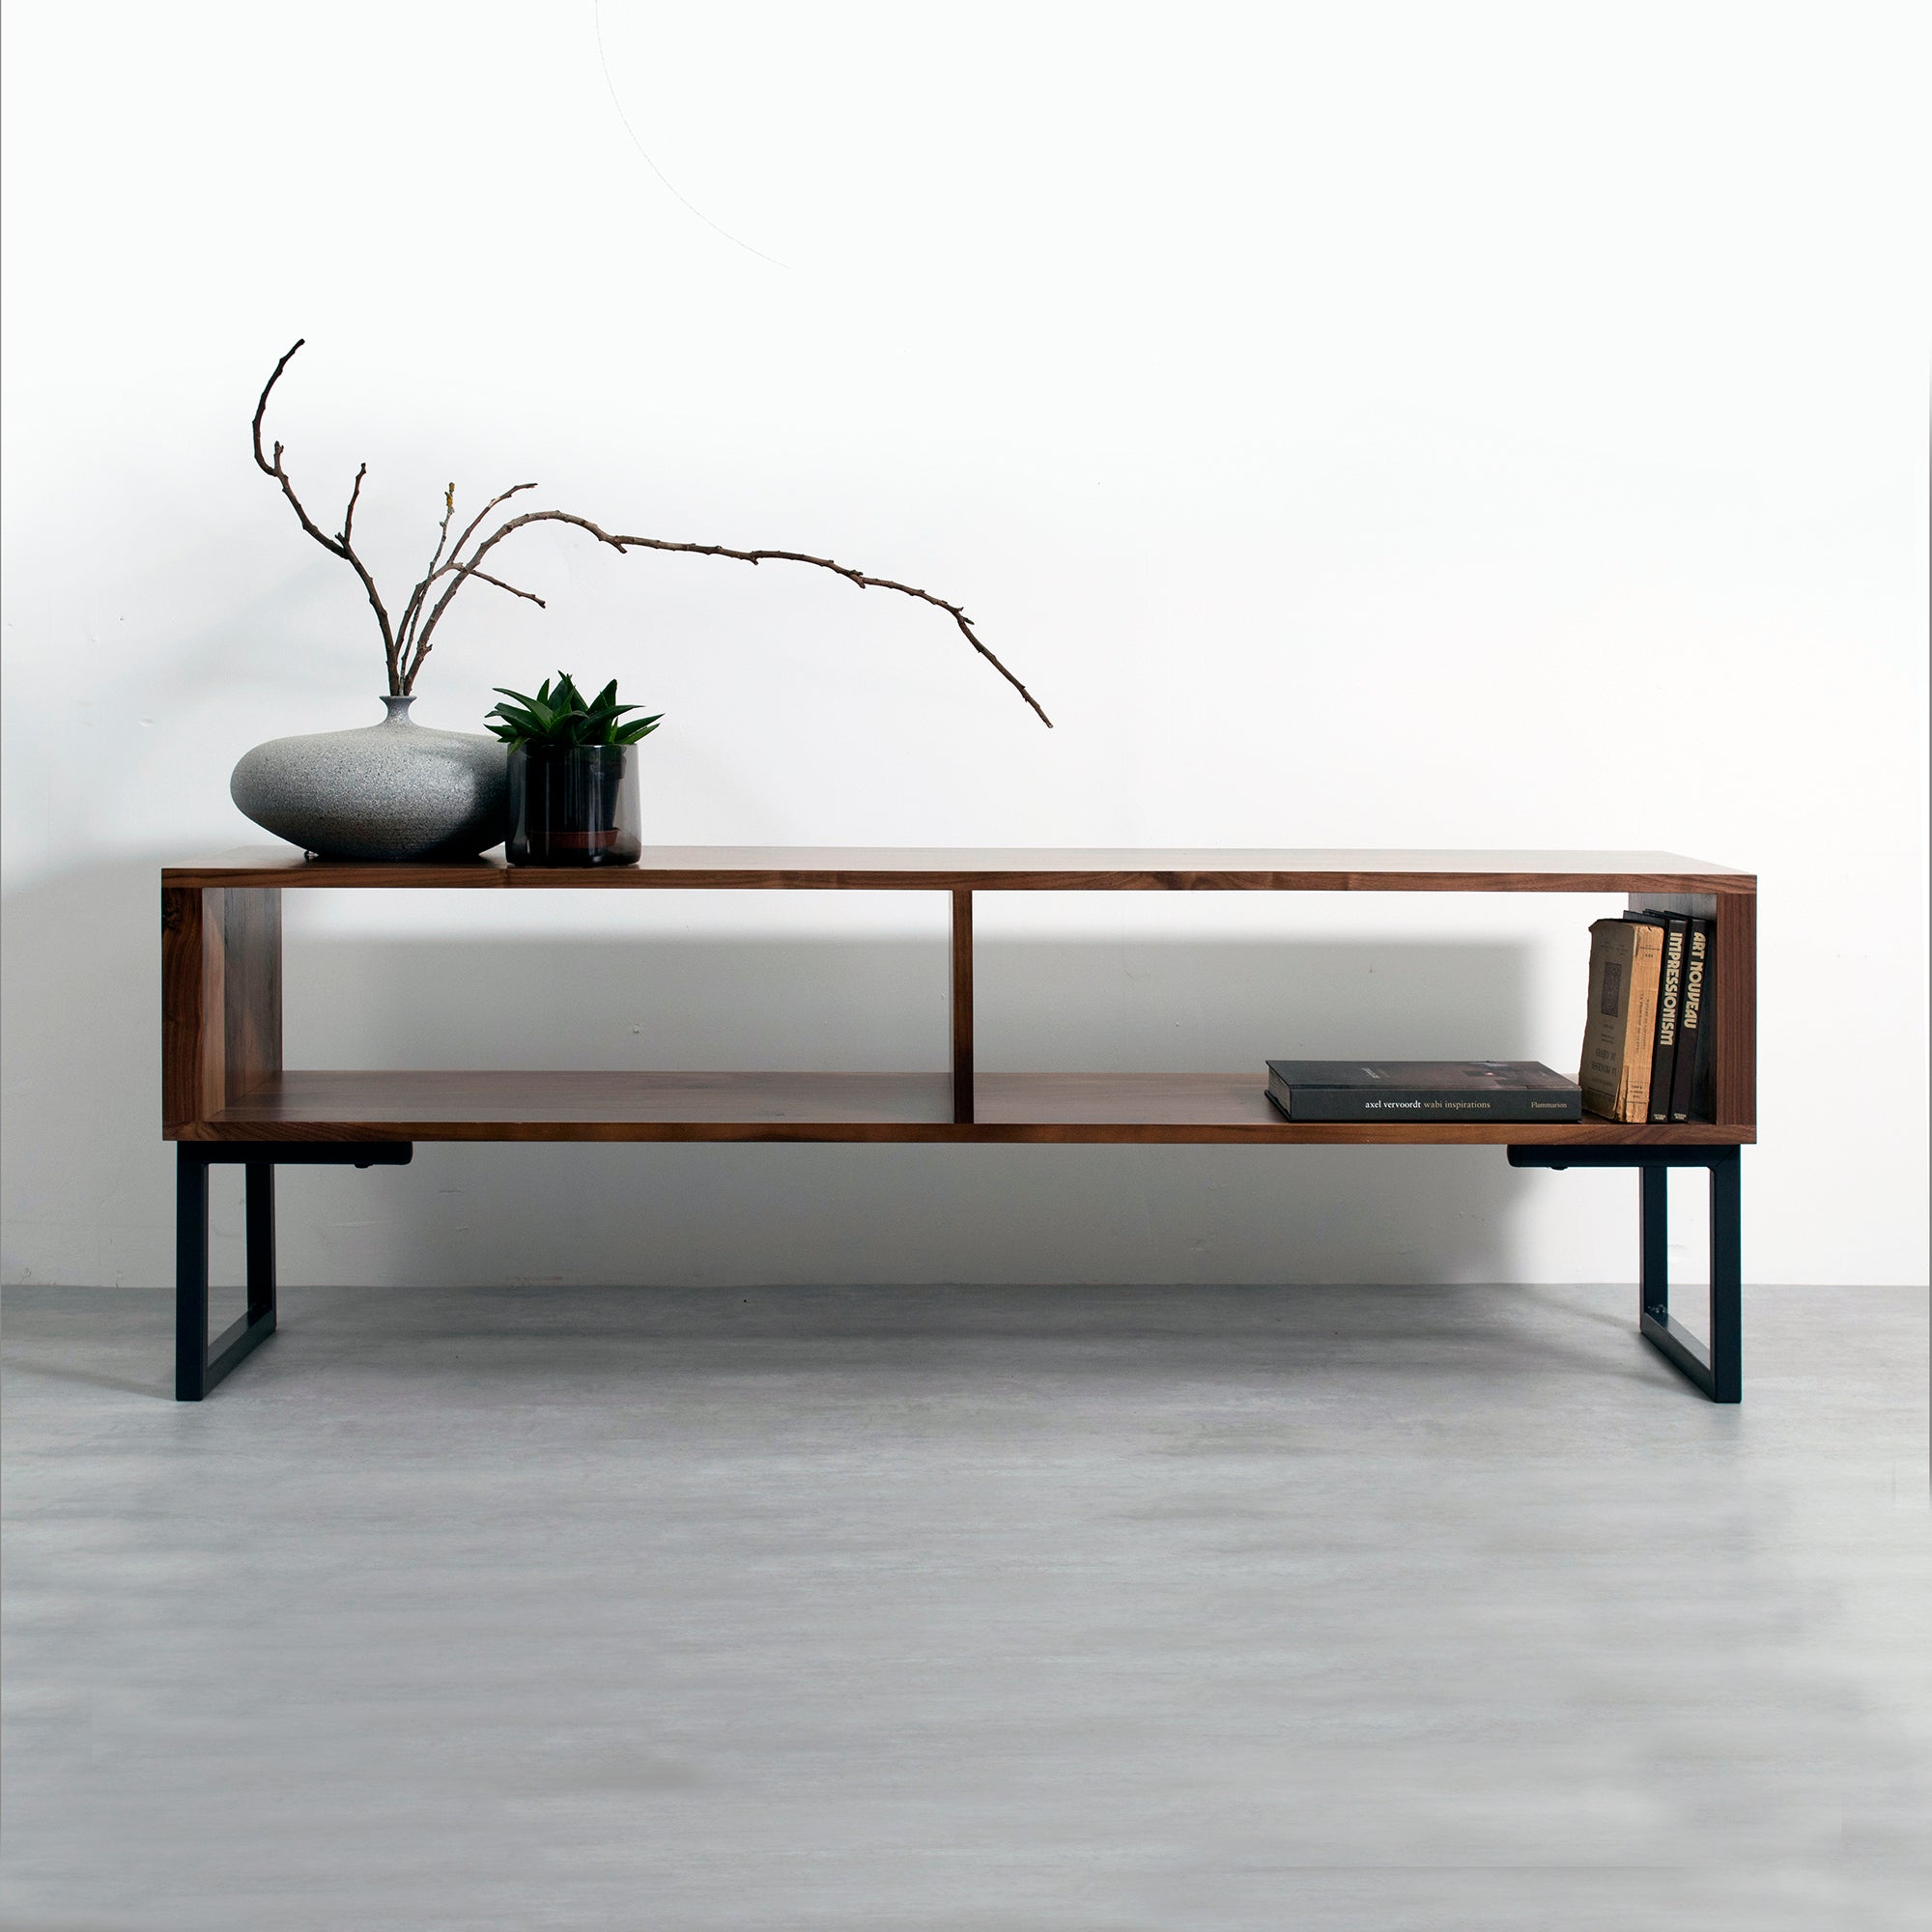
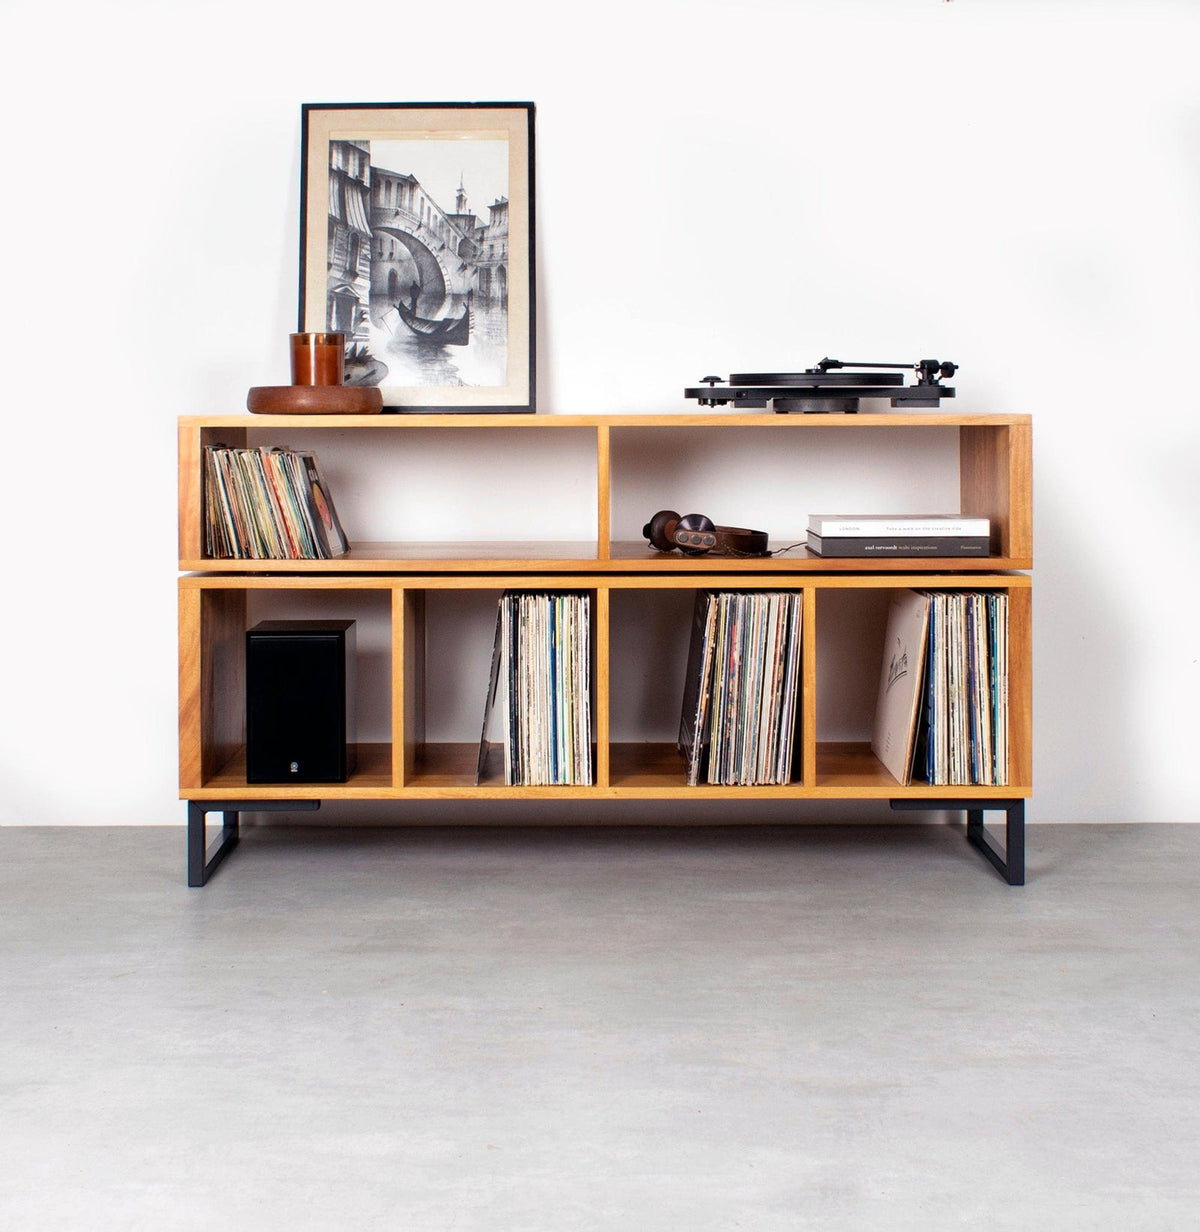
A dedicated hi-fi rack suits a system with several separate components. Media furniture may suit a vinyl-led setup better, but the right choice depends on shelf dimensions, airflow and where you want to keep records. Compare the whole layout, not just its appearance.
Compare the furniture types
Furniture type
Equipment access and airflow
Vinyl storage
Best fit
Dedicated hi-fi rack
Separate shelves may give clear access; check the design and spacing
Record storage depends on the model
Several components with different space needs
Open media furniture
Access depends on the shelf and back-panel layout
May combine equipment space with record storage
A system where records and components share a room
Enclosed media cabinet
Doors can restrict airflow; confirm the required clearance with doors shut
Compartment sizes vary
A setup where hidden storage matters and ventilation still works
An open rack can make it easier to reach cables and keep vents clear, but it may leave equipment visible. An enclosed cabinet hides components, yet its doors and internal layout must allow the amplifier to meet its ventilation requirements during use.
Make vinyl access part of the plan
Plan where records will sit and how you’ll take them out. Keep LPs upright and within easy reach, without blocking equipment controls or ventilation. If you want to compare vinyl storage and media furniture, look for a layout that gives records and audio components their own useful space.
Check the actual shelf depth and arrangement against your system before choosing. A unit can offer ample record storage yet still be unsuitable for a particular amplifier if the space around it is too tight. Match the furniture to both the equipment and the way you use your records.
Keep connections and record access simple
The best layout is one you can connect, operate and maintain without shifting the whole system. Plan for the route of each cable, the controls you use often and the records you want to reach while listening.
Leave room to connect and service the system
Route cables so they aren’t pinched between the equipment and the wall or bent sharply behind a shelf. Leave enough access to unplug a component without lifting another one. Keep power and signal connections reachable when you need to swap or check equipment.
Check cable routing once everything is in position. A cable can pull on a plug or block a vent even when the rack’s measurements looked right. Make sure doors, if fitted, can close without pressing on leads or restricting the amplifier’s required airflow.
Match storage to how you listen
If you use a turntable often, leave clear space for its lid, controls and record changes. Keep stored records easy to reach without moving the amplifier or disturbing its cables. A rack layout that separates equipment and vinyl makes those routines simpler.
Those options don’t replace checking your amplifier’s depth, ventilation clearance and shelf load before deciding where it will sit. Choose a position that suits the component’s manual and the furniture’s actual layout, then check the cables and vents once everything is connected.
Conclusion
Before choosing an amp rack, write down each component’s dimensions, weight and ventilation needs, then measure the cable space and turntable lid clearance. Choose a dedicated rack when separate equipment shelves matter most; choose media furniture when record access and storage shape the layout. In either case, confirm the amplifier’s required airflow before placing it.
Frequently Asked Questions
What should I look for in an amp rack for a hi-fi system?
Choose shelves that fit your equipment, meet the stated load rating and leave the amplifier’s specified ventilation space. Check whether the rack’s capacity applies to each shelf or the whole unit, and make sure you can reach the connections.
How much ventilation does an amplifier need on a rack?
Use the clearance stated in that amplifier’s manual; there isn’t one safe gap for every model. Check whether the instructions cover the top, sides and rear, then keep that space free after connecting the cables.
Can an amplifier and turntable sit on the same unit?
Yes, if each has its own stable surface and the amplifier still gets the airflow it requires. Avoid sharing a shelf, and keep the turntable away from hot air leaving the amplifier’s vents.
Does an amp rack improve sound quality?
Not by itself: a rack doesn’t alter an amplifier’s signal or guarantee an audible change. Its practical value is stable support and accessible connections, with placement that avoids unnecessary heat or vibration reaching a turntable.