October SPECIAL OFFER! Sign-up to our newsletter to receive the latest offers and news.
Vinyl Player Unit: Stylish Solid Wood Hi-Fi Storage
A 12-inch LP is about 30 cm across, so a vinyl player unit needs space for sleeves as well as a turntable. Choose by dimensions and stability before finish, and you’ll avoid a cabinet that looks right but leaves your deck cramped or records difficult to reach.
Treat it as a hi-fi workstation: the deck needs a level, steady surface; records need upright storage; an amplifier needs airflow and cable access. Open stands suit equipment-heavy systems, while enclosed cabinets keep a collection visually contained. The right layout depends on the gear you own and the room you have.
Key Takeaways
Measure equipment, sleeves and available floor space first
Keep records upright and easy to reach
Check the unit’s weight capacity and stability
Leave amplifier ventilation and cable access clear
Choose open storage for easier access and airflow
Measure your equipment before choosing a unit
Start with the equipment you own, not the cabinet style you prefer. A turntable, amplifier and record collection place different demands on a unit, and a few measurements can rule out an unsuitable design before you order.
Measure the deck and working space
Measure the turntable’s full width and depth, including any dust cover or hinges. Check that the cover can open fully in its intended position, and leave usable space around the controls so you can lift an arm or change a record without shifting the deck.
Then measure the amplifier, receiver and other hi-fi components. Allow room for plugs at the rear as well as the body of each component. A unit that fits a 43 cm-wide amplifier on paper may still be too shallow if its sockets and cables project behind it.
Measure the room and record storage
Use a tape measure to check the unit’s full footprint, including any overhang or plinth. Note skirting boards, sockets and nearby doors. The usable surface matters more than the outer dimensions: shelves, side panels or a raised back can reduce the space available for equipment.
Estimate your record storage separately. One section sized for a turntable does not necessarily have room for an LP collection. As a simple planning example, if your deck is 43 cm wide and your amplifier is also 43 cm wide, you’ll need separate shelf space or a wider layout rather than assuming both will fit side by side.
Check internal shelf height and depth against your records, including outer sleeves. Also consider how you’ll reach the back of the unit to plug in or disconnect equipment. A careful measurement now prevents a common mismatch: enough room for the furniture, but not enough room to use it properly.
Stability protects your turntable and records
A turntable needs a steady, level surface. If a cabinet rocks, flexes or transfers strong vibration, the stylus can pick up unwanted movement during playback. Put stability ahead of decorative details, particularly if you have a heavy deck or place the unit on an uneven floor.
Check the support, not just the finish
Ask for the unit’s stated weight capacity and compare it with the combined weight of the items each shelf will hold. Include the turntable, amplifier and any other components. Don’t assume that a solid-looking top or thick shelf has been rated for your particular setup.
Look closely at how the unit is supported. Wide, well-braced legs and a firm, square frame reduce unwanted movement. If possible, check that the furniture sits flat where you plan to use it; a sloping or uneven floor can make a stable unit rock.
A hi-fi workstation is furniture planned around equipment support, airflow, cable routes and storage, not appearance alone.
Reduce vibration at the source
Keep the turntable away from speakers where practical, especially if the speakers sit on the same furniture. Sound energy can travel through the floor or cabinet and reach the stylus. A separate speaker stand or a different position in the room can reduce that direct transfer.
For a suspended wooden floor, test for movement before arranging the system. Walk near the proposed position while the deck is playing, and listen for disturbance. A firm floor and a properly level cabinet give you a better starting point than adding accessories to an unstable setup.
Use the turntable’s feet as intended and follow the manufacturer’s setup guidance. Don’t compensate for a poor fit by wedging objects under one corner; that can leave the deck uneven or unstable. The result you want is a level playing surface that stays steady when you handle a record.
Match record storage to the way you use your system
A record collection changes the unit’s required capacity. Decide how many sleeves you want within easy reach and how many can live elsewhere, then compare that with the furniture’s usable storage rather than its overall width.
Open stands, closed cabinets and hybrid designs
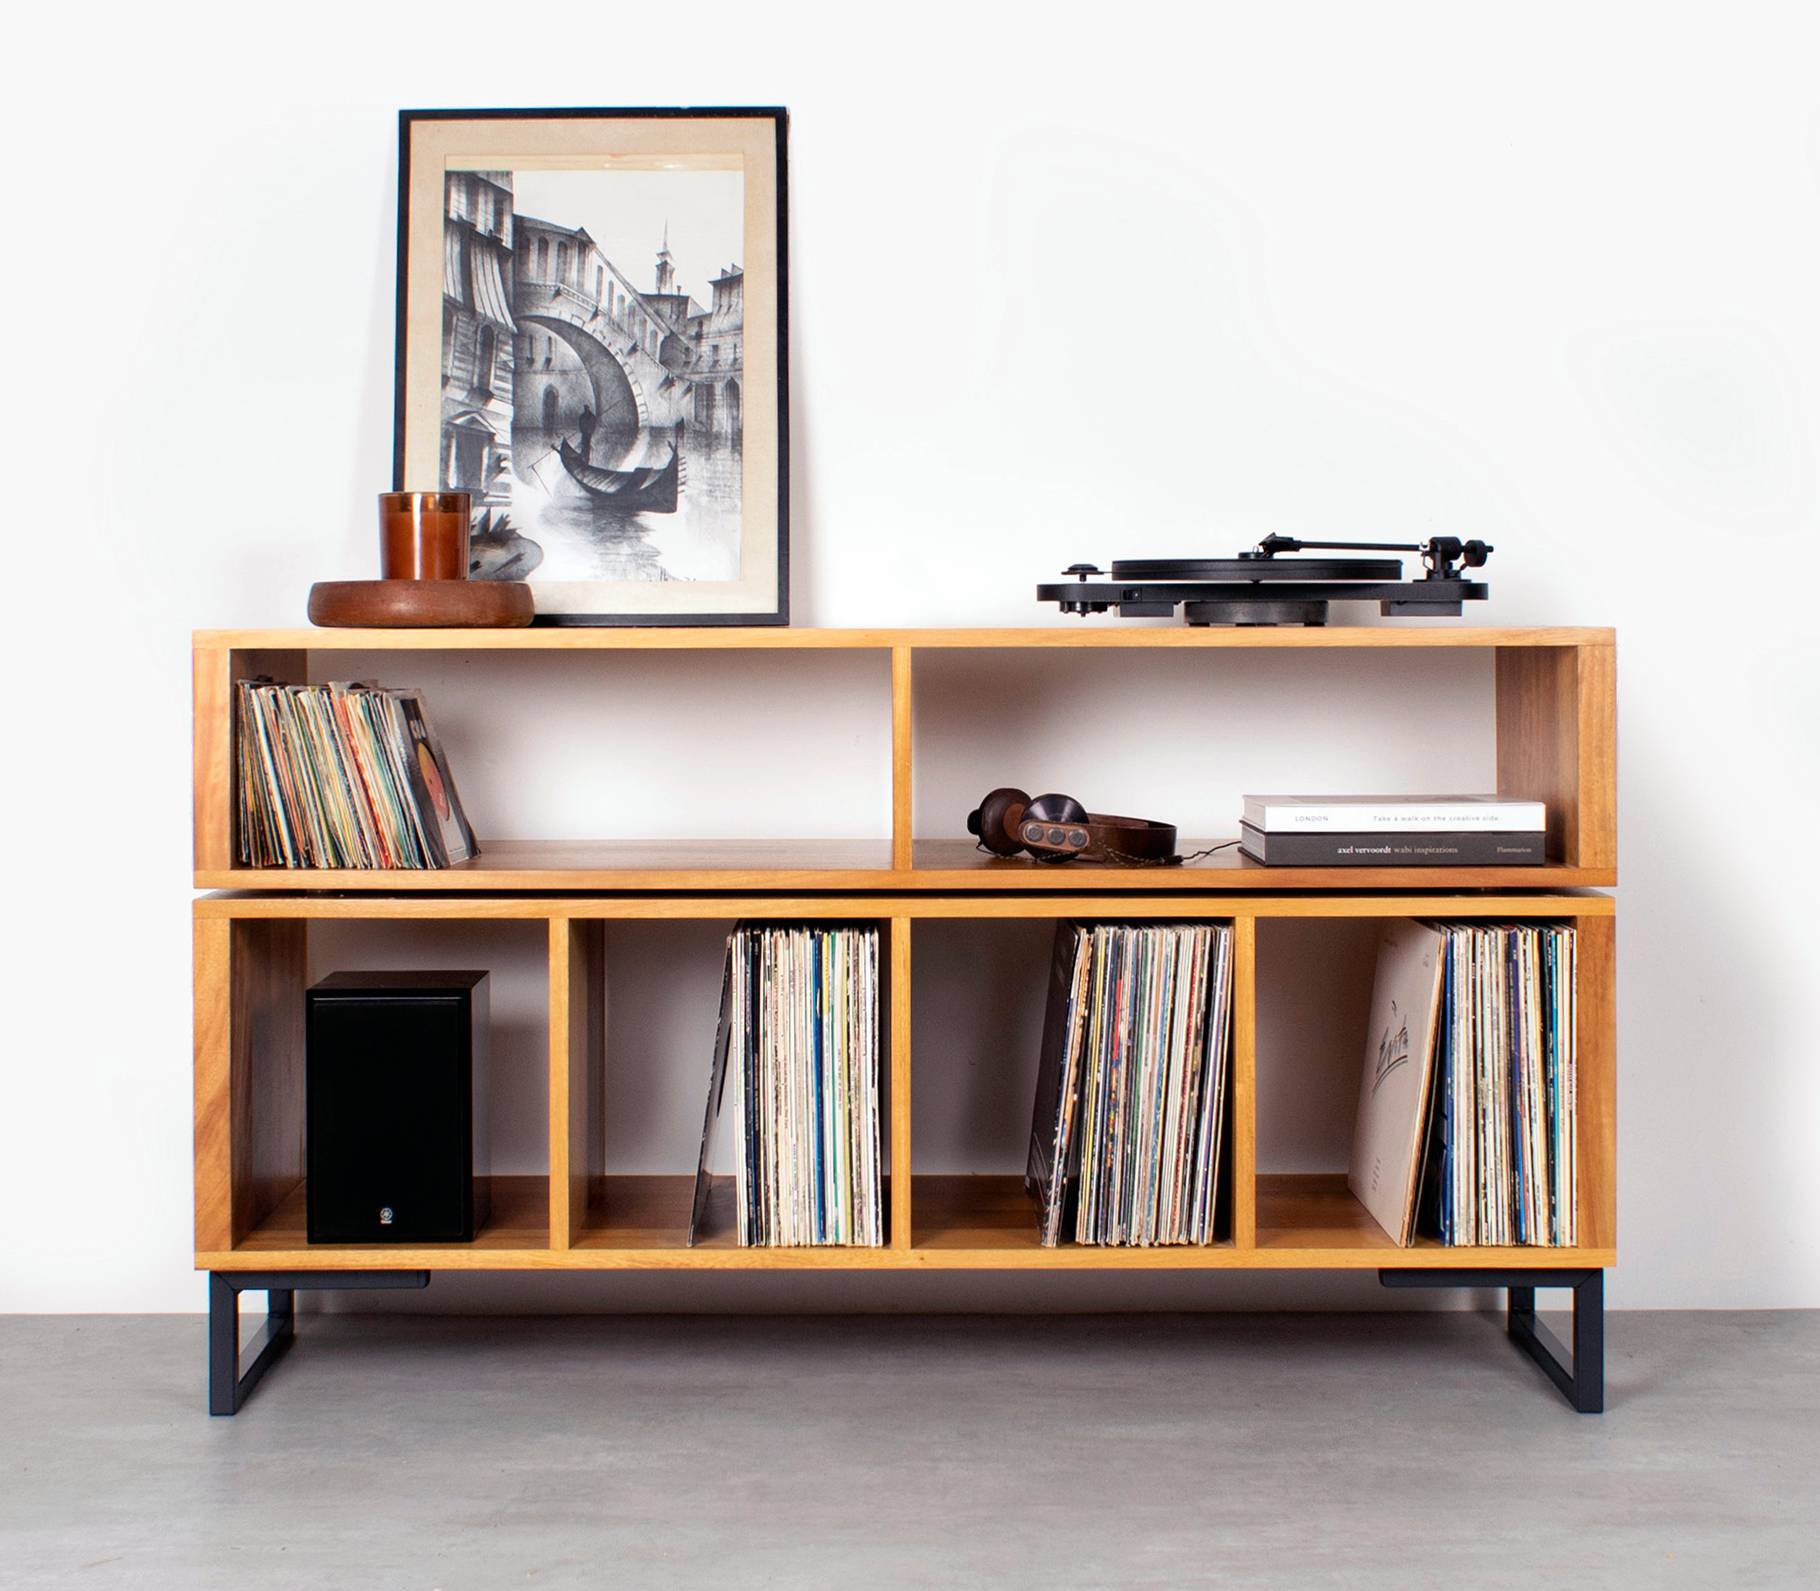
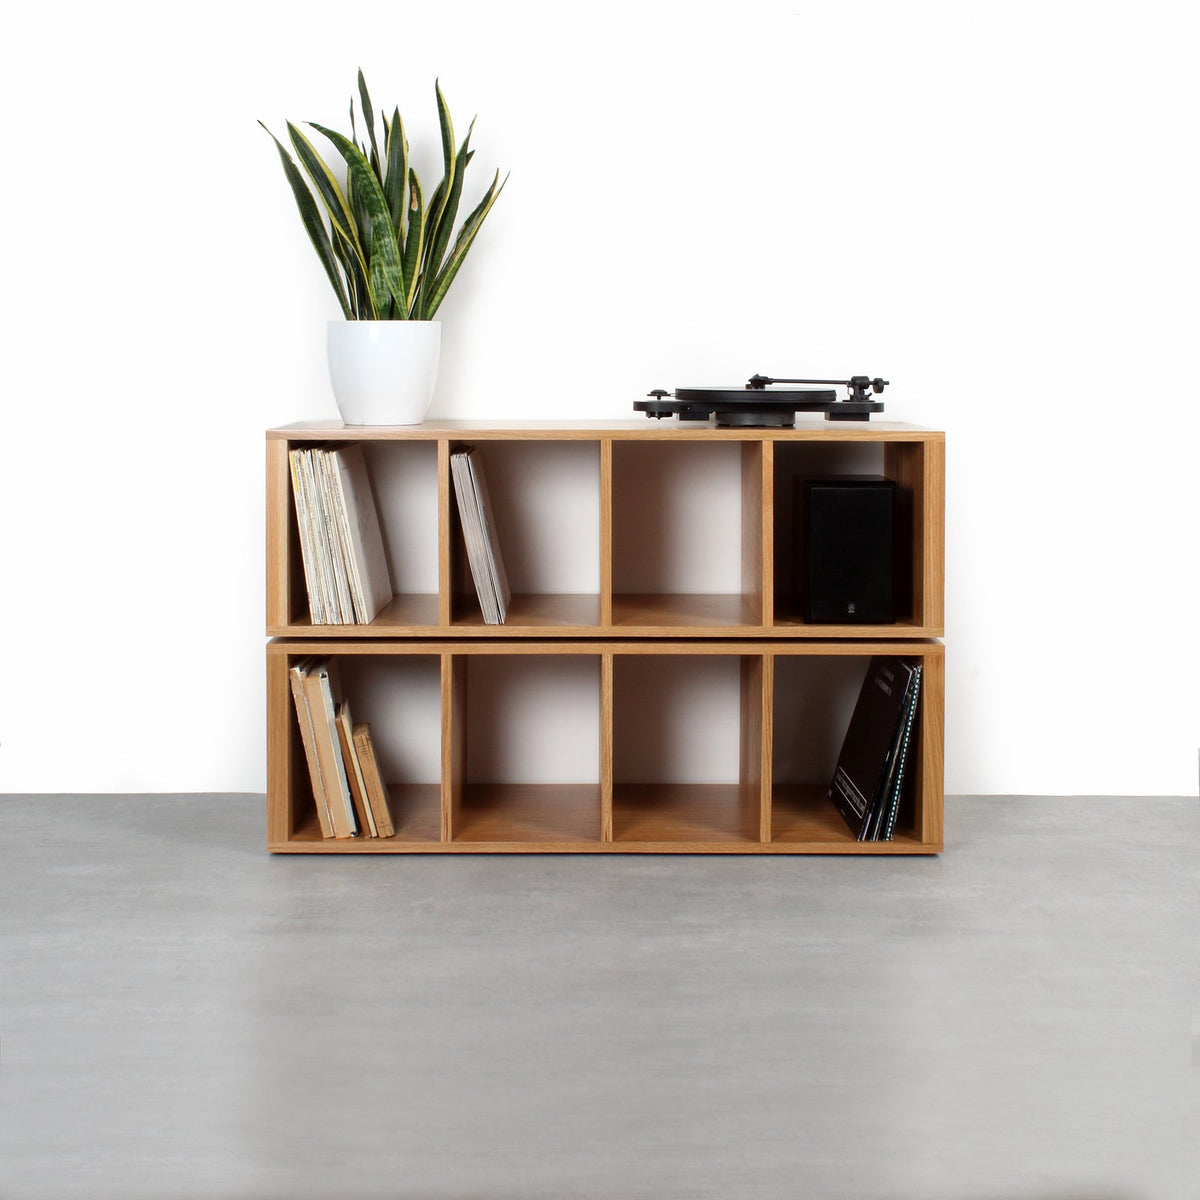
An open stand makes components and records easy to reach and leaves equipment exposed to room air. It often suits a system with several components or frequent cable changes. Its drawback is visible clutter and more exposure to dust, so neat cable routing matters.
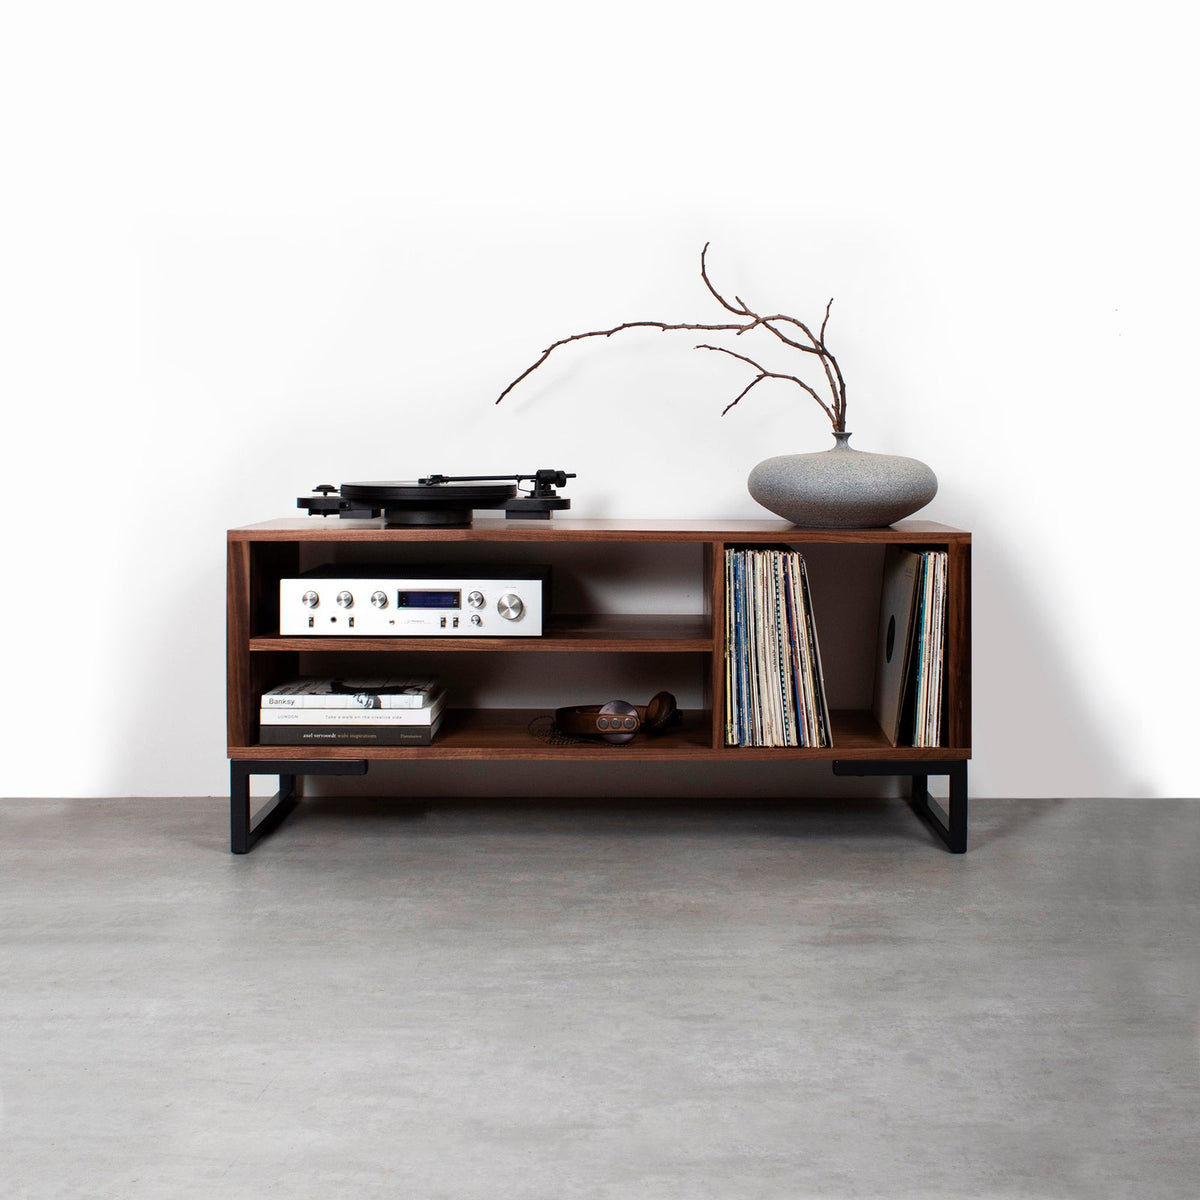
An enclosed cabinet hides equipment and gives the room a more contained look. Its doors can restrict airflow or make rear connections awkward, so check how each compartment is designed before placing an amplifier inside. A hybrid unit combines accessible shelving with closed storage, offering a practical middle ground.
Unit style
Best suited to
Main point to check
Open stand
Frequent access and several components
Dust exposure and cable tidiness
Enclosed cabinet
A more concealed setup
Airflow and rear access
Hybrid unit
Equipment plus hidden storage
Usable shelf space in each section
Keep records upright and accessible
Store LPs upright, like books on a shelf, rather than stacking them flat. A tall pile puts pressure on the records underneath and makes individual sleeves harder to take out. Keep the row supported so records don’t lean heavily to one side.
Allow space for sleeves to slide in and out without forcing them. Overpacking can make handling awkward and strain the sleeves; a row that’s too loose can leave records leaning. Check the internal dimensions with your records in their outer sleeves, not just the bare disc diameter.
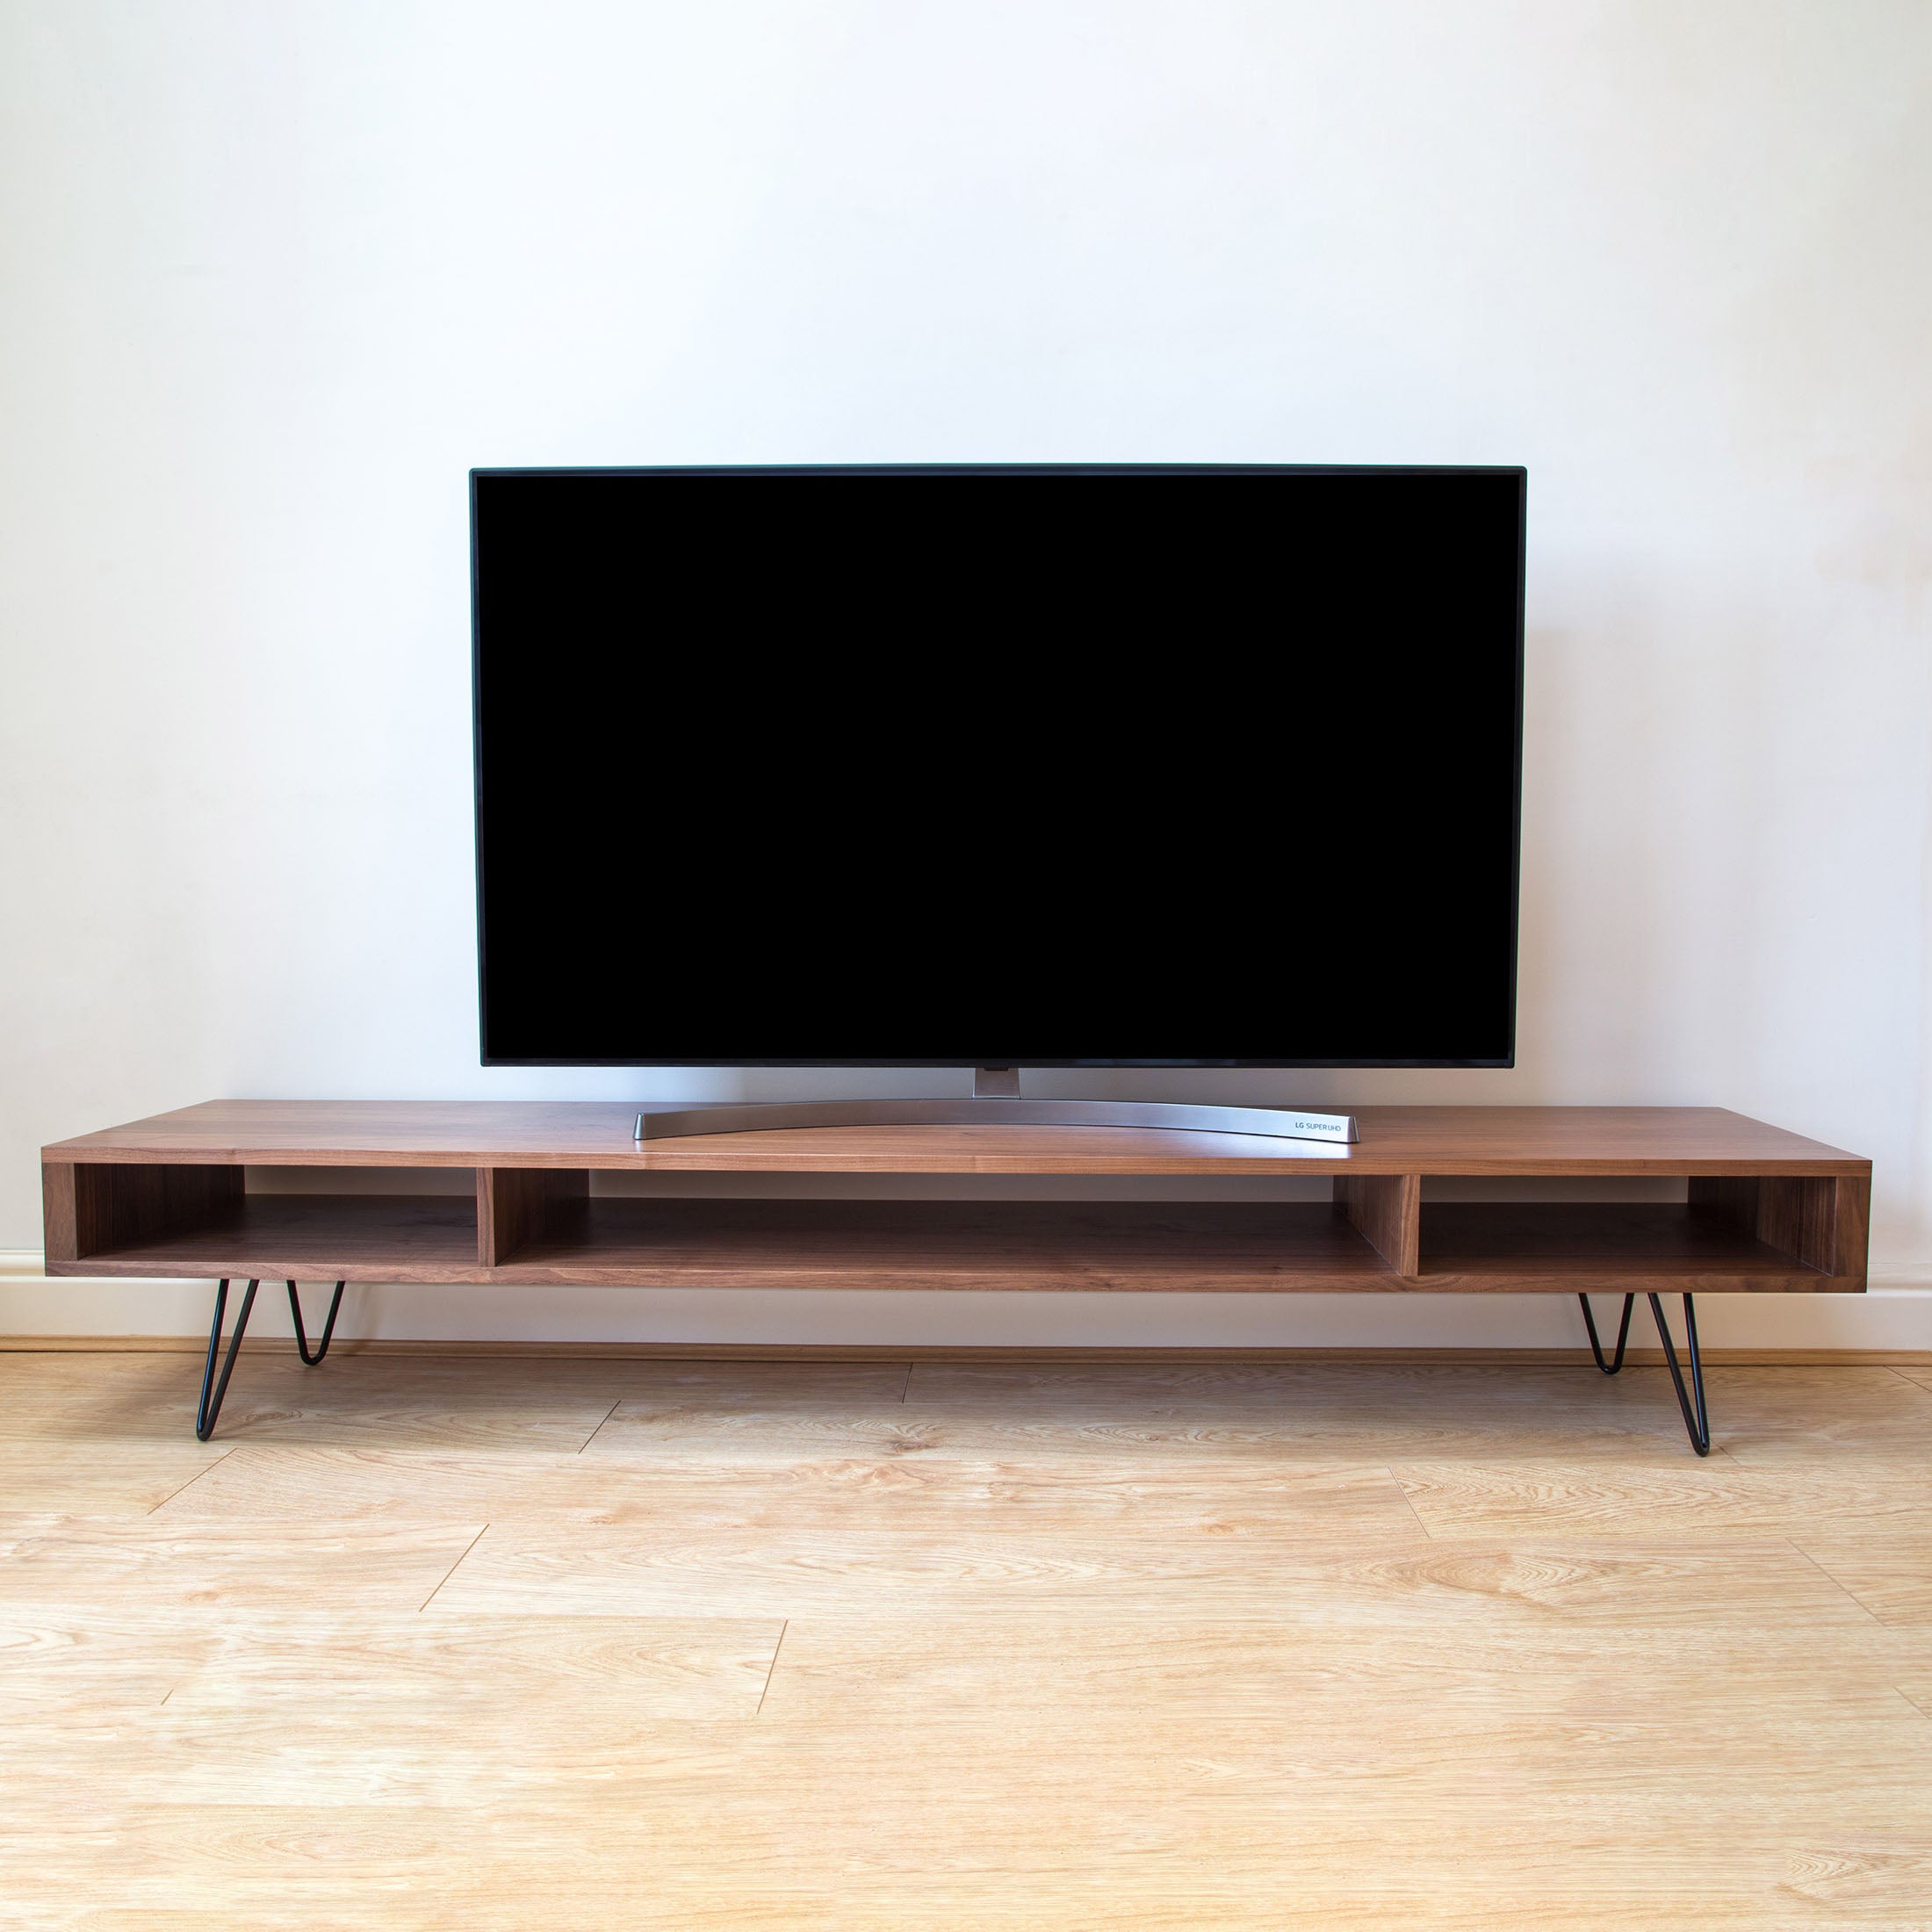
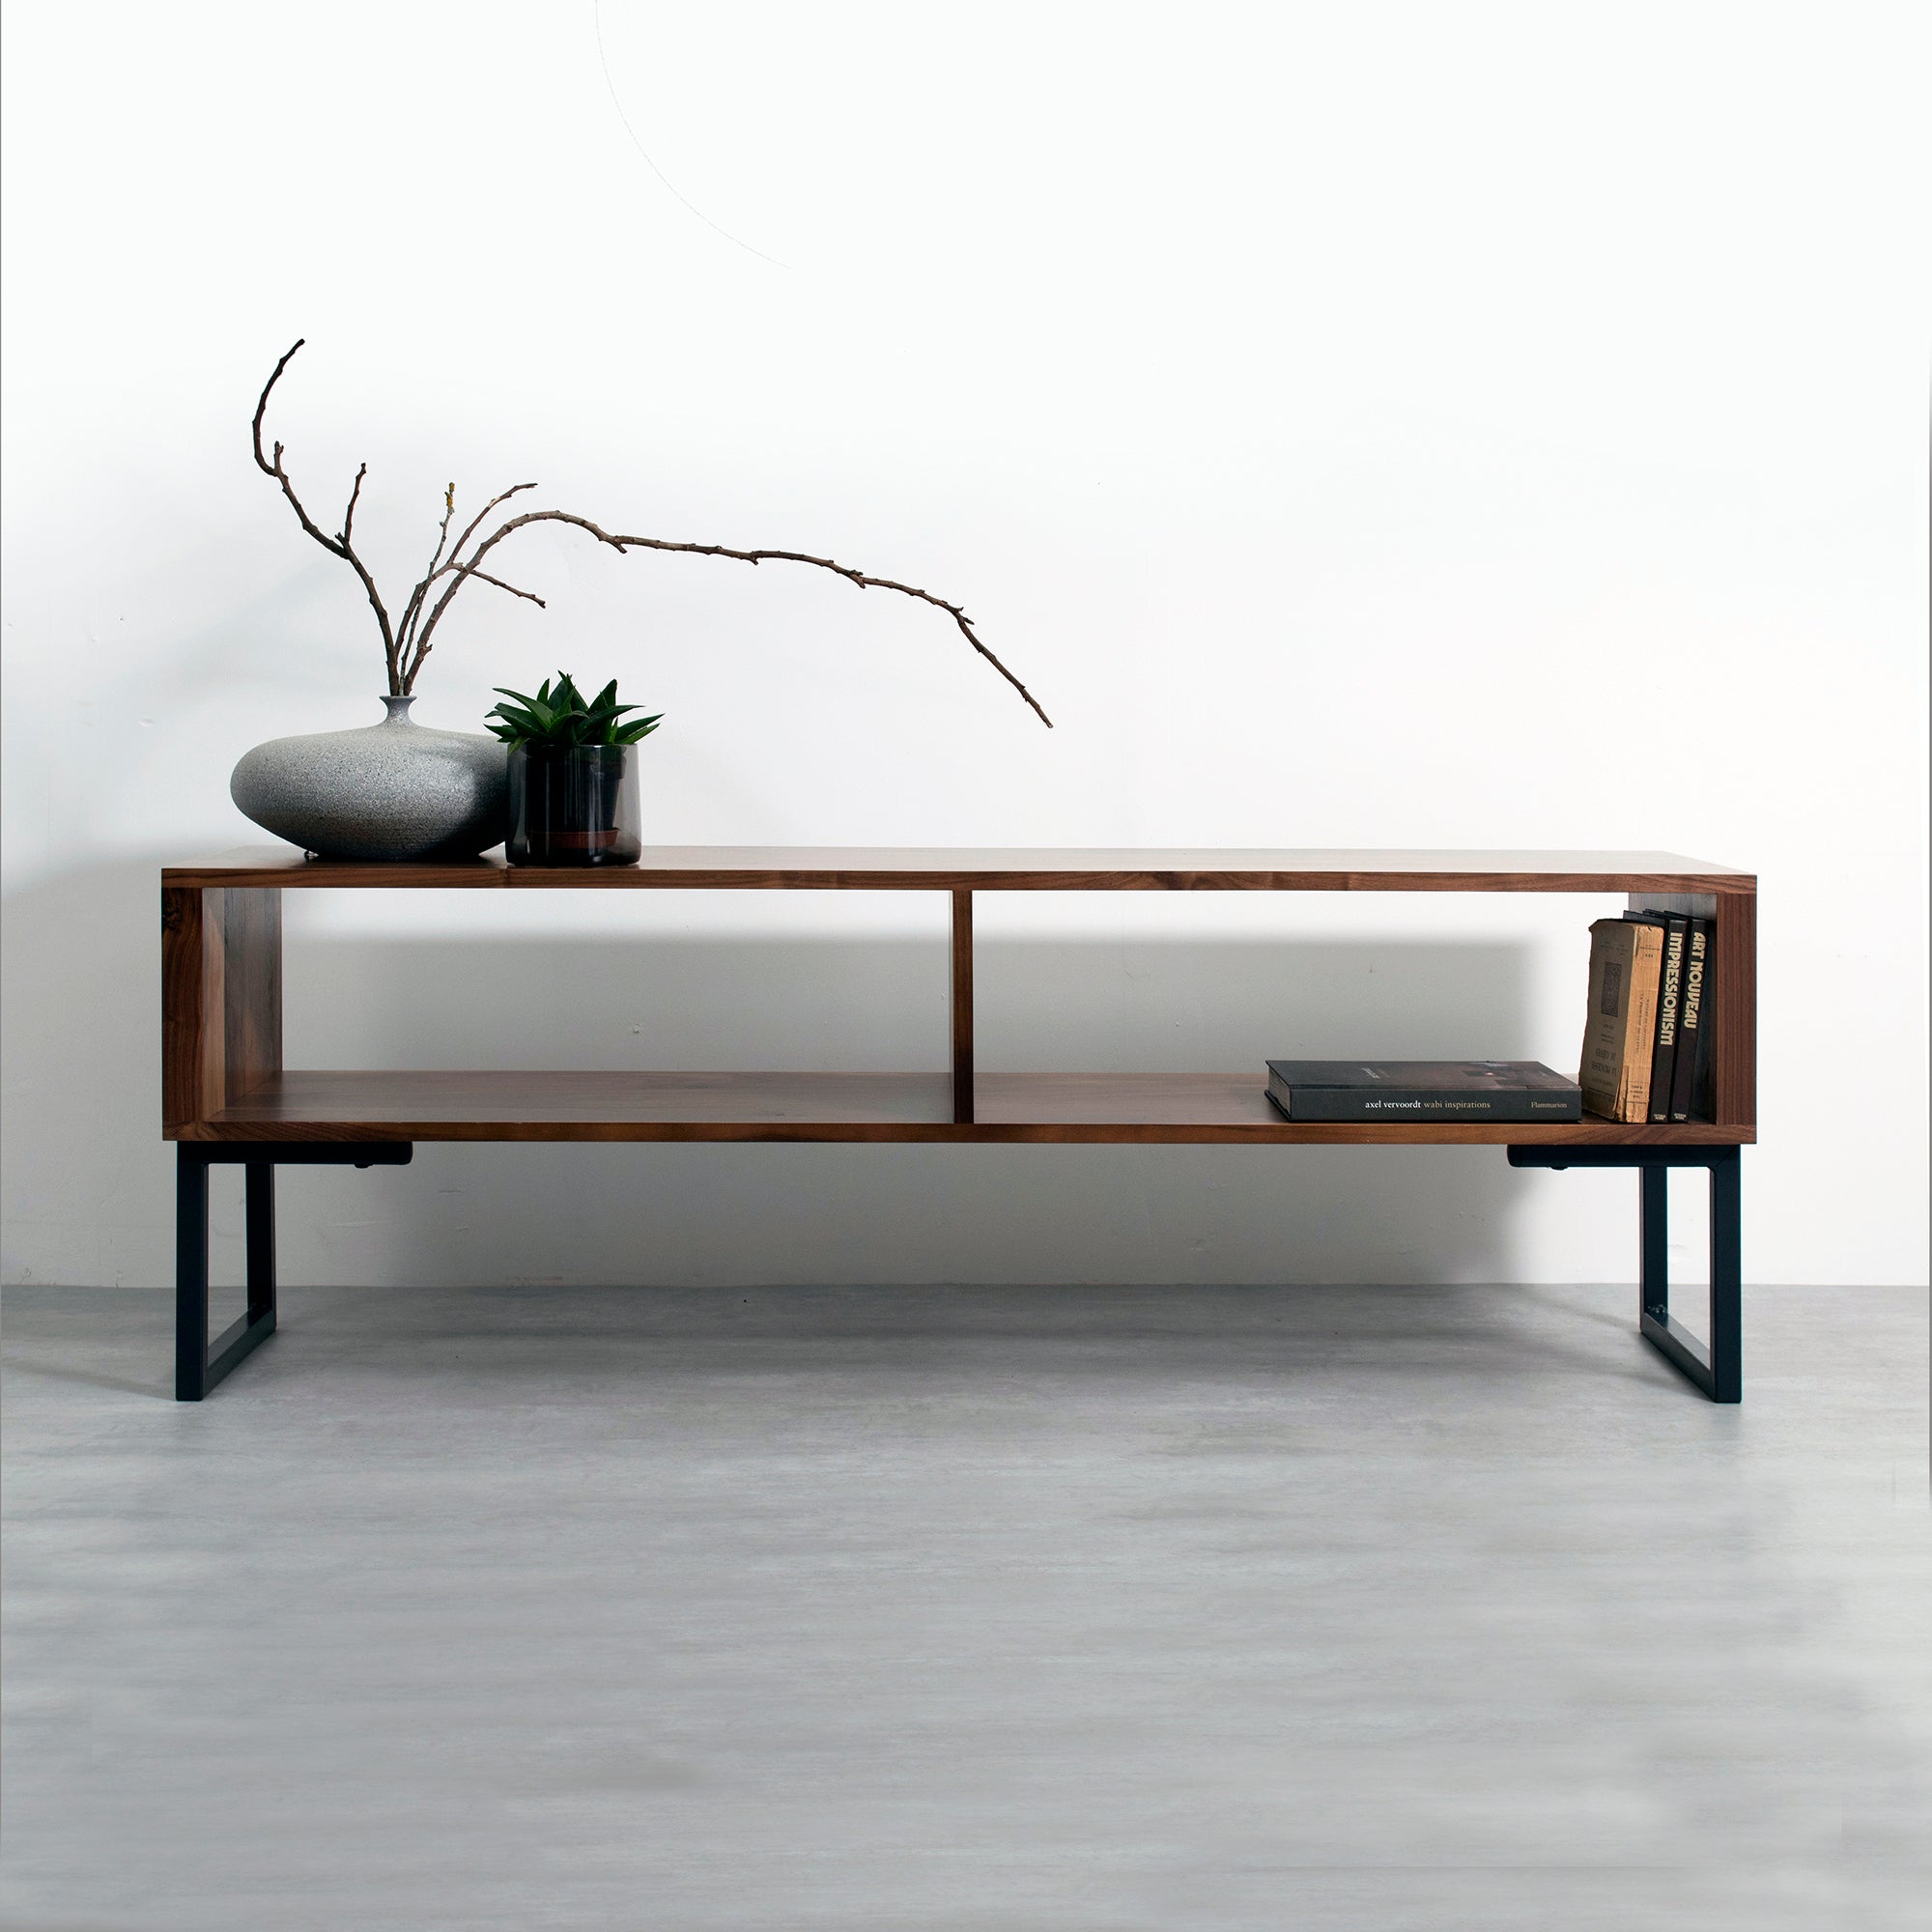
If you’re comparing layouts, solid-wood media units and turntable stands show the different ways a dedicated furniture design can combine a playing surface and record storage. Check each design’s dimensions and shelf arrangement against your own equipment; the category name alone won’t tell you its capacity.
Plan amplifier ventilation and cable access
An amplifier generates heat during use, and enclosing it without enough airflow can cause it to run hotter. Follow the clearance and placement instructions for your specific component; ventilation needs vary by model, design and how it’s used.
Give heat a way out
Check the amplifier’s manual for required clearances above and around the case. Don’t cover ventilation slots or pack other objects tightly around them. If the compartment has a back panel, confirm that its openings and dimensions suit the unit rather than assuming a closed cabinet is suitable.
Avoid stacking a turntable directly on an amplifier unless both manufacturers approve that arrangement. The amplifier’s heat and vibration can affect the deck, while the combined weight may exceed the turntable’s intended support. Separate shelves make it easier to meet each component’s placement requirements.
For a component-heavy setup, an open stand often gives you more direct airflow and clearer access to controls. The trade-off is that equipment remains visible. Keep the airflow path open rather than filling spare space with records or accessories.
Route cables before the unit is loaded
Count the power leads, speaker cables and audio connections you need, then check where they can pass through the furniture. Rear cut-outs and open backs make connections easier to reach; a solid back can press plugs against the wall or force tight bends.
Keep mains leads and low-level audio cables apart where possible. This sensible routing can reduce the chance of hum and makes faults easier to trace. Leave enough slack to pull a component forward for cleaning or a connection change without tugging at its sockets.
Plan access to wall sockets before the unit is in place. A plug hidden behind a heavy cabinet is inconvenient to reach, particularly if you need to switch off equipment. Leave room to reach the socket or choose a position where the cables can be disconnected safely.
Choose solid hardwood for lasting everyday use
Solid hardwood gives a unit a natural grain and a substantial feel, while its appearance changes between species. Oak, walnut, ash and iroko each have their own colour and grain character, so compare samples against your flooring and other furniture before settling on a finish.
Compare wood and room styling
Oak brings a distinct grain and a lighter look in many finishes; walnut is often chosen for its deeper brown tones. Ash has a clean, pronounced grain, while iroko has a warmer golden-brown appearance. These are broad visual guides: the specific board and finish affect the final colour.
A sample is more reliable than judging from a screen. View it in the room at different times of day, beside the floor and nearby furniture. Window light, wall colour and existing woodwork can all change how a finish reads.
Check how the piece is made
A well-planned unit needs sound construction as well as attractive timber. Look for clear information about shelf support, joints, finish and the stated load capacity. For a record cabinet, ask how the shelves are supported and whether the design accommodates the weight of your collection.
Built-to-order furniture gives you the chance to match dimensions and wood choice to the room and equipment. The drawback is that a made-to-order piece needs more planning than an off-the-shelf purchase; confirm the final measurements and finish before ordering.
The Urban Editions designs and makes its furniture in the UK using sustainably sourced solid hardwoods, including oak, walnut, ash and iroko. Its pieces are built to order in a family-run UK joinery, with customisable designs, wood samples, free UK delivery and international shipping. Use a sample to check the timber in your room before confirming your choice.
Use a practical checklist before you order
A simple measuring routine catches the problems that product photos can’t show. Write down the equipment dimensions, record capacity you need and available floor space, then compare those figures with the product’s usable dimensions and construction details.
Measure the turntable, including the dust cover and hinge clearance.
Record the width, depth, height and weight of every component.
Measure available floor space, sockets and skirting-board clearance.
Confirm shelf dimensions, stated capacity and record orientation.
Check amplifier ventilation, rear access and cable openings.
Compare a wood sample with your room’s flooring and light.
Use the manufacturer’s figures for equipment weight and ventilation clearance. Don’t estimate those from appearance: amplifiers vary, and a shelf must support the actual load. If the product information doesn’t make capacity or shelf dimensions clear, ask for those details before placing an order.
Think about how the setup may change. If you expect to add a streamer or another component, reserve shelf space and cable access now. If your collection is growing, plan for more upright storage rather than filling every shelf tightly from the outset.
Finally, mark the furniture’s footprint on the floor with masking tape. Set the turntable and component dimensions on paper or cardboard at their intended positions. This quick check shows whether you can open the dust cover, reach the controls and get to the connections without blocking a walkway.
Conclusion
Measure your turntable, components and record collection before choosing a finish. Pick an open stand if airflow and equipment access lead your priorities; choose an enclosed or hybrid cabinet when concealed storage matters more, but verify ventilation and rear access. A tape measure, your amplifier manual and a wood sample give you a practical basis for ordering a unit that fits both the hi-fi system and the room.
Frequently Asked Questions
How wide should a vinyl player unit be?
Choose a unit wider than the turntable’s measured footprint, with room for its dust cover and controls to work. If you want an amplifier beside it, add that component’s width and allow space for plugs and cables.
Can I put an amplifier inside a vinyl cabinet?
Yes, if the compartment meets the amplifier manufacturer’s ventilation and clearance guidance. Keep ventilation slots unobstructed and make sure you can reach the rear connections; cabinet designs and amplifier heat output differ.
Should vinyl records be stored flat or upright?
Store records upright, supported along the row rather than leaning sharply or packed tightly. Flat stacking puts pressure on the records underneath and makes sleeves harder to retrieve.
Do I need a special stand for a turntable?
You need a firm, level surface that supports the turntable’s weight and limits movement. A dedicated stand is useful when it also fits your components and records, but its name alone doesn’t confirm stability or capacity.