October SPECIAL OFFER! Sign-up to our newsletter to receive the latest offers and news.
Technics Turntable: Choosing the Right Solid Wood Stand
453 mm is the width of a Technics SL-1200MK7, before you allow for cables, its dust cover or other hi-fi equipment. For your Technics turntable, that makes the stand’s measurements and position more important than choosing a wood colour first.
Technics models don’t all share the same footprint or clearance needs. Measure your deck and room, then choose a stable stand with enough space for cueing, records and any components you want close at hand.
Key Takeaways
Measure your exact model, including the dust cover and cables.
Allow clear space for components and record sleeves.
Set the stand height for comfortable cueing.
Keep speakers separate from the turntable where possible.
Choose hardwood after checking fit, stability and storage.
Measure your Technics model before choosing a stand
Start with the exact model number, then check its width, depth and height against the stand you’re considering. A Technics SL-1200MK7 measures 453 mm wide, 353 mm deep and 169 mm high. Those figures give you a useful reference, but they don’t apply to every Technics deck.
Check the deck, not just the model family
Measure across the widest point of the turntable and from front to back, including any controls or fittings that project beyond the main body. If your deck has a removable lid, measure it both closed and open. A dust cover that clears a bare turntable may still hit a wall or shelf when raised.
Leave practical working space around the deck, rather than aiming for a top that matches its footprint exactly. As a starting point, allow about 5 cm at each side and check the rear space against your plugs and cable bends. Treat those as working allowances, not fixed standards: some cables need more room than others.
Include the things attached to it
Check how the power lead, audio cable and earth wire leave the deck. A plug pushed hard against a wall can strain the connection or force the furniture away from the skirting board. Measure the cable route in place, especially if the stand will sit in an alcove.
A turntable’s usable footprint is the space it needs to sit, open and connect safely, not just the size of its base.
Write down the measurements before comparing furniture. The model-specific fit comes first; choosing by a familiar product name or appearance alone risks leaving too little room. The final position in your room matters too, because a stand that fits the deck may still block a doorway or make the dust cover awkward to use.
Choose a top size that leaves room for equipment
Your top needs to fit the turntable and leave space for the equipment you’ll actually use. A preamplifier, amplifier or mixer each takes up room, and the back edge needs to remain clear for cables. Measure those items as well as the deck before settling on a width.
Compare the available widths
The following sizes and leg options are available for the featured stand. The width describes the furniture size, not the usable area left after placing your equipment on top.
Size
Width
Leg height options
Finish options
Small
100 cm
15 cm or 25 cm
Iroko, oak, dark ash or walnut
Medium
120 cm
15 cm or 25 cm
Iroko, oak, dark ash or walnut
Large
140 cm
15 cm or 25 cm
Iroko, oak, dark ash or walnut
A 100 cm top may suit one deck with a little adjacent equipment; a 120 cm or 140 cm top gives you more room to plan a wider setup. Don’t assume that extra width automatically solves a clearance problem. Check the depth as well, then mark out the equipment positions on paper or with masking tape.
Plan space around each component
Arrange the turntable, mixer and other equipment so controls stay within easy reach and cables can run behind them. Keep enough open surface to lift the dust cover without shifting anything. If you use two decks, sketch their positions together with the mixer before choosing a size.
Measure the full working arrangement, not just the items’ dimensions side by side. You may need extra room to reach a switch, change a record or connect a cable. Choose the smallest top that fits your complete setup without crowding it, rather than paying for width you won’t use or squeezing essential controls against an edge.
Set the height for comfortable cueing
The right stand height is the one that lets you operate the deck without hunching or reaching awkwardly. Measure from the floor to the turntable surface you want, then account for the furniture top and the deck’s height. Compare that position with where you normally sit or stand to cue records.
Test the listening position
Use books or a sturdy box to mock up the turntable’s intended height. Set a record on the deck and practise lowering the tonearm, changing a side and using the controls. Test from your usual listening seat as well as from any standing position where you handle records.
The product’s available leg heights are 15 cm and 25 cm, but those figures alone don’t tell you the final working height. You also need the top’s height and your deck’s dimensions. Judge the setup by your hands and posture, not by the leg measurement in isolation.
Look beyond the legs
A stable stand needs firm contact with the floor and a level top. Check for wobble before placing a valuable deck on it. If your floor slopes or has uneven boards, test the stand in its intended position; a unit that sits firmly in one part of the room may rock a few centimetres away.
Don’t assume a heavier-looking stand will always be more stable. The footprint, construction and floor contact all matter. Keep the turntable away from edges and avoid stacking heavy components where they could make the furniture feel unbalanced.
Once the stand is in place, use a small spirit level across the top in both directions. Adjust the position or address the floor contact if the surface isn’t level; don’t use loose objects under a leg as a permanent fix. A level, steady platform makes cueing easier and helps keep the tonearm operating as intended.
Place speakers where they won’t shake the deck
A solid hardwood stand gives you a firm furniture surface, but it doesn’t automatically stop speaker vibration reaching the turntable. Where you place speakers matters: keep them off the same stand if you can, and avoid positioning the deck directly beside a subwoofer.
Separate the sources of vibration
Speakers transfer energy through the air and, when they share furniture, through the structure itself. At higher listening levels, low bass can make a turntable’s stylus pick up unwanted sound. That can show up as rumble or feedback, particularly when the deck and speakers sit close together.
Put speakers on separate supports where the room allows. Keep them clear of the turntable stand, and don’t place a subwoofer inside or immediately beside the cabinet. If floor space is tight, try moving a speaker farther away before turning up the volume to check whether the problem improves.
Speaker separation is a placement choice, not a property guaranteed by a timber stand.
Check the setup at your usual volume
Play a familiar record at the level you normally use, then listen for rumble or a low-frequency howl. If you hear either, turn the volume down and change the speaker position before buying accessories. The room, speaker type and listening level all affect the result.
Isolation feet or a separate platform can reduce some vibration in particular setups, but they won’t correct every placement problem. Start with the speaker positions and the stability of the stand, then assess any remaining issue. Don’t buy a solid wood stand as a promised vibration cure; choose it for a stable, well-sized surface and manage speaker placement separately.
Make room for records and hi-fi components
Plan the storage around your collection and the equipment you want to keep nearby. A standard 12-inch LP needs more than a narrow slot: allow clear internal space for its sleeve and enough access to slide records in and out without catching the edges.
Check the storage space you’ll use
Measure a sleeved record from edge to edge, then compare it with the cabinet’s internal opening. The outer furniture dimensions won’t tell you how much usable storage space sits below the top. Also consider how you browse: an overfilled section makes it harder to pull out one record without dragging neighbouring sleeves.
Decide where the amplifier and other components will go before ordering. Check their width, depth and height, and leave room for plugs and ventilation around them. A closed compartment packed tightly around warm equipment is poor planning, even if the components fit on paper.
Keep daily-use items within reach
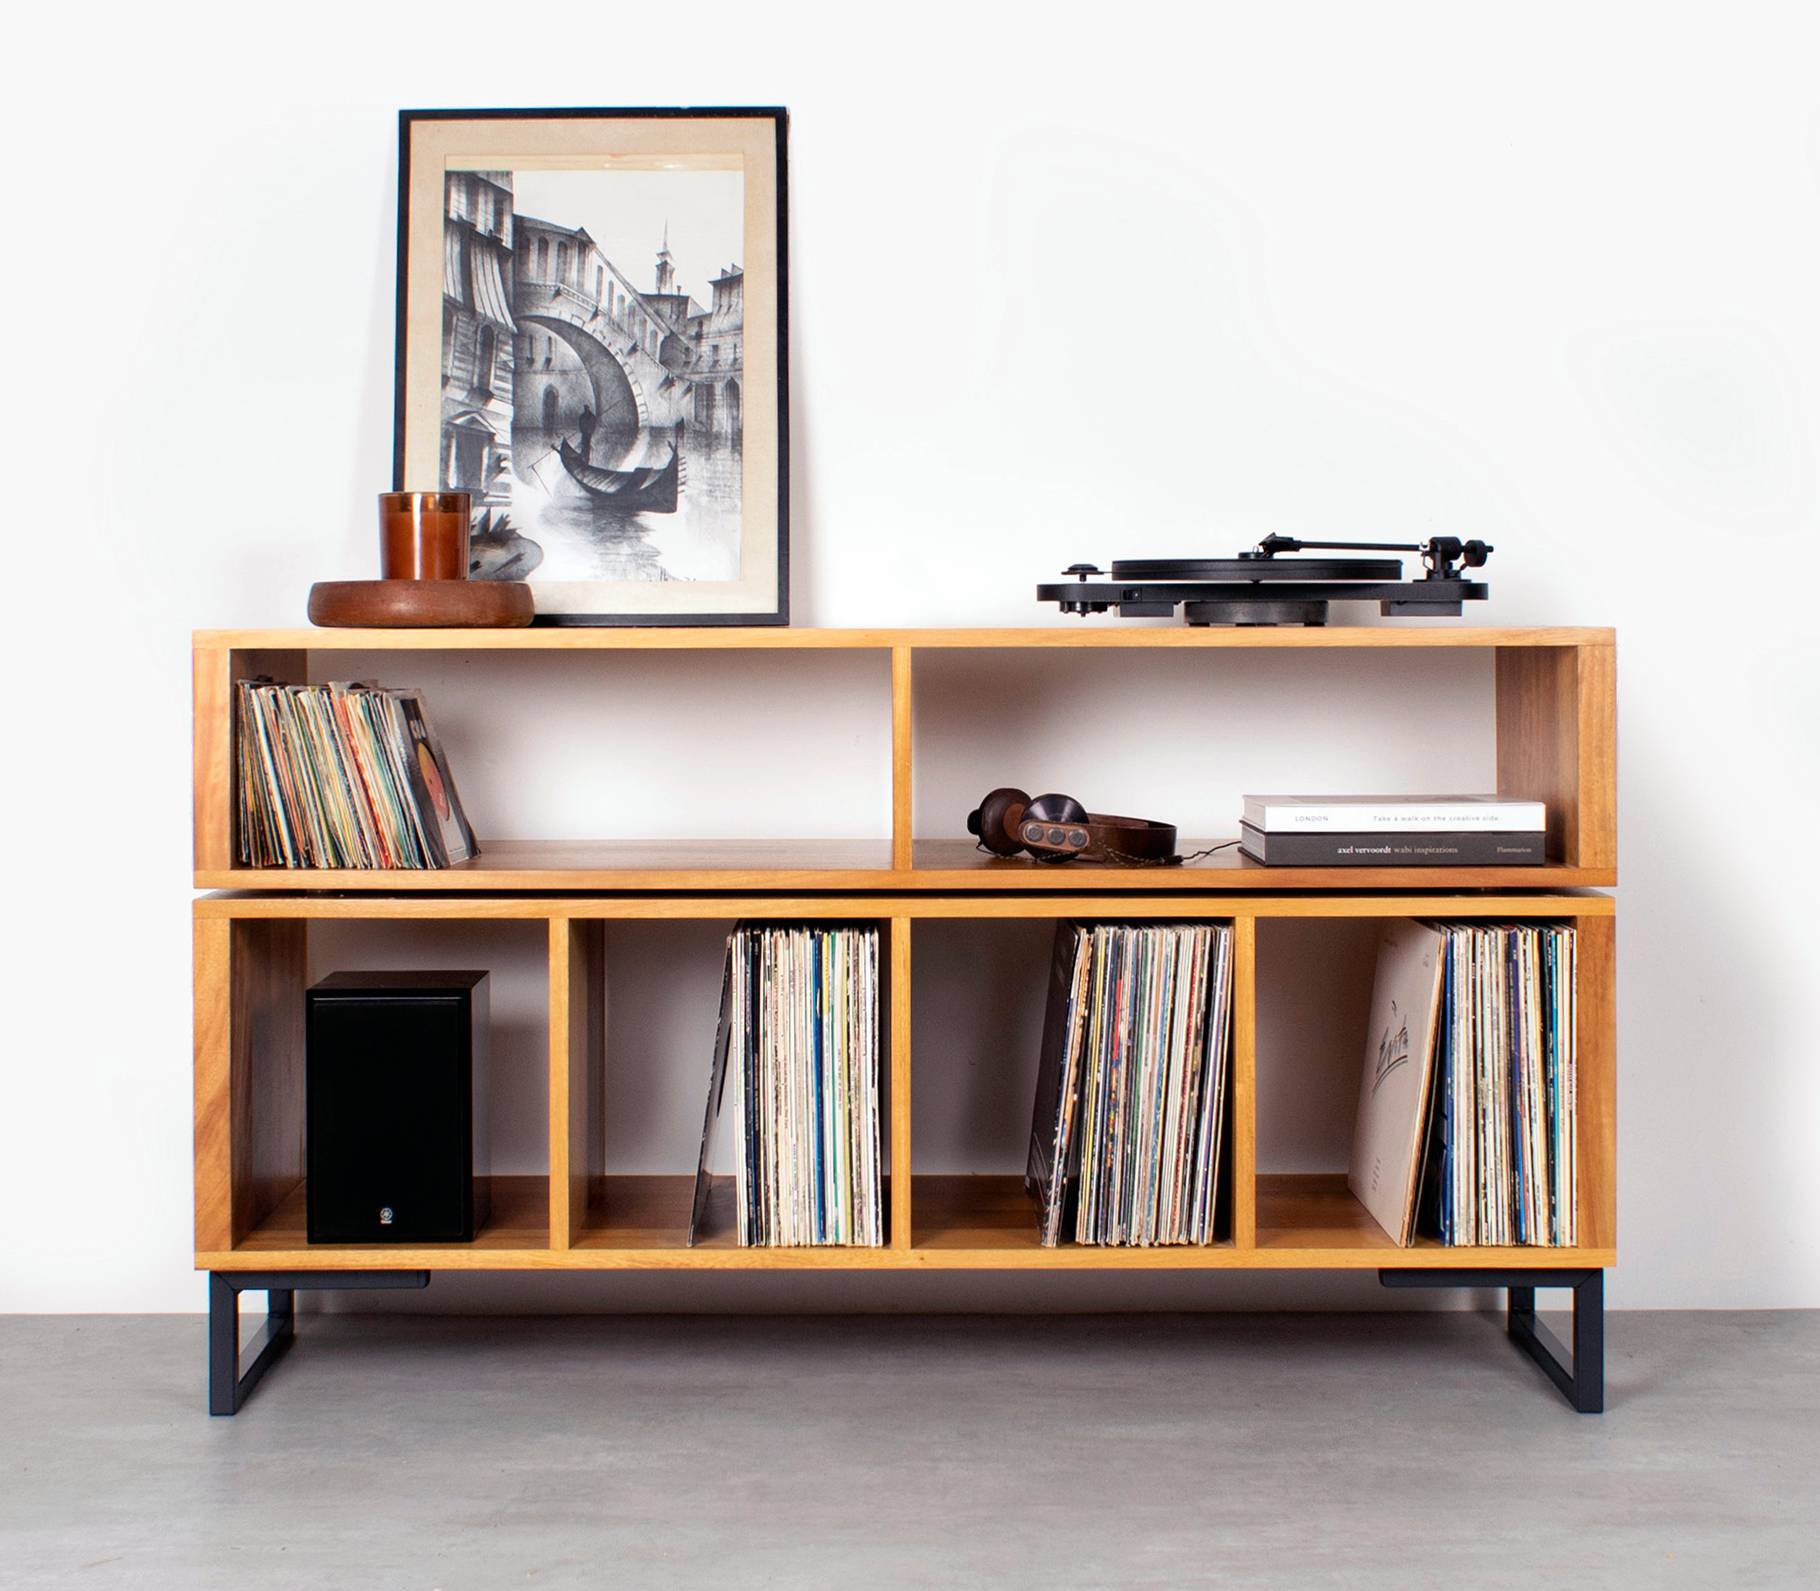
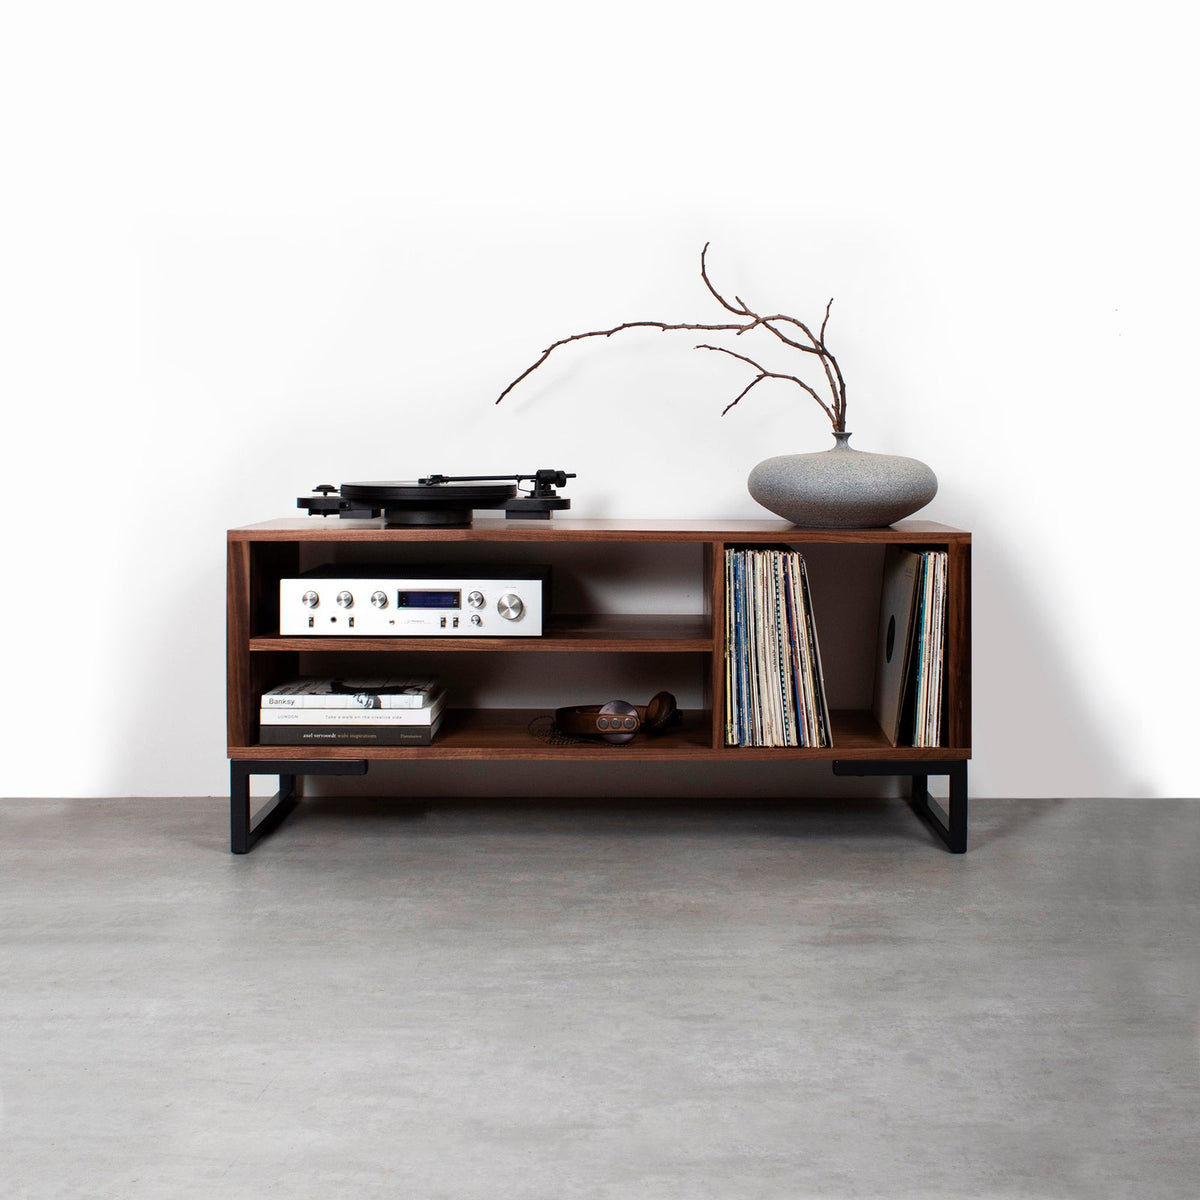
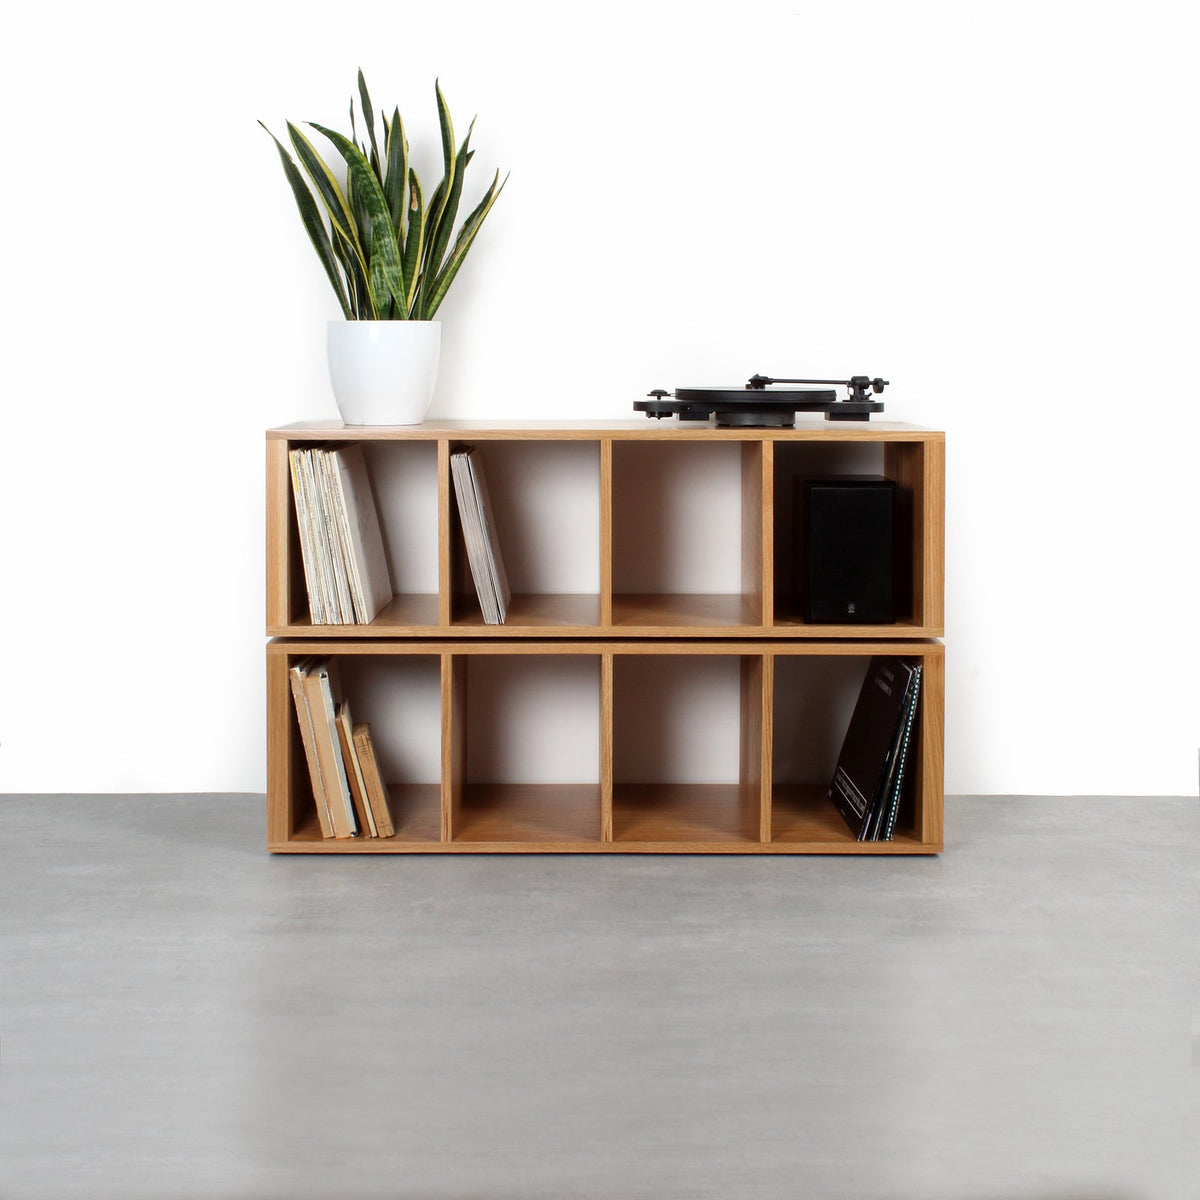
A topline section can make room for equipment or 7-inch singles, while lower storage keeps larger collections together. The Technic Turntable Stand on Minimalist Square Legs is a solid wood vinyl storage cabinet with a topline section for equipment or 7-inch singles and space below for a record collection. Its larger sizes can accommodate a couple of turntables and a mixer on top.
Think about the weight and frequency of use of each item. Keep records you play often easy to reach, and avoid filling the top with equipment that prevents you lifting the dust cover. If you plan to expand your collection, leave some capacity rather than filling every space from day one.
Choose a hardwood finish after checking the fit
Oak, walnut, ash and iroko each bring a different look to the room, but finish should come after measurements and placement. Compare samples beside your existing furniture and flooring; the same wood can look different in daylight and under warm evening bulbs.
Match the wood to the room
Oak has a visible grain that works well with natural finishes and many neutral interiors. Walnut gives a deeper brown tone, while ash usually appears lighter with a clear grain. Iroko is a warm golden-brown hardwood. Use a sample to judge the actual tone rather than relying on a screen image.
Dark ash gives you another option if you want a darker look without choosing walnut. Consider how the stand will sit beside a television unit, shelves or a desk. A finish that coordinates with one piece of furniture doesn’t need to match every other wood in the room.
Expect natural variation
Solid hardwood has natural differences in grain and colour, so a sample is a guide rather than a promise that every part of a finished piece will look identical. That variation is part of choosing real timber. Look at the sample in the spot where the stand will sit, not only under bright shop lighting.
The Urban Editions uses sustainably sourced solid hardwoods, including oak, walnut, ash and iroko, for furniture designed and made in the UK. If you’re choosing between finishes, ordering a wood sample lets you compare the timber at home before committing. Make that choice once you know the size and position will work.
Check these details before you order
Before you place an order, bring your measurements, equipment list and preferred stand position together. A quick floor plan can expose a clash with a radiator, doorway or skirting board while changes are still easy to make.
Work through the measurements
Record your exact Technics model and its width, depth and height.
Measure the dust cover both closed and fully open.
Add room for plugs, cables and the components beside the deck.
Mark the stand’s width and depth in its intended room position.
Check the working height, floor stability and record storage access.
Use the list against the real room, not just a product image. If you’re considering a customisable design, confirm which dimensions can be changed and how those changes affect the available storage. Don’t assume a larger top also means deeper storage or extra cable space.
Confirm the last practical details
The Urban Editions offers built-to-order furniture from a family-run UK joinery, with customisable designs and wood samples available. When comparing options, confirm the finished dimensions and the choices offered for that particular design. International shipping is also available; delivery arrangements depend on the destination.
Keep a note of the clearance you need behind the stand and the height of any component that will sit on top. Those details are easy to overlook when the focus is on width or finish. Order only when the deck, cables and storage all fit the plan, not when the stand merely looks right in the room.
Conclusion
Measure your exact Technics model, mark the stand’s footprint on the floor and test the cueing height before choosing a finish. If one deck and a modest collection are your priority, compare the smaller width first; choose a wider option when you need room for multiple decks, a mixer or more records. Keep speakers separate wherever your room allows.
Frequently Asked Questions
Does every Technics turntable fit the same stand?
No. Technics models differ in width, depth, height and dust-cover clearance. Measure your own deck, including the lid when open, and leave room for its cables and any equipment sharing the top.
How much space should I leave behind a turntable?
There’s no single allowance for every setup. Cable plugs and bends vary, so connect the deck in its intended position and measure the space the cables need without being crushed against the wall.
Can I put bookshelf speakers on the same stand?
You can, but shared furniture can carry vibration to the turntable, especially at higher volumes. Separate the speakers from the deck where possible, then test your setup with a familiar record at your usual listening level.
How do I know whether a stand is level?
Place a small spirit level across the top from side to side, then front to back. Check again after moving the stand into its final position, since floorboards can slope or vary across a room.