October SPECIAL OFFER! Sign-up to our newsletter to receive the latest offers and news.
HiFi Racks: Solid Wood Storage for Turntables and Audio
A stack of 50 180-gram LPs weighs 9 kg before sleeves, so hi-fi racks need to support more than a turntable and amplifier. Choose a rack around your equipment’s footprint, heat clearance and loaded weight first. Solid wood can suit a contemporary room, but the material alone won’t improve sound quality.
Measure every component, including plugs and cables, before you buy. That simple check helps you avoid cramped shelves, blocked ventilation and a turntable that’s awkward to use.
Key Takeaways
Measure components, connectors and lid access before choosing shelf sizes
Follow amplifier ventilation guidance from its manufacturer
Check the rack’s weight capacity against the full system
Keep records upright and leave space for cable routing
Level the turntable shelf before playing records
Start with your equipment, not the finish
Your system determines the rack’s shelf layout, depth and height. Write down the measurements of your turntable, amplifier, streamer and any other components before comparing styles. Include the feet and controls, not just the main casing.
Make a component list
Measure the widest and deepest points of each item. Add the space taken by rear sockets, plugs and cables, which often extend beyond the casing. For a turntable, check whether its dust cover opens fully where you plan to place it.
Record each component’s weight as well. Manufacturer specifications or the product manual are the best places to find it. Add the figures for everything stored on a shelf, then compare that total with the rack maker’s stated capacity.
A system with a turntable, amplifier and streamer needs a different arrangement from a turntable with a single all-in-one unit. Match shelf positions to how you use the equipment, rather than filling every available space.
Plan for the room
Measure the floor area where the rack will sit, including skirting boards and nearby furniture. Check that you can reach the turntable controls and lift the dust cover without hitting a wall or shelf above.
Think about access as well as fit. You’ll need room to change records, adjust controls and connect cables without pulling the whole rack away from the wall. A close fit on paper can feel awkward once the system is in place.
If you expect to add a component later, leave a shelf free or choose a layout that allows for one. A little spare space is more useful than a tightly packed rack that needs replacing when your system changes.
Size shelves for fit and amplifier airflow
A shelf needs room for the component itself and its connections. Don’t use the casing dimensions alone: plugs may need clearance behind the rack, while a turntable can need open space above for its lid and tonearm.
Check width, depth and access
Equipment
What to measure
Allow space for
Turntable
Feet, platter and dust cover
Lid movement and record changes
Amplifier
Casing, feet and rear sockets
Ventilation and cable bends
Streamer
Casing and connection points
Plugs and easy access to controls
Vinyl records
Jacket height and shelf depth
Upright storage and finger room
Use these measurements to compare the usable shelf area, not just the outside dimensions of the rack. A shelf can look generous but still be too shallow once the rear cables are connected.
Keep heat moving
Amplifiers produce heat, and enclosing one without airflow can cause it to run hotter than intended. Follow the manufacturer’s clearance guidance for your specific model. Requirements differ, so don’t assume the same gap suits every amplifier.
Ventilation clearance is the open space around a component that lets heat escape.
Avoid placing an amplifier in a tight, closed compartment unless its manual says that arrangement is suitable. Leave its vents unobstructed, including any on the sides or underneath. A shelf above the amplifier can also limit airflow if it sits too close.
Check ventilation again after connecting the system. Cables pushed against a vent or a component pressed against the back of a shelf can block the space you planned. Good airflow depends on the finished setup, not just the rack dimensions.
Choose a turntable position that stays stable
Turntables respond to movement, so a stable, level surface matters. A solid hardwood rack can provide a substantial base, but wood alone doesn’t guarantee less vibration or better sound. The floor, rack design and placement all affect how steady the setup feels.
Put the turntable within easy reach
Place the turntable on a shelf that gives you room to lift the dust cover and handle records without bumping other equipment. Keep it away from a speaker if vibration from that speaker causes the stylus to skip or feedback to become audible.
Check the position before loading the shelf. If the rack sits on an uneven floor, a turntable may not be level even when the furniture looks straight. A small spirit level helps you check the surface itself.
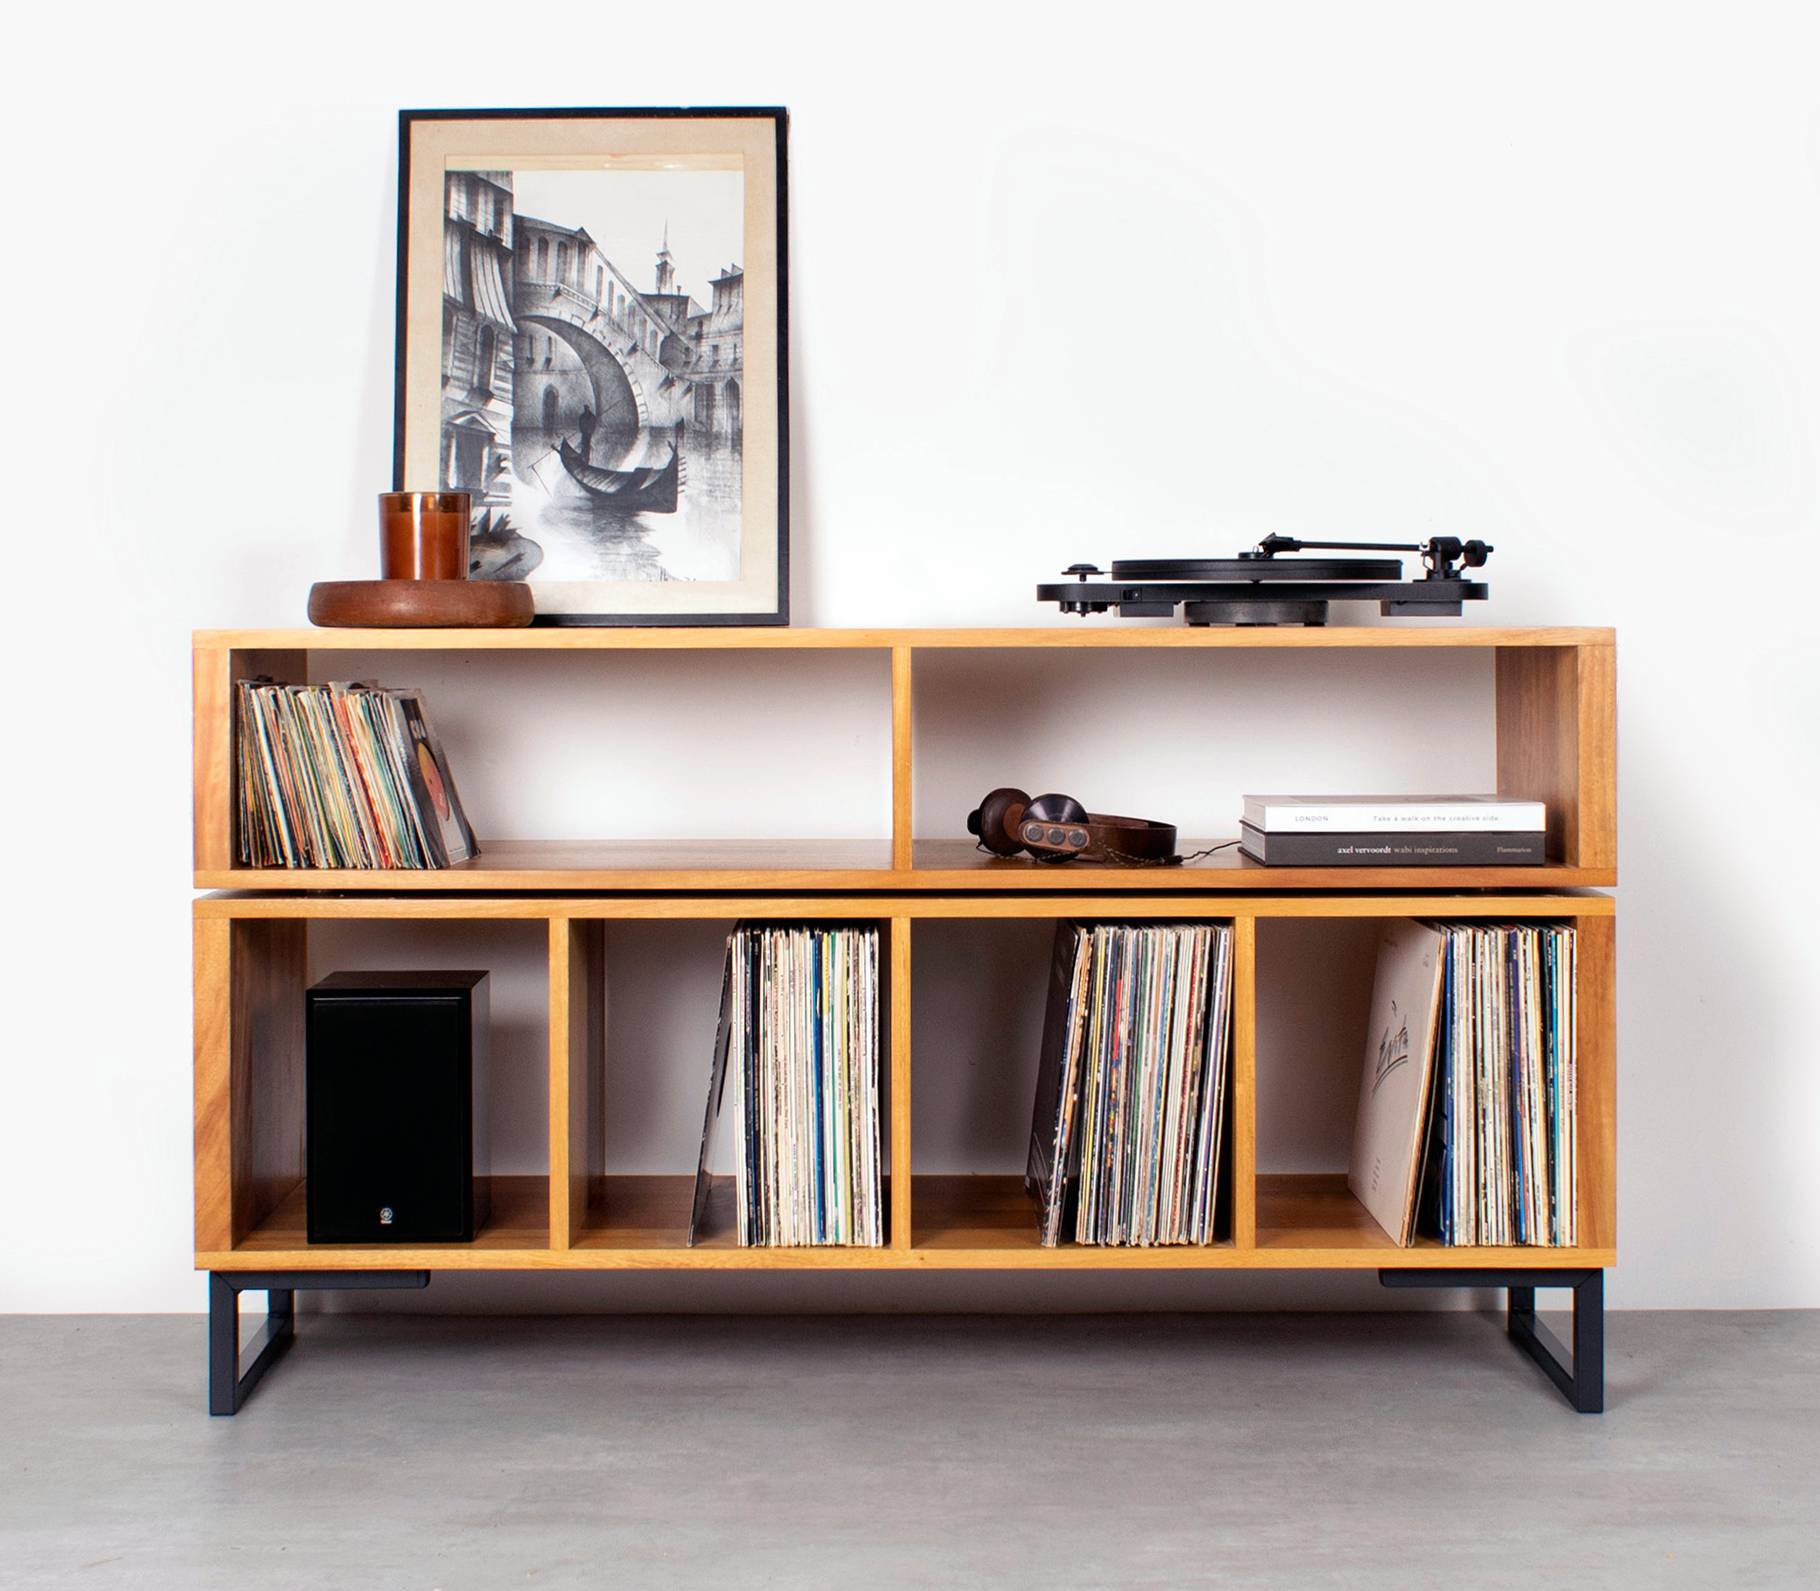
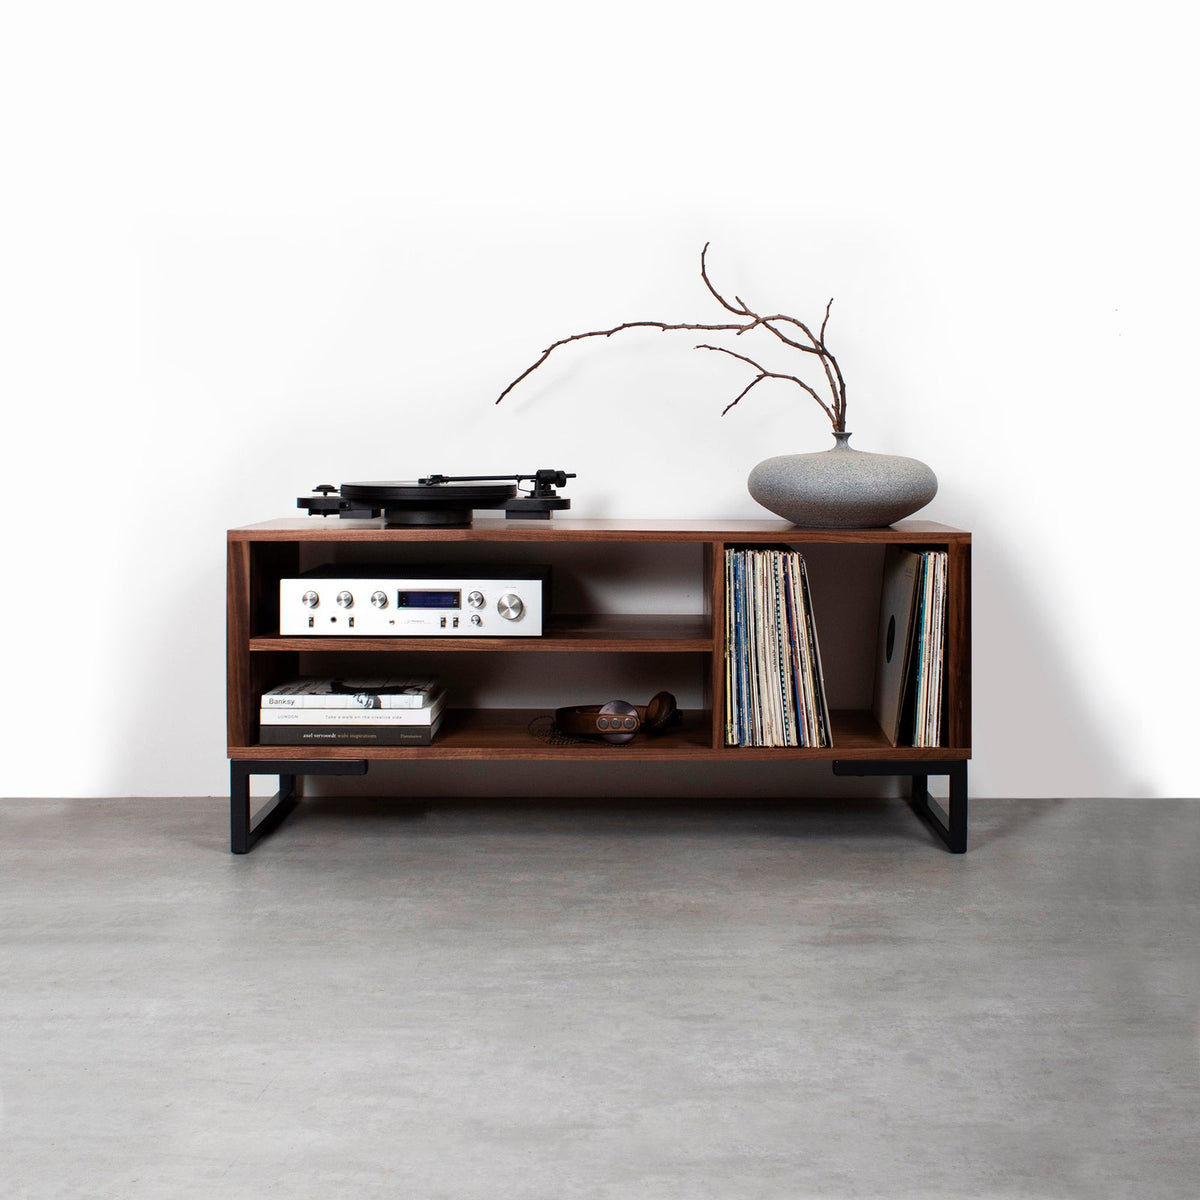
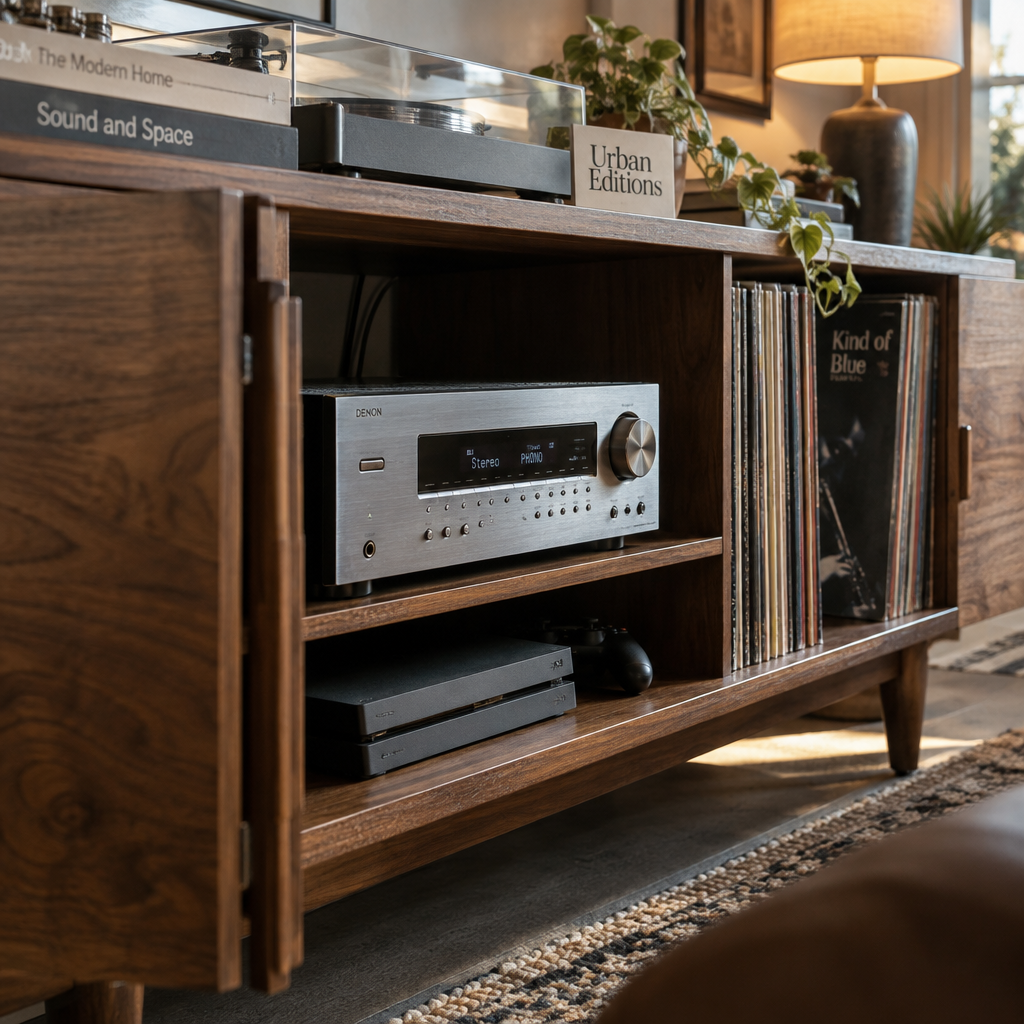
For a dedicated listening setup, a turntable stand with vinyl storage keeps frequently played records close at hand. The Urban Editions’ built-to-order Technic vinyl storage cabinet is designed and made in the UK family-run joinery, using sustainably sourced solid hardwood.
Reduce movement in the finished setup
Push the rack gently from different sides once it’s assembled. If it rocks, address the floor or foot adjustment before playing a record. Avoid placing the rack where people regularly brush past it, especially in a narrow hallway or busy living space.
A turntable’s feet and any isolation accessories should sit flat on the shelf. Follow the equipment maker’s instructions rather than stacking extra pads or mats without checking their effect on height and levelling.
If you share a room with loudspeakers, test the setup at normal listening volume. Move the turntable or speakers if you hear rumble or feedback. The best position is stable, level and practical to use, not simply the one that makes the rack look balanced.
Check weight capacity and choose hardwood for the room
A rack’s load capacity matters because its shelves carry several components at once. Add the weight of everything planned for each shelf and compare it with the maker’s stated limit. Don’t infer capacity from a thick-looking top or a heavy feel.
Calculate the load shelf by shelf
Load capacity means the maximum weight a shelf or rack is designed to support. Check whether the stated figure applies to each shelf or to the whole unit; those limits are not interchangeable.
A heavy amplifier may be better placed on a lower shelf if the rack design allows it. That keeps the centre of weight lower and can make the assembled unit feel steadier. Follow the rack maker’s loading instructions, particularly for any shelves with different capacities.
Remember that records add weight quickly. If you plan to store a growing collection beneath the equipment, include those records when checking the base shelf’s load. Count the complete load, not just the hi-fi components.
Pick timber for its character and care needs
Solid hardwood suits a long-term piece of furniture, but species differ in colour and grain. Oak has a clear, familiar grain; walnut is generally darker; ash is lighter; iroko has a warm, golden-brown appearance. Choose the look that works with your room.
Wood can respond to changes in indoor humidity, so avoid placing a rack close to a radiator or another strong heat source. That’s sensible for furniture generally, and it also keeps your audio equipment away from unnecessary heat.
A finish affects appearance and routine care, not the rack’s ability to improve sound. Choose hardwood for its build, finish and fit with your home, then judge sound performance by the whole system and setup.
Store records and route cables without crowding
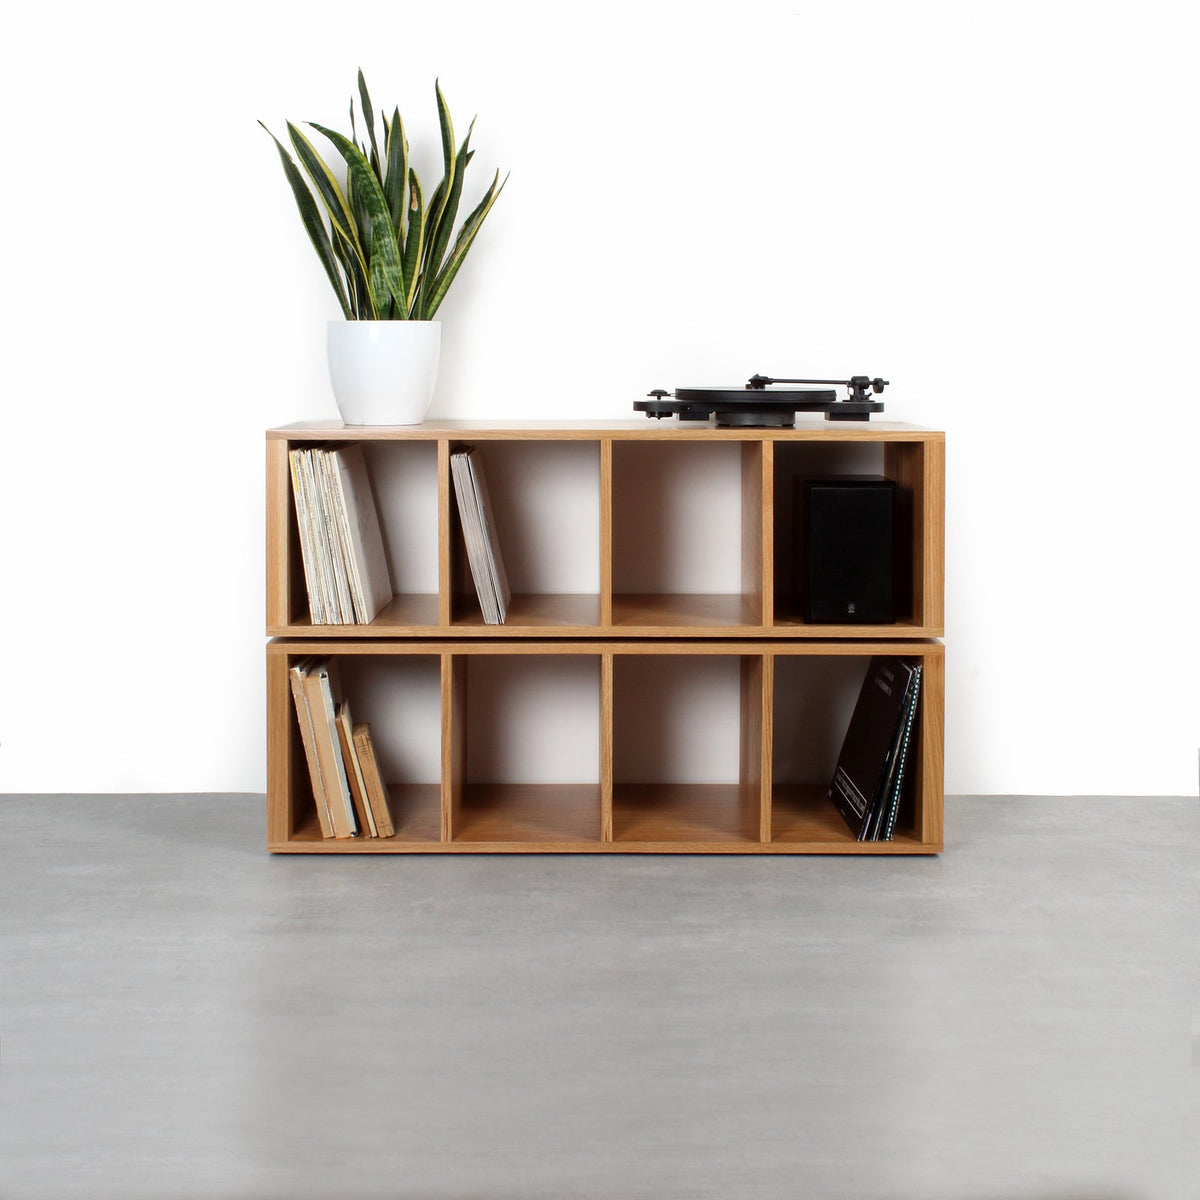
A useful hi-fi rack gives records and components their own space. Keep LPs upright rather than leaning them at an angle, which can put uneven pressure on sleeves and records. Leave enough room to slide one out without scraping the neighbouring jackets.
Keep storage easy to use
Think about how often you play your records. A shelf beside or below the turntable works well for favourites, while a separate cabinet can hold the wider collection. Don’t block access to the amplifier or streamer just to fit in more sleeves.
Check the record shelf’s internal height and depth against your jackets. Some sleeves, box sets and protective covers take up more room than a standard single jacket. Measure the largest items you own instead of assuming every record is identical.
Keep records away from direct sunlight and heat sources. Store them vertically and avoid packing them so tightly that you have to force a jacket back into place. Easy access protects both the collection and the rack’s everyday usability.
Give cables a clear route
Plan cable runs before pushing the rack against the wall. Leave enough room for plugs to connect without sharply bending the cable, and keep power and signal cables tidy so you can trace connections when changing equipment.
Label the ends of cables if several components connect to one another. That small step makes it easier to reconnect a streamer or amplifier after moving the system. Keep surplus cable away from vents and turntable controls.
Leave a little slack where a component needs to slide forward for servicing. Don’t pull a cable tight across a shelf edge. A clear route protects the connectors and saves you from having to dismantle the setup to reach one plug.
Assemble, level and test the rack in sequence
Set up the rack where it will be used, then add components only after checking that the shelves sit level and the unit feels stable. Work through the installation in order; loading everything first makes small adjustments harder.
Position the empty rack and check for rocking.
Adjust levelling feet, if fitted, until the unit sits steadily.
Place heavier components on shelves suited to their load.
Route cables while keeping vents and connectors clear.
Level the turntable shelf, then check the dust-cover movement.
Adjustable feet can compensate for an uneven floor, but they need firm contact. On carpet, check that the feet haven’t settled unevenly after the rack is loaded. Recheck the level before playing a record.
Once the components are in place, confirm that the amplifier’s vents remain clear and that cables aren’t trapped behind the rack. Test access to controls, the turntable lid and the records you use most often.
For a rack with no adjustable feet, use a suitable, stable position rather than improvised packing that can shift. Don’t leave a unit rocking under load; movement can disturb the turntable and put strain on connections.
Conclusion
Measure your equipment, cables and record storage before choosing a rack. If your system includes a warm-running amplifier, prioritise open ventilation and follow its manual. If vinyl storage is central to your setup, choose a layout that keeps records upright and within reach. Then check the loaded weight and level the turntable shelf before your first play.
Frequently Asked Questions
Do solid wood hi-fi racks improve sound quality?
No. Solid wood can provide durable furniture, but it doesn’t guarantee better sound; stability, levelling, placement and vibration from the room all affect performance. Choose the rack for fit and build, then check how the complete system behaves.
Should an amplifier go on the top shelf?
Not automatically. Follow the amplifier maker’s airflow and clearance guidance, then choose a shelf that leaves its vents unobstructed. If it runs warm or the manual calls for open space, avoid enclosing it beneath a close-fitting shelf.
Can I put a hi-fi rack on carpet?
Yes, if it remains stable once loaded. Check for rocking after the feet settle into the carpet, then level the turntable shelf. Deep or uneven carpet can make stability harder, so test the position before connecting equipment.
How much space should I leave behind a hi-fi rack?
Leave enough room for plugs to fit without sharp bends and for cables to reach their sockets without tension. The space required depends on the connector type and wall position, so measure with the cables connected.