October SPECIAL OFFER! Sign-up to our newsletter to receive the latest offers and news.
Multimedia Cabinets: Solid Wood Storage for Media Rooms
A 12-inch LP is 305 mm across before its sleeve, so multimedia cabinets need record-ready depth as well as room for AV equipment. Buy by device count alone and a receiver may run hot while album sleeves catch against a shallow shelf.
You’re looking for furniture that stores media and lets you use your equipment without a daily struggle. The right cabinet depends on measured clearances, ventilation, cable routes and whether you need open shelves, enclosed storage or both. Solid hardwood brings a durable, natural finish, but appearance comes second to how well the cabinet works with your equipment.
Key Takeaways
Measure equipment, plugs and manufacturer-recommended ventilation clearances.
Leave heat-producing receivers ventilated; use open shelving when needed.
Check vinyl storage separately from AV shelf dimensions.
Plan cable routes before choosing the cabinet’s final position.
Choose hardwood for its grain, tone and fit with your room.
Treat the cabinet as equipment furniture
A multimedia cabinet has to store equipment and keep it usable. That means allowing air around heat-producing components, leaving controls and connections accessible, and giving cables a clear route. A cabinet that hides every device but blocks its vents is a poor fit, even if its proportions look right.
A multimedia cabinet is equipment furniture: it stores devices and media while allowing airflow, cable routing and day-to-day access.
Heat needs room to escape
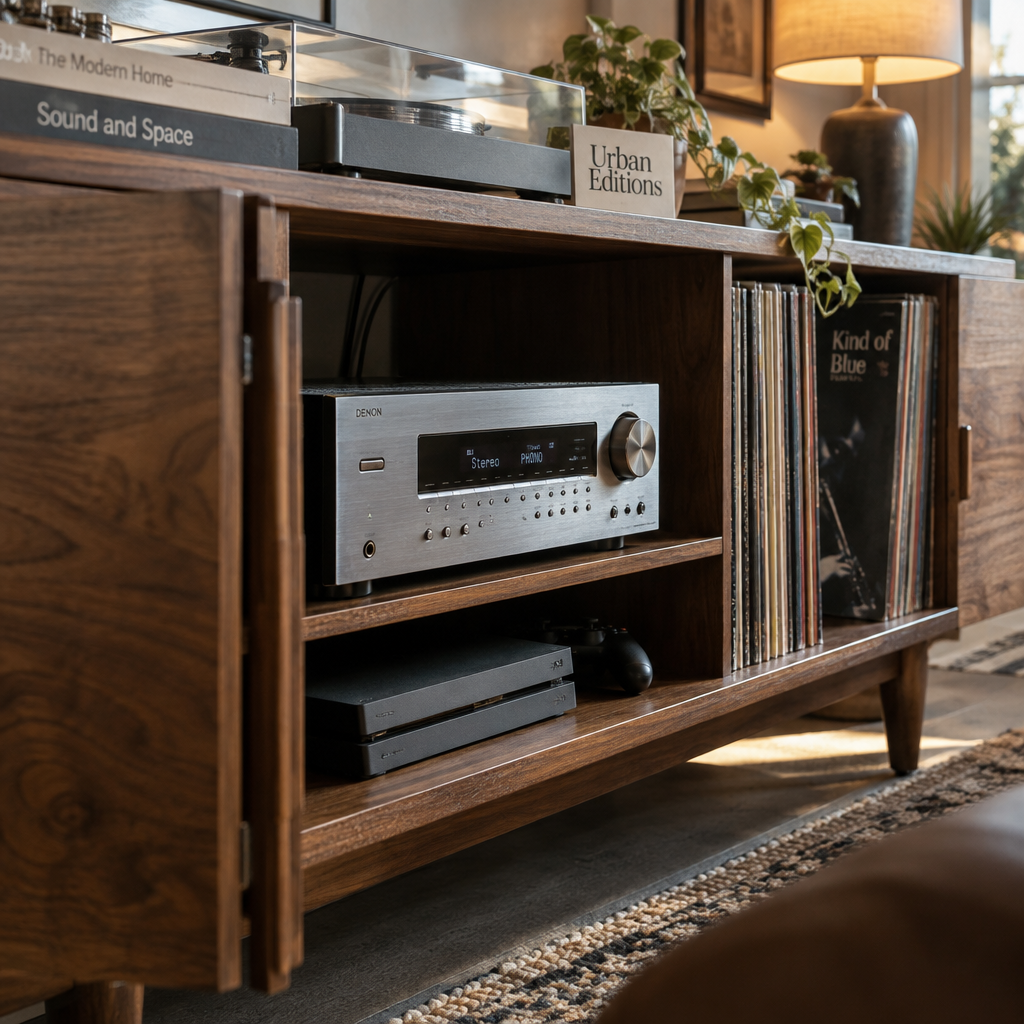
AV receivers, amplifiers and some games consoles produce heat during use. Their vents need space around them, and the required clearance depends on the equipment. Check each manufacturer’s instructions, including the sides, top and rear, before choosing an enclosed compartment.
A closed door doesn’t provide ventilation just because it has a cable hole. If a component’s specified airflow needs can’t be met behind a door, choose an open shelf or a design with a genuinely ventilated equipment area. Good airflow matters more than hiding the receiver.
Access matters after installation
Think about how you’ll use the system. You may need to reach a power button, swap an HDMI lead or remove a games console for cleaning. A shelf that fits the device but leaves no room for your hands makes routine jobs awkward.
Remote controls need consideration, too. Infrared signals generally need a clear path to the device, while Bluetooth or radio-frequency controls work differently. Check the remote’s specifications if you plan to keep equipment behind a door. Leave enough space to unplug components without pulling the cabinet away from the wall.
Measure your equipment and the room first
A tape measure and a written equipment list are more reliable than estimating from photographs. Record each component’s width, height and depth, including feet, plugs and connected leads. Then compare those measurements with the cabinet’s usable internal space, not its overall external dimensions.
Measure the kit, not just the boxes
Rear panels, dividers and shelf supports reduce the room available inside a cabinet. A plug that projects behind a receiver can add to its required depth, while a cable that bends sharply against a back panel can come loose. Include these details in your measurements.
Allow for the ventilation clearance specified in each device’s manual. Don’t treat a receiver’s case dimensions as the full space it needs. The cabinet must fit the component and its operating clearances, not simply the metal or plastic casing.
Check the room and access route
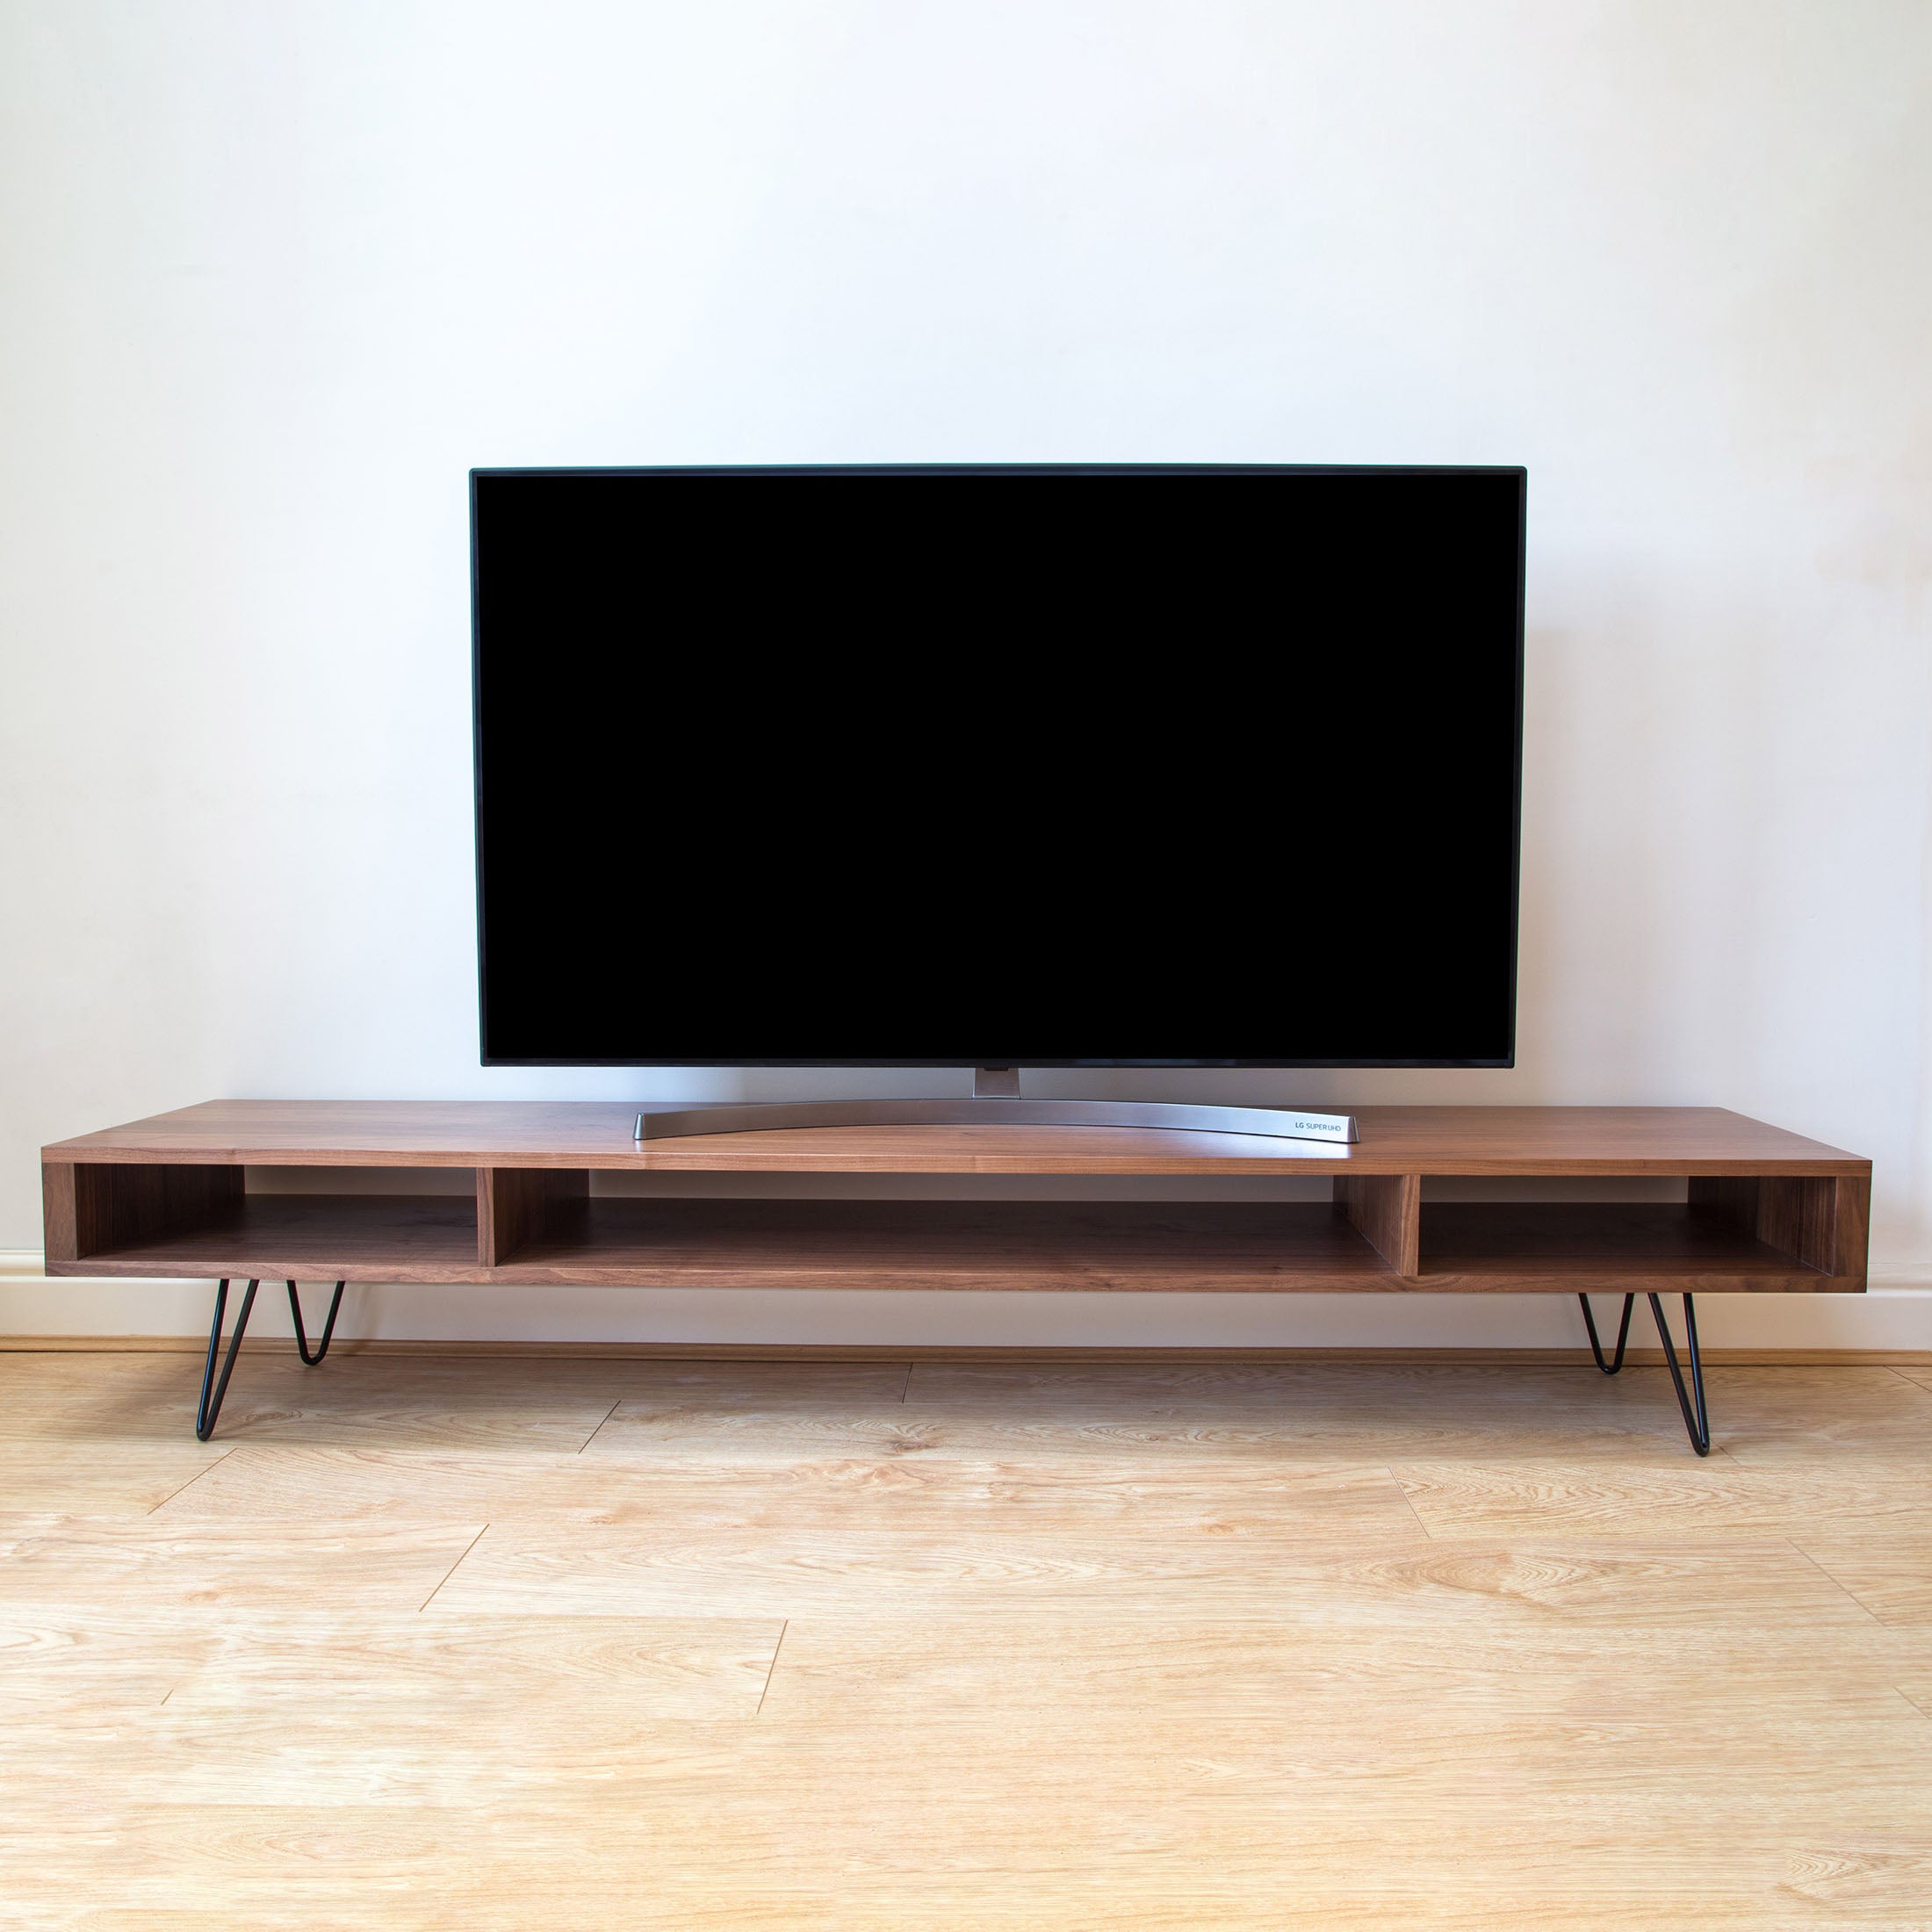
Measure the available wall space, skirting board and nearby sockets. Check that the television’s feet fit on the top surface, if you plan to place it there, and that doors or drawers can open without hitting a sofa or walkway. Marking the footprint on the floor with masking tape makes the scale easier to judge.
Before you order, work through this sequence:
List every device, record format and accessory you want to store.
Measure each device, including plugs, feet and connected cables.
Check ventilation and access requirements in the equipment manuals.
Mark the cabinet footprint and door swing in the room.
Measure the route through the doorway, hall and stairs.
A unit that fits the wall may still be difficult to deliver through a narrow turn or up a staircase. Check the whole route, not only the final position. Keep your measurements together so you can compare different designs on the same basis.
Match the storage to records, turntables and devices
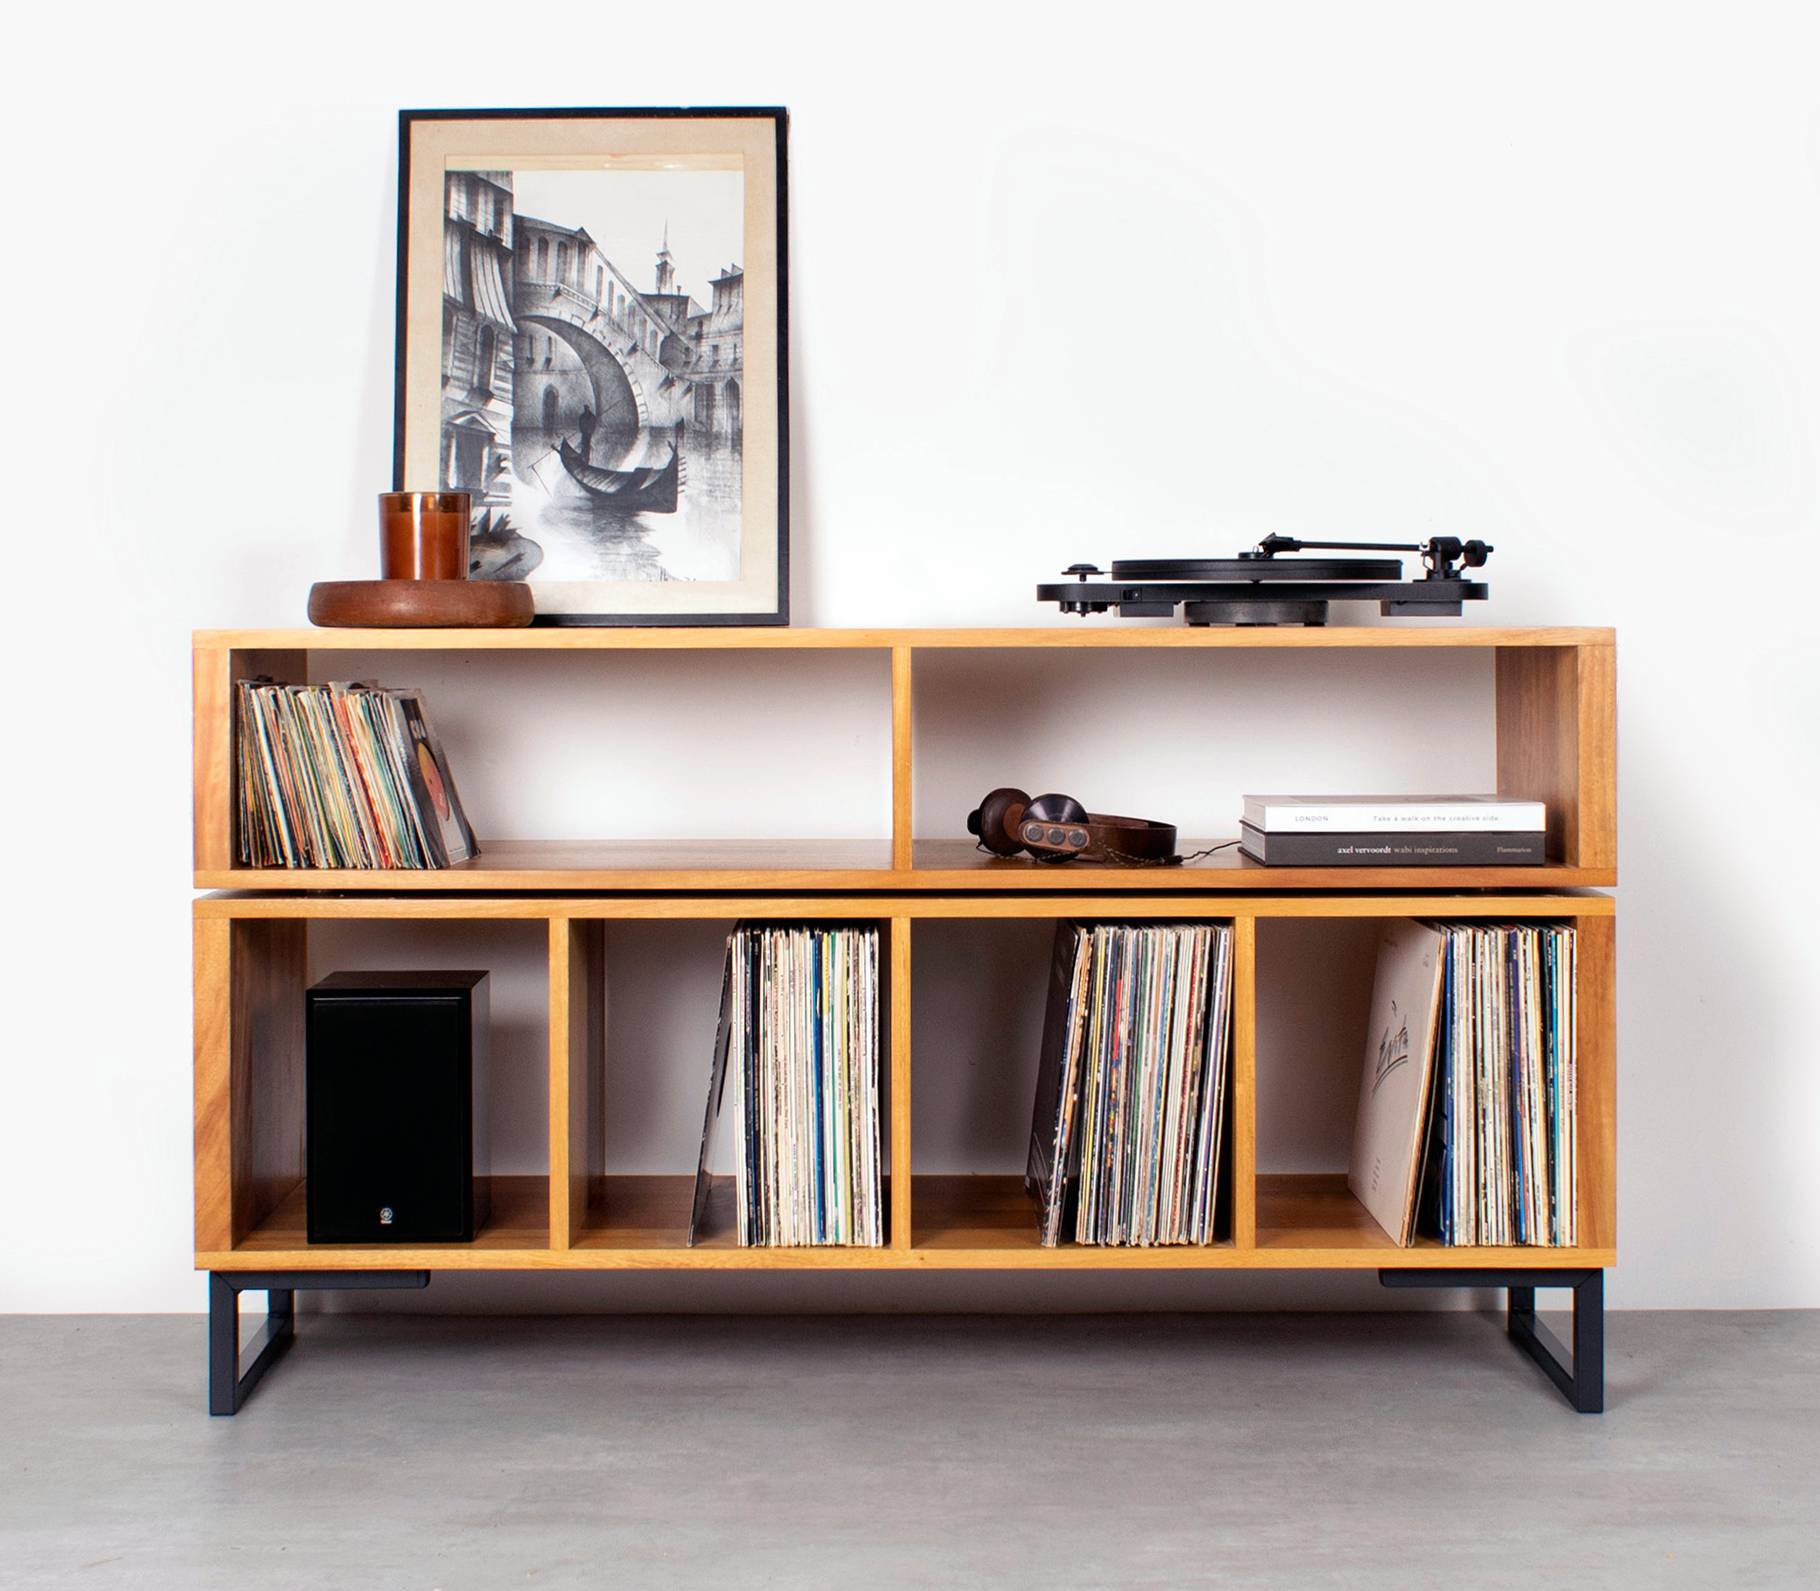
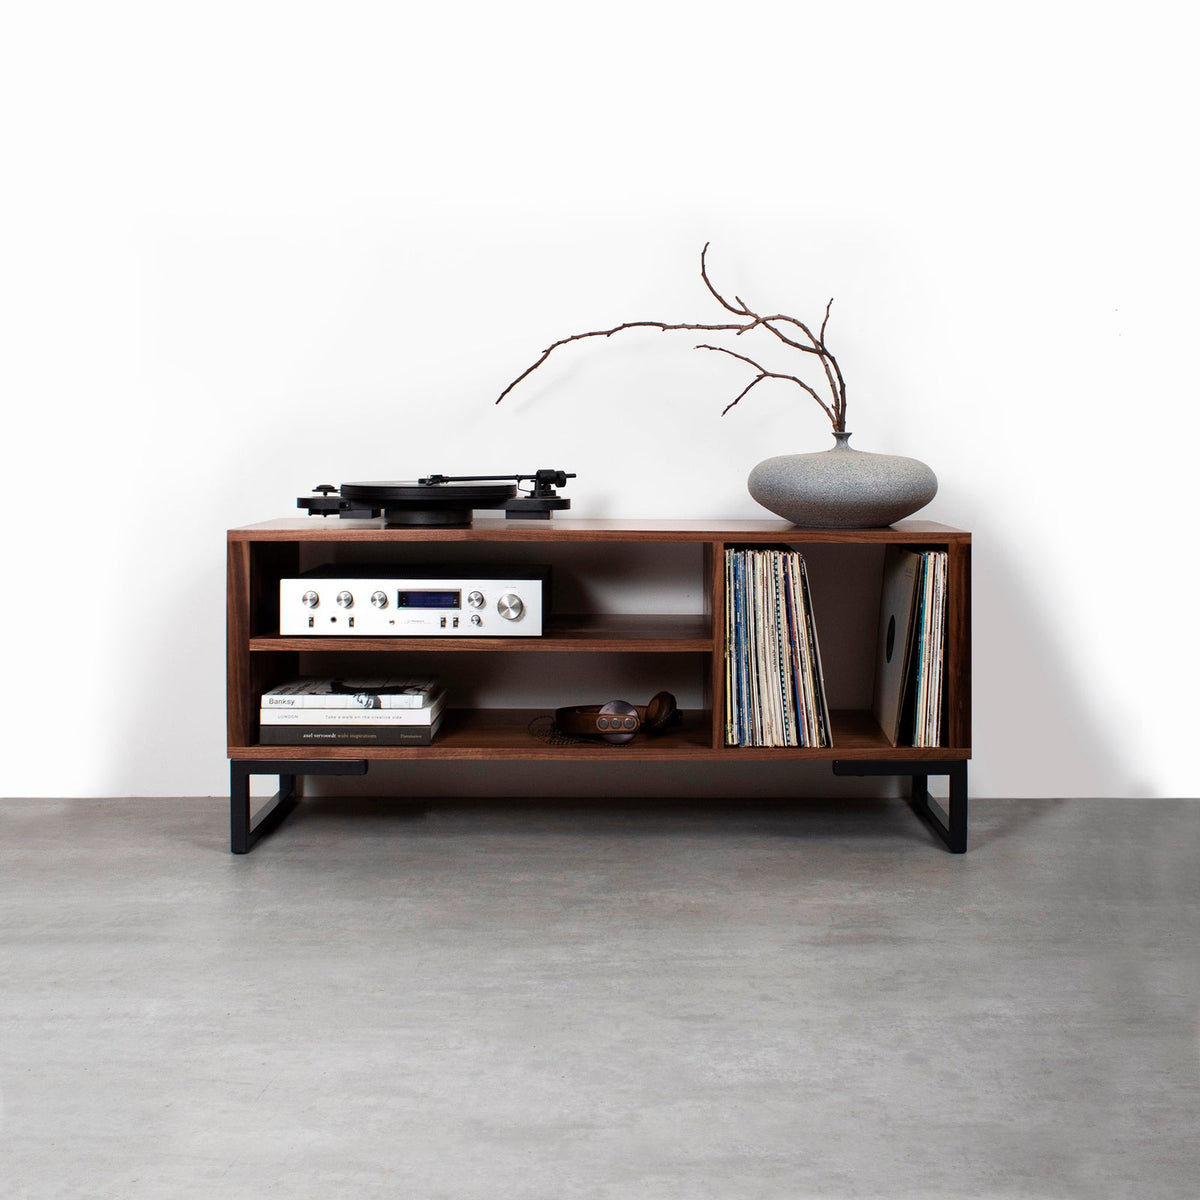
Different media needs different storage. Vinyl records need suitable shelf space and stable support; AV receivers need ventilation and cable access. A single cabinet can accommodate both, but check that each compartment is designed for its contents rather than assuming one shelf suits everything.
Give records their own space
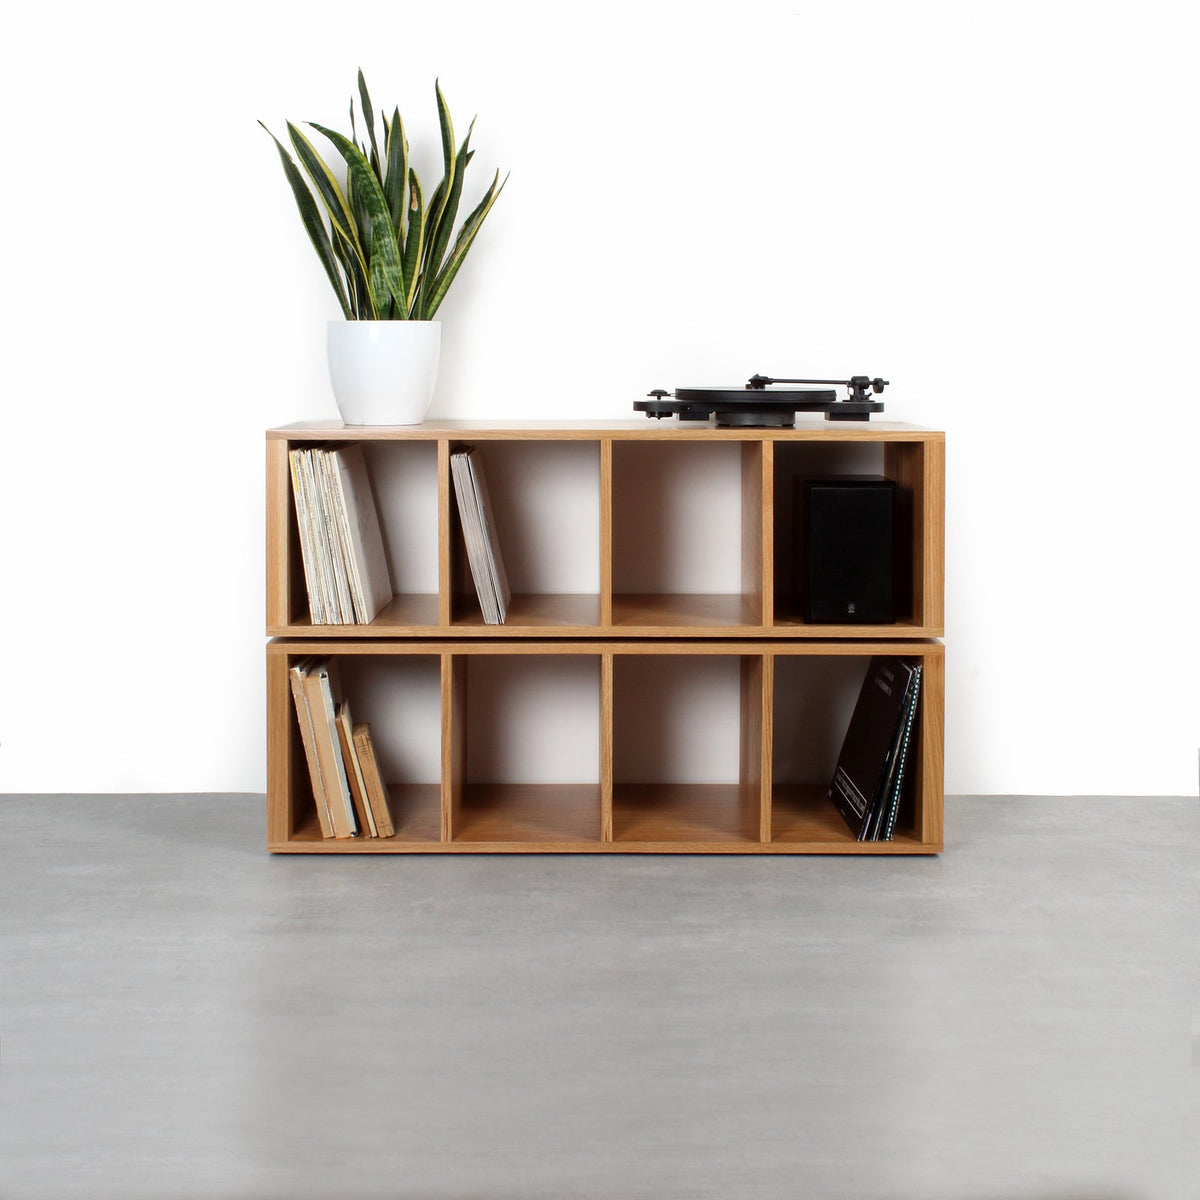
Store records upright and avoid packing them so tightly that you have to force sleeves in or out. A 12-inch LP sleeve is larger than the record itself, so measure a sleeve you own against the cabinet’s internal height and depth. Allow room to slide records out without scraping the shelf or catching on a divider.
Turntables also need a firm, level surface and enough space to open the lid, if fitted. Keep speakers from transferring vibration directly to the turntable. A cabinet with good vinyl storage isn’t automatically suitable for an AV receiver, just as an AV shelf may not be deep or tall enough for record sleeves.
Keep devices reachable and cables manageable
Games consoles and streaming devices need space for their ventilation openings and connections. Keep frequently used devices easy to reach, and check that a cabinet door won’t obstruct a controller signal or trap heat during a long gaming session. For a system with several components, open shelving makes access straightforward, though it leaves equipment visible.
For a hardwood option, The Urban Editions’ solid hardwood media units are designed and made in the UK, built to order in a family-run UK joinery, and available in oak, walnut, ash and iroko. You can customise designs, order wood samples and get free UK delivery.
Choose a hardwood that suits your room
Oak, walnut, ash and iroko each bring a different colour and grain to a media room. The timber affects the furniture’s appearance, but it doesn’t change the need to plan airflow, shelf space and cable access. Use the table as a starting point, then look at samples in your own room.
Hardwood
Typical appearance
A useful starting point
Oak
Warm tones and a visible grain
Suits rooms where natural grain can sit alongside other timber
Walnut
Deeper brown tones
Works well when you want the cabinet to read as a darker feature
Ash
Generally pale, with a clear grain
Fits lighter schemes and rooms where you want a brighter finish
Iroko
Golden-brown tones
Offers a warm appearance that can complement natural materials
Compare samples in your actual light
Colour can look different under daylight, warm bulbs and cooler LED lighting. Put a wood sample near the television and flooring, then check it at different times of day. This gives you a more useful comparison than choosing from a small image on a screen.
Grain varies between pieces of wood, so a sample shows the general tone rather than an exact match. Consider the rest of the room as well: a dark cabinet can create contrast, while a pale one may blend more readily with light walls. Choose the finish you want to live with, not only the one that looks best online.
Check the finish and placement
Solid hardwood gives you a natural wood surface, but it still needs sensible care. Check the care guidance for the chosen finish, and avoid placing the cabinet where spills, persistent damp or direct heat will affect it. Keep it clear of radiators, where strong heat can be hard on both wood and stored equipment.
Ask how the timber is sourced and what finish is used if those details affect your buying decision. The Urban Editions uses sustainably sourced solid hardwoods, including the four species above. A well-chosen finish should suit the room’s daily use as well as its style.
Plan the cabinet around the room and screen
A media unit should fit the room’s layout, not just the wall beneath the television. Check the screen’s feet or mounting arrangement, the cabinet’s top surface and the position of nearby sockets. Leave space for people to pass without brushing against sharp corners or open doors.
Use masking tape to mark the cabinet width and depth on the floor. Sit in your usual viewing position and check the screen remains comfortable to watch. If the television sits on the cabinet, confirm that its feet stand securely on the top and don’t overhang the edges.
Cable routes are easier to plan before the furniture arrives. Note where mains sockets, aerial connections and network equipment sit, then decide how leads will reach the devices. A rear cable opening can help, but check its position against the equipment’s sockets and plugs.
Avoid stretching cables tightly across the back of the unit. Leave enough slack to pull a device forward for cleaning or connection changes, while keeping loose leads organised and away from ventilation openings. Accessible connections save effort when you add a streaming device or replace a lead later.
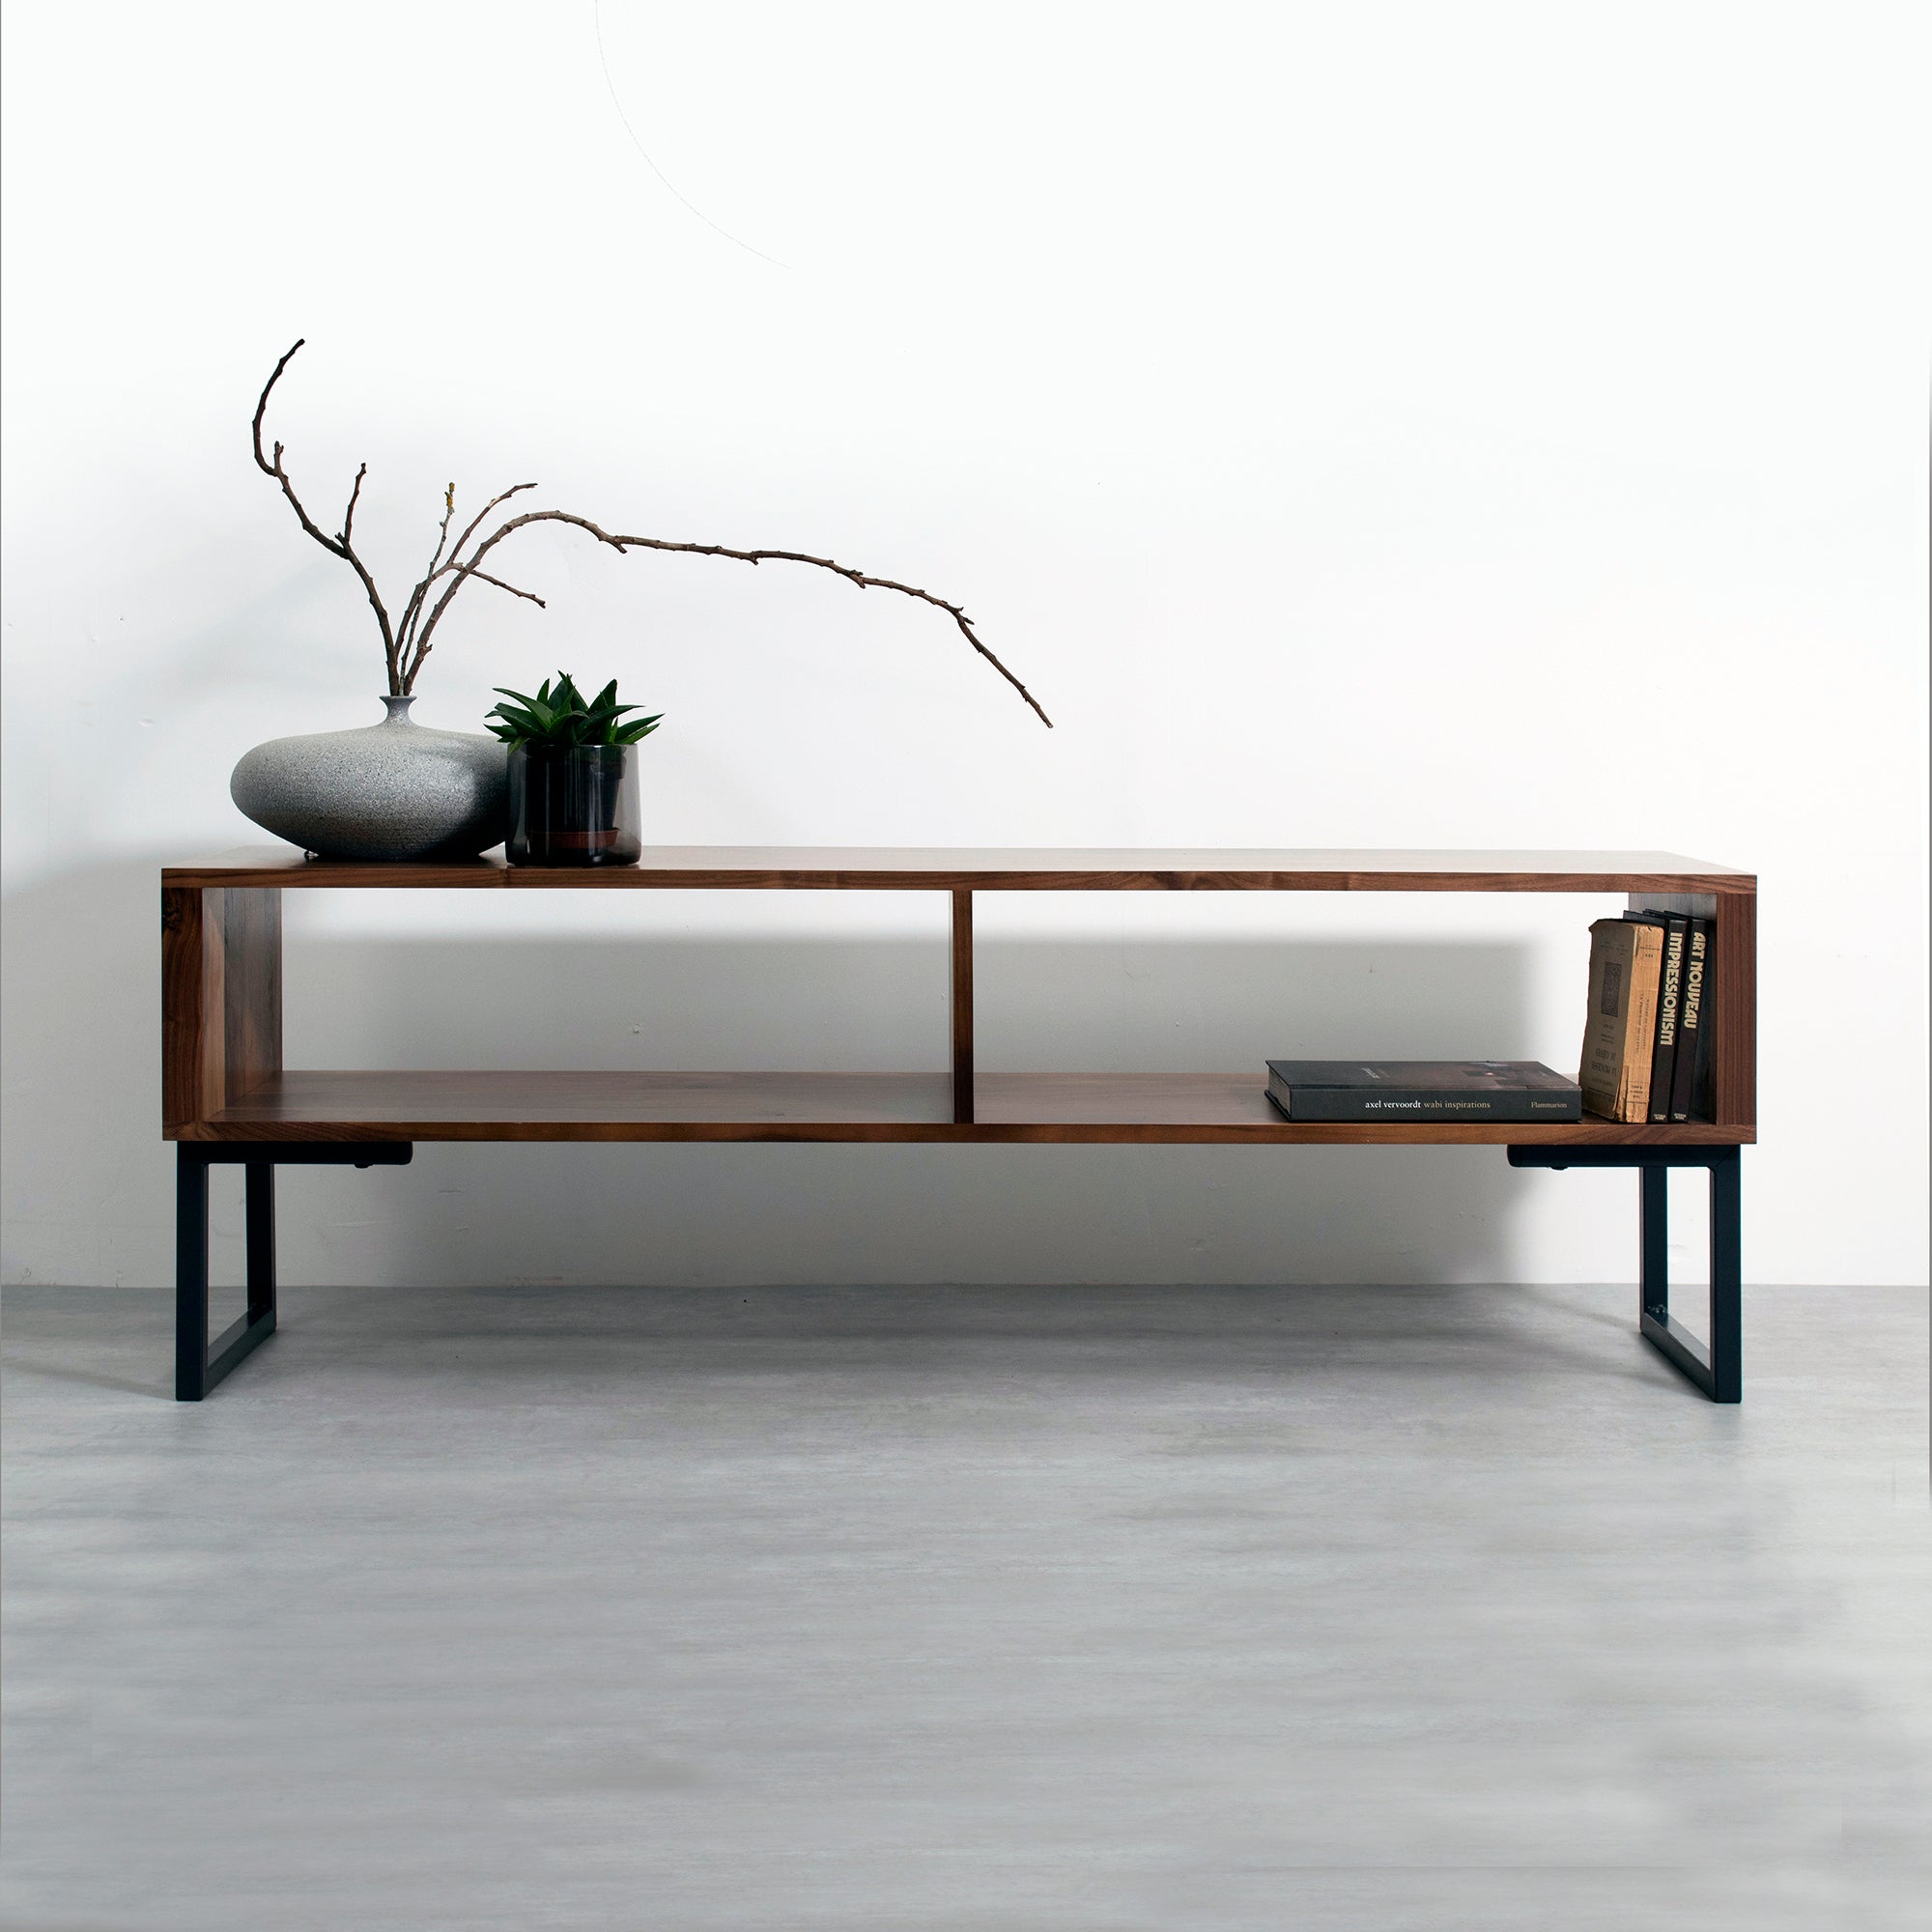
Decide how much you want to keep out of sight. Enclosed cupboards reduce visible clutter, while open shelves make equipment easier to reach and ventilate. A mixed layout often suits a media room: closed storage for accessories and open shelves for components that need frequent access or extra airflow.
Confirm the details before you order
Before choosing a design, check that the maker’s measurements describe the inside of each shelf as well as the cabinet’s outer size. Ask about usable width, height and depth, plus the position of dividers, back panels and cable openings. Those details determine whether your equipment will fit in practice.
Check shelf support and openings
Ask for the shelf’s stated load capacity if you plan to store a heavy receiver or other substantial component. Capacity can depend on the shelf material, thickness, span and support points. Don’t assume a shelf strong enough for an amplifier will also suit a dense row of records.
Confirm that doors, drawers and openings won’t interfere with use. Check that you can reach controls, lift a turntable lid and remove a record without shifting other equipment. If a component needs open air around it, specify an open shelf rather than relying on occasional door-opening to cool it.
Confirm the specification before production
For built-to-order furniture, agree the finish, timber and dimensions before production begins. Share your measured equipment sizes and ask the maker to confirm the usable spaces, cable route and ventilation arrangement in writing. Ask about the expected production and delivery timing as well, since it depends on the individual order.
The Urban Editions offers customisable solid hardwood designs and wood samples, with furniture built to order in a family-run UK joinery. A sample lets you assess the timber in your room before committing to a finish. Free UK delivery is offered, with international shipping also available.
Conclusion
Before settling on a style, make an equipment list and measure the room, the delivery route and each component’s ventilation needs. Choose open shelving for heat-producing equipment when a closed compartment can’t meet the manufacturer’s clearance guidance. Then select a hardwood and finish that work with the room you have.
Frequently Asked Questions
How deep should a cabinet shelf be for 12-inch records?
Measure a sleeve you own, then compare it with the shelf’s usable internal depth and height. Leave extra room to slide records in and out; the cabinet’s external depth doesn’t tell you how much space a back panel or door takes away.
Can I put an AV receiver behind a cabinet door?
Only if the receiver’s ventilation requirements can be met inside that compartment. Check the manual’s clearance guidance and the cabinet’s airflow design; if the specified space isn’t available, use an open shelf instead of relying on opening the door occasionally.
Can I place a turntable on the same cabinet as my speakers?
You can, but speaker vibration may affect playback if it travels through the furniture. Put speakers on separate stands or another stable surface, and keep the turntable level with enough room to open its lid and handle records.