October SPECIAL OFFER! Sign-up to our newsletter to receive the latest offers and news.
Unit for Record Player: Built-to-Order Solid Wood Designs
Why a 12-inch record changes the furniture decision
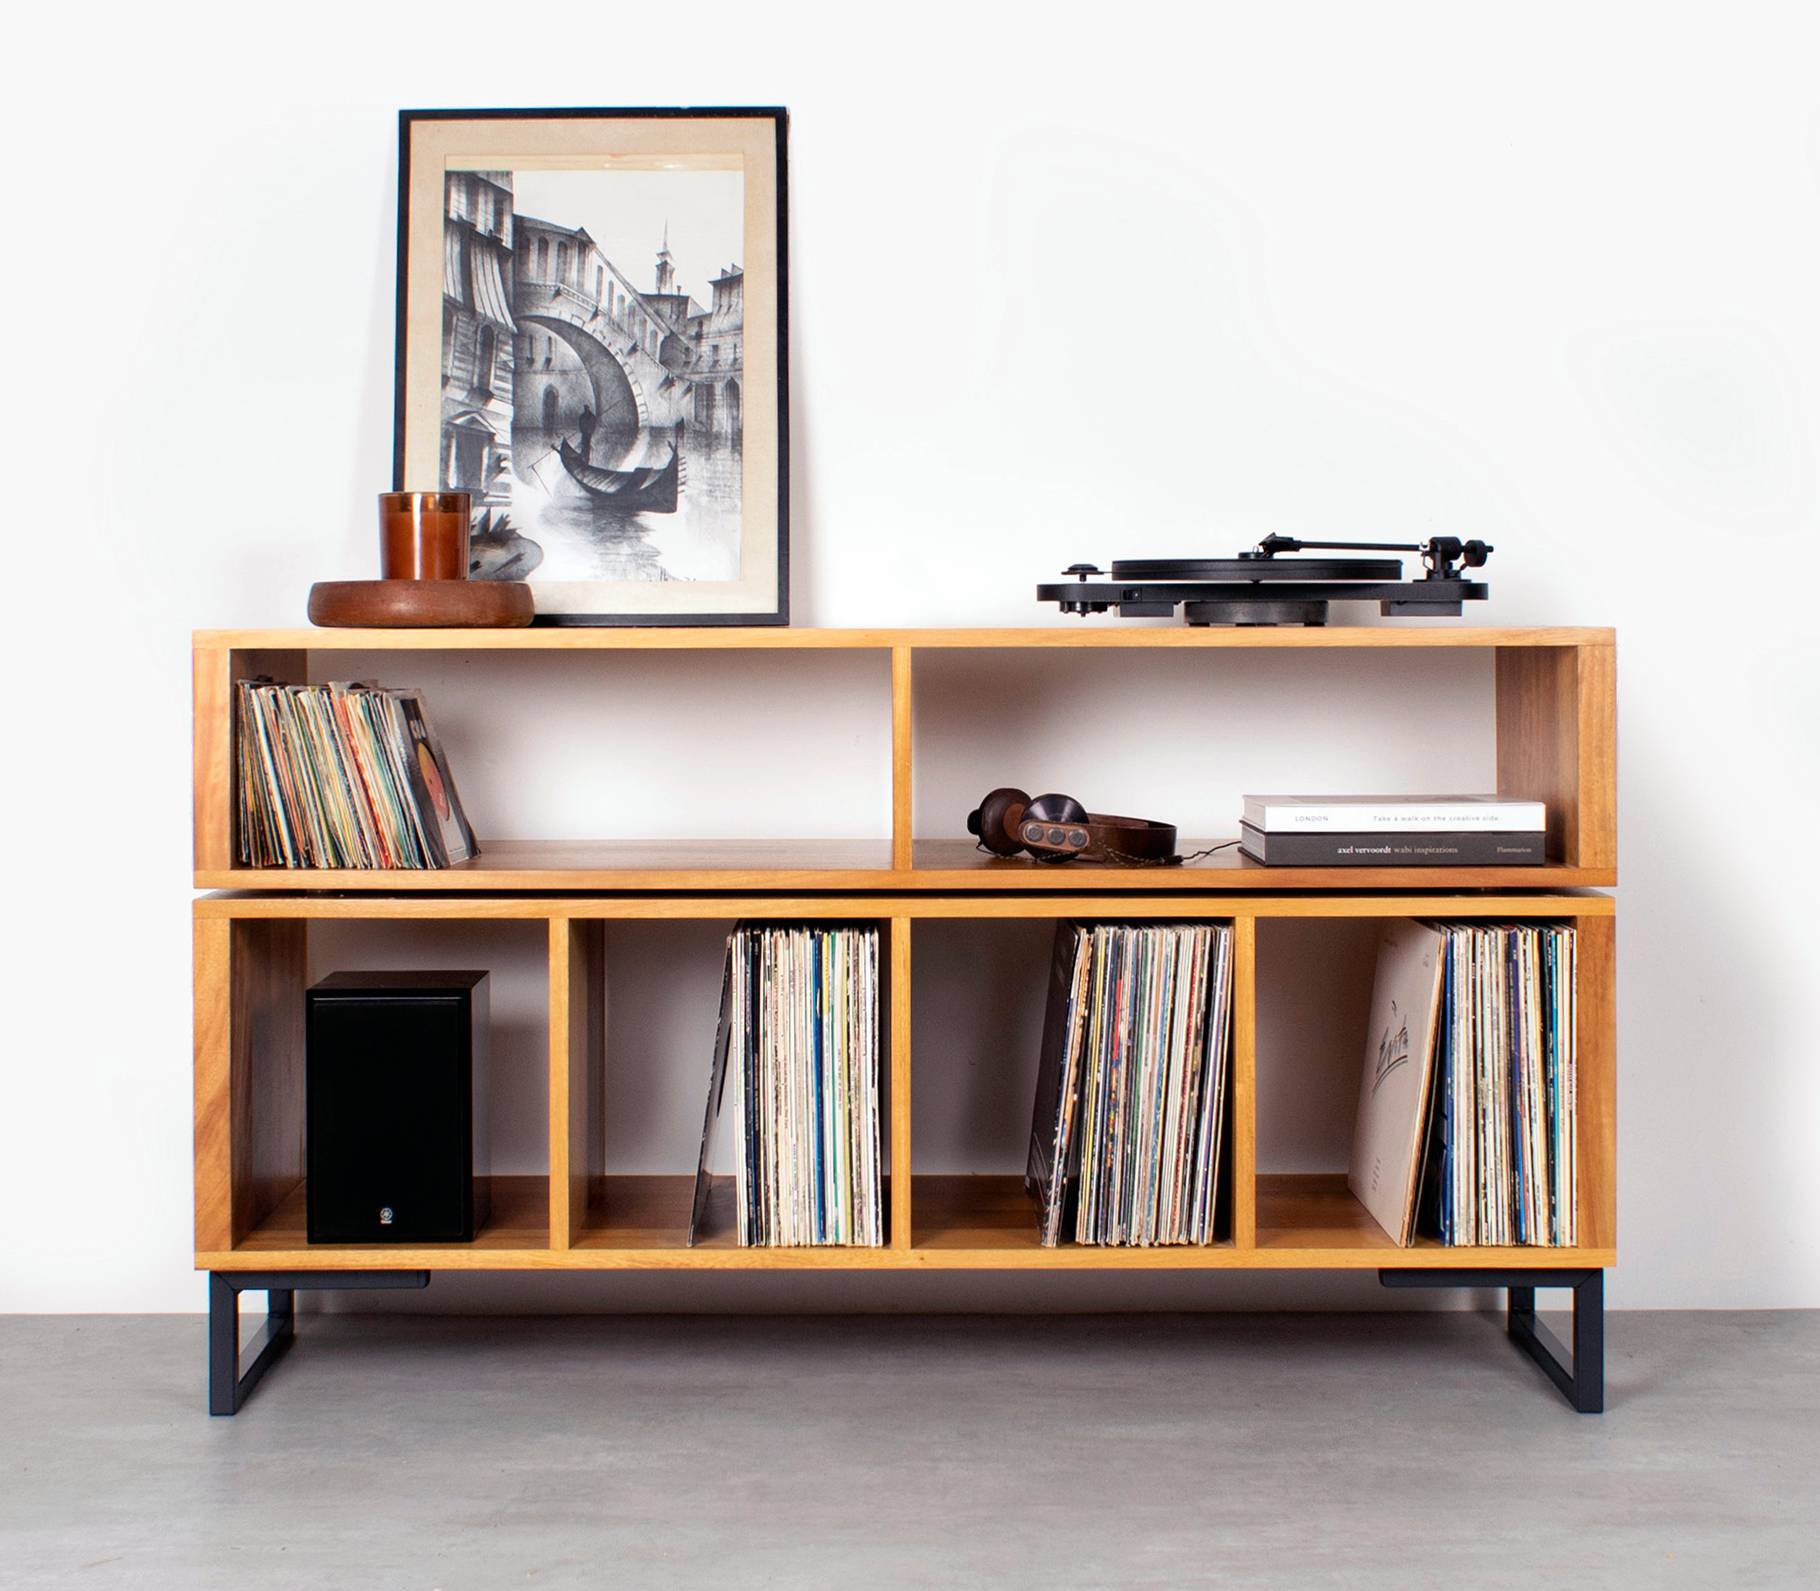
12 inches is the diameter of a standard LP, before its sleeve or the space needed to slide it out. A unit for record player needs to fit that collection as well as your turntable, amplifier and cables, or a smart-looking stand can quickly become awkward to use.
If you’re choosing between a turntable stand and a larger media unit, start with the whole listening setup. Its dimensions, record capacity and position in the room all affect how comfortably you can play and store your records.
Key Takeaways
Measure the turntable, components and available floor space.
Plan upright record storage before choosing the unit width.
Leave room for plugs, airflow and cable bends.
Keep the turntable clear of direct speaker vibration.
Choose hardwood and dimensions to suit your room.
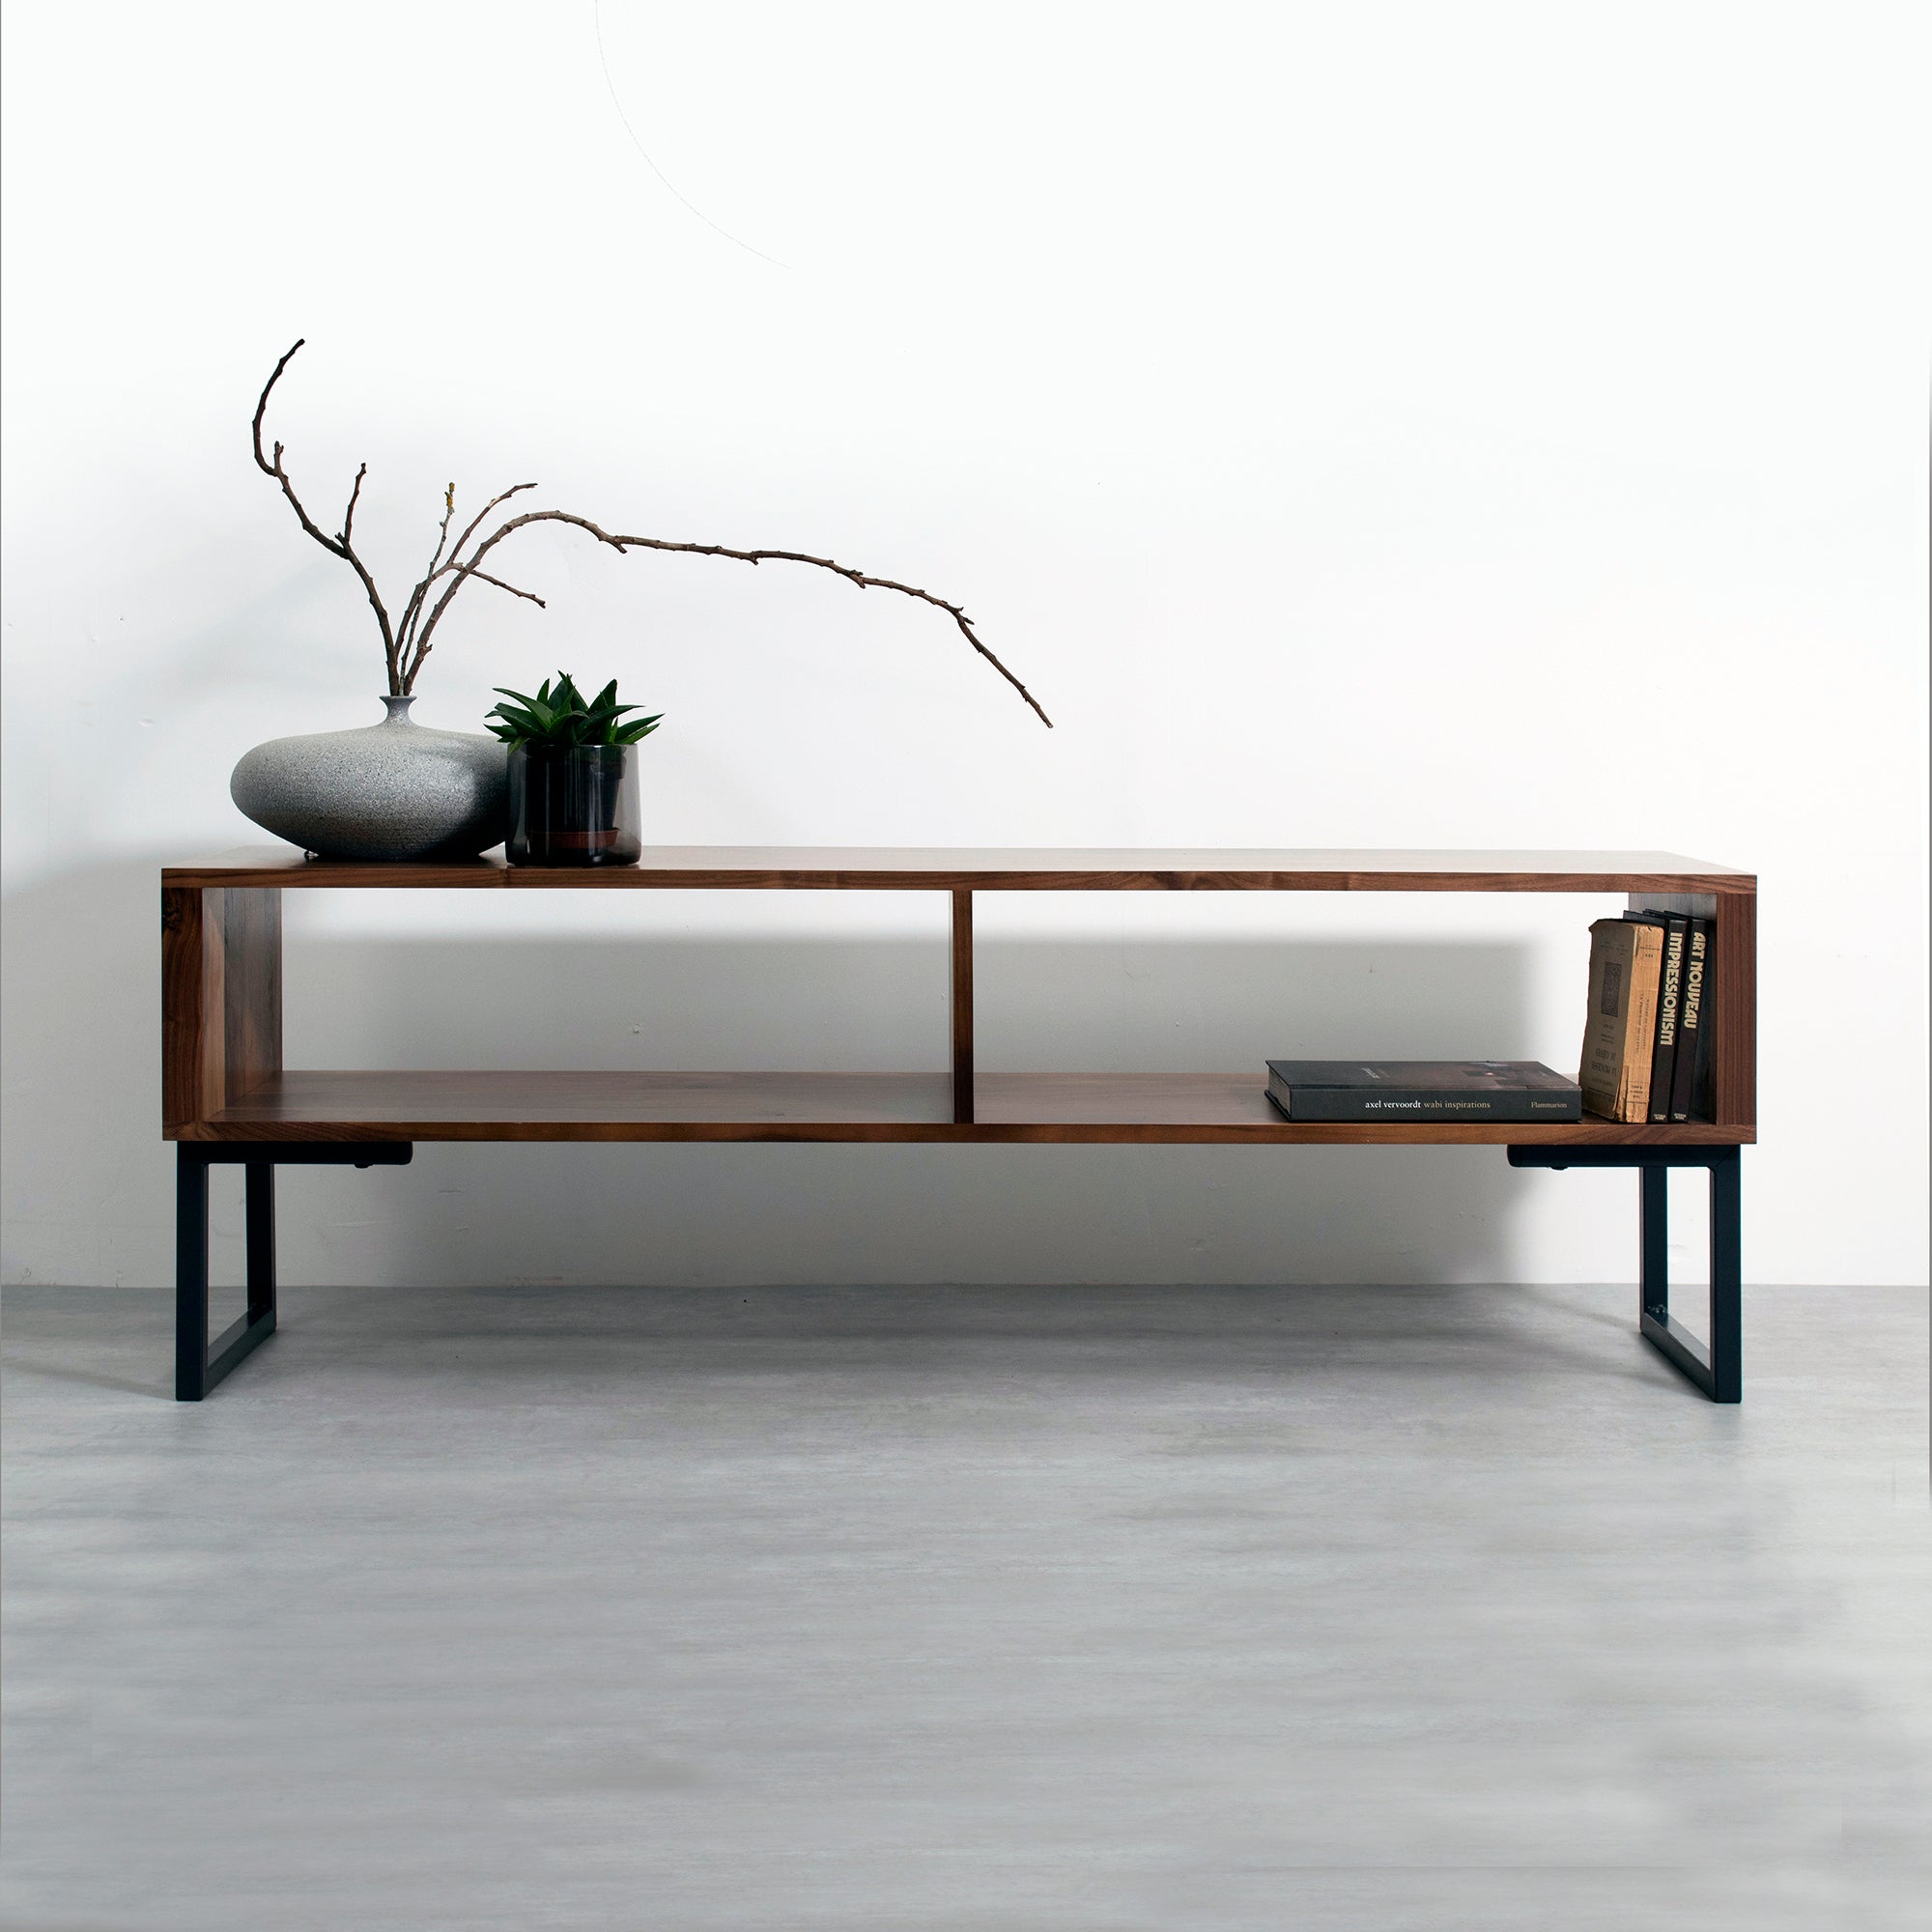
A compact stand works well when your records already have a separate home and your audio system has few components. A wider cabinet makes more sense when you want records and equipment together, with enough room to browse without moving the turntable.
Think beyond the top surface. For daily use, the record storage, component shelves and route for cables matter just as much as the turntable footprint. A mismatch in any one area can leave you with a cluttered surface or records that are difficult to reach.
Measure the turntable, components and available space
Measure every part of the setup before you settle on a design. Use the turntable’s full footprint, including any raised dust cover, then check the amplifier and other components against the shelf space and room around them.
Start with the turntable footprint
Measure width and depth at the widest points, not just the base. If the dust cover lifts upwards, check the clearance above it; if it hinges backwards, allow for its open position too. A turntable that fits with the lid shut might still be awkward to use.
Allow for components and cables
Amplifiers and receivers need space for plugs and airflow, not just a shelf that matches their width. Check the equipment manual for ventilation guidance, and measure from the back of each component to the end of its plugs. Right-angle plugs can need less depth than straight ones, but check the exact cable you use.
Measure the turntable, including its open dust cover.
Record the width and depth of each component.
Note the plugs, sockets and cable direction at the rear.
Measure the wall space, skirting board and route to a power socket.
Compare those figures with the unit’s usable shelf and storage dimensions.
For example, if an amplifier is 35 cm deep, its plugs extend beyond the case and the shelf sits close to a wall, a shelf depth of 35 cm alone will not be enough. Treat all example measurements as a prompt to check your own equipment, not as a universal specification.
A tape measure is useful, but a paper outline of the turntable and cabinet footprint gives you a clearer sense of scale. Mark the outline on the floor with masking tape, then check whether you can open drawers, reach sockets and walk past the unit without turning sideways.
Choose a layout that gives records and equipment room
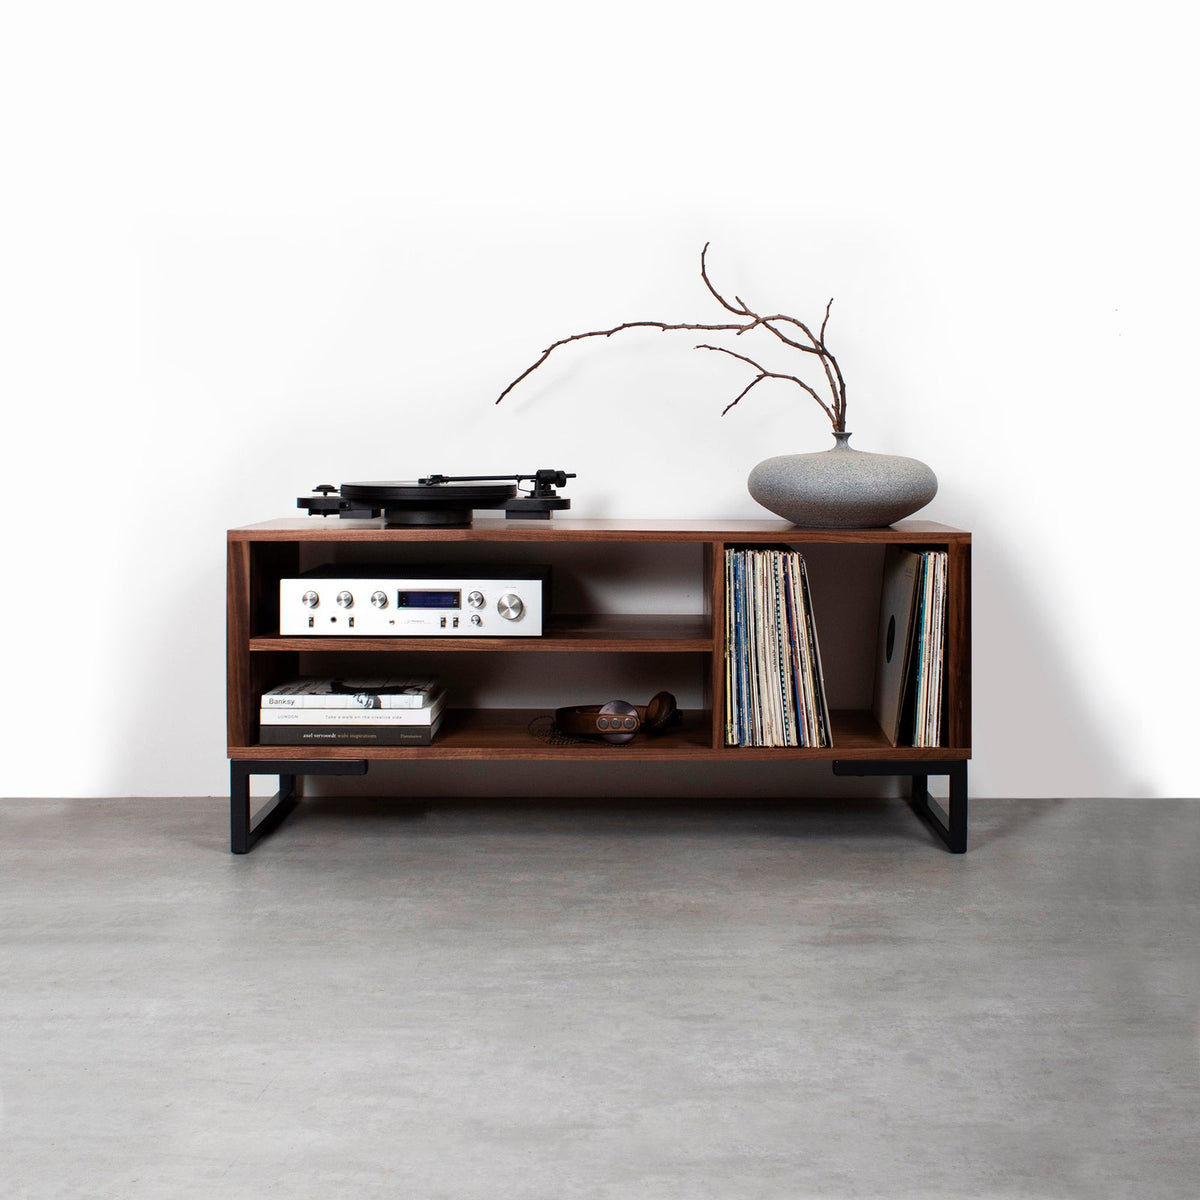
The right layout depends on what you need to store alongside the turntable. A stand keeps the focus on playback; a media unit can bring records and hi-fi equipment into one place, provided the shelves suit the equipment and records you own.
Layout
Suits
Check before ordering
Compact turntable stand
A player with a separate record collection
Space for the dust cover and any small components
Stand with LP storage
A smaller collection kept close to the player
Usable record bay dimensions and easy access
Wider media unit
Records, turntable and several components
Shelf clearance, ventilation and cable route
Make record access part of the plan
Store LPs upright, with their weight supported along the bottom edge. A useful opening needs to accommodate the sleeves and leave enough room to thumb through them without scraping knuckles against a shelf. Check the internal opening, not the unit’s overall outside dimensions.
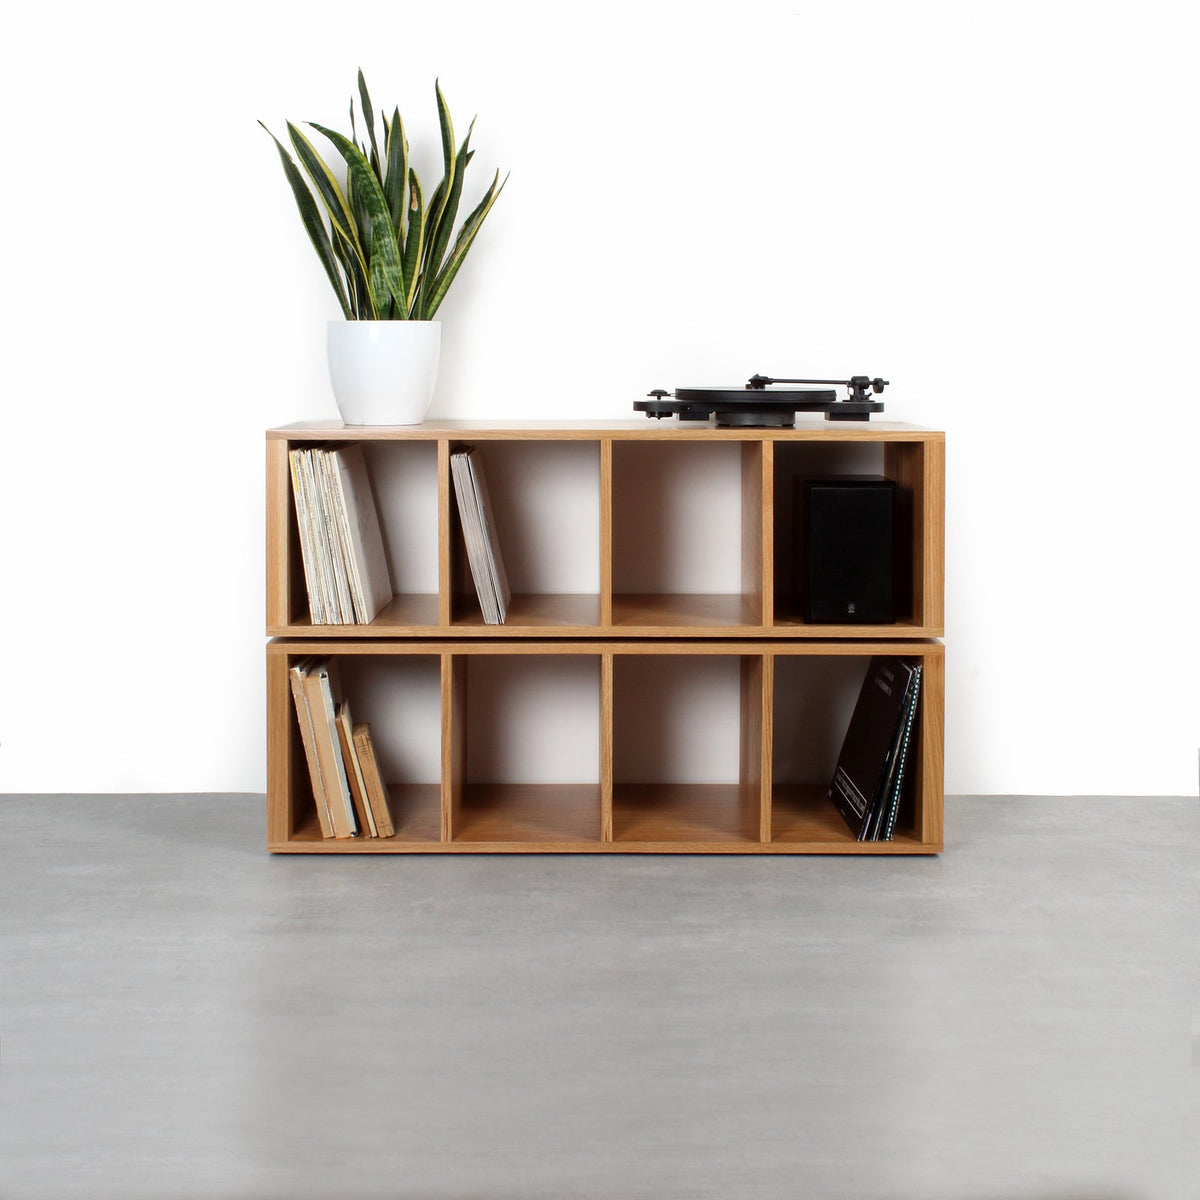
Count the records you plan to keep in the unit, then leave space for the collection to grow if you expect to add more. A packed compartment makes sleeves harder to remove, while a very wide open bay can let records lean. Dividers or separate compartments can keep smaller groups upright.
A shelf that looks generous from the front may have a narrow usable depth or an opening that makes records difficult to lift out. Check both measurements before you commit, and consider how the cabinet will work when you’re standing in front of it with a record in hand.
Keep vibration away from the stylus
A rigid, level surface helps the turntable stay steady during playback. It also needs to be placed where speakers, footfall and loose objects are less likely to send movement through the cabinet and into the stylus.
A stable turntable surface is level, rigid and kept clear of direct speaker vibration.
Choose a stable position
Place the turntable away from speakers rather than directly beside or on top of them. Sound energy can reach the stylus through the air, and a shared surface can pass vibration directly into the player. The same problem can arise when the turntable sits on a cabinet that moves each time someone walks past.
A solid hardwood unit gives you a firm furniture surface, but no cabinet can correct every room or speaker-placement issue. If playback feeds back at higher volume, try moving the speakers further away and check that the unit does not rock before changing other parts of the system.
Check the floor and the cabinet
Use a spirit level to check the turntable surface from side to side and front to back. An uneven floor can make a cabinet rock even when its top looks level, so test the unit in its final position with the turntable in place.
Keep heavy records on shelves designed to take their load, and avoid pushing the cabinet across a floor with equipment or records inside. If you have a suspended wooden floor, place the unit where foot traffic is lower; your room layout can matter as much as the material of the stand.
Plan cable access and airflow before the unit arrives
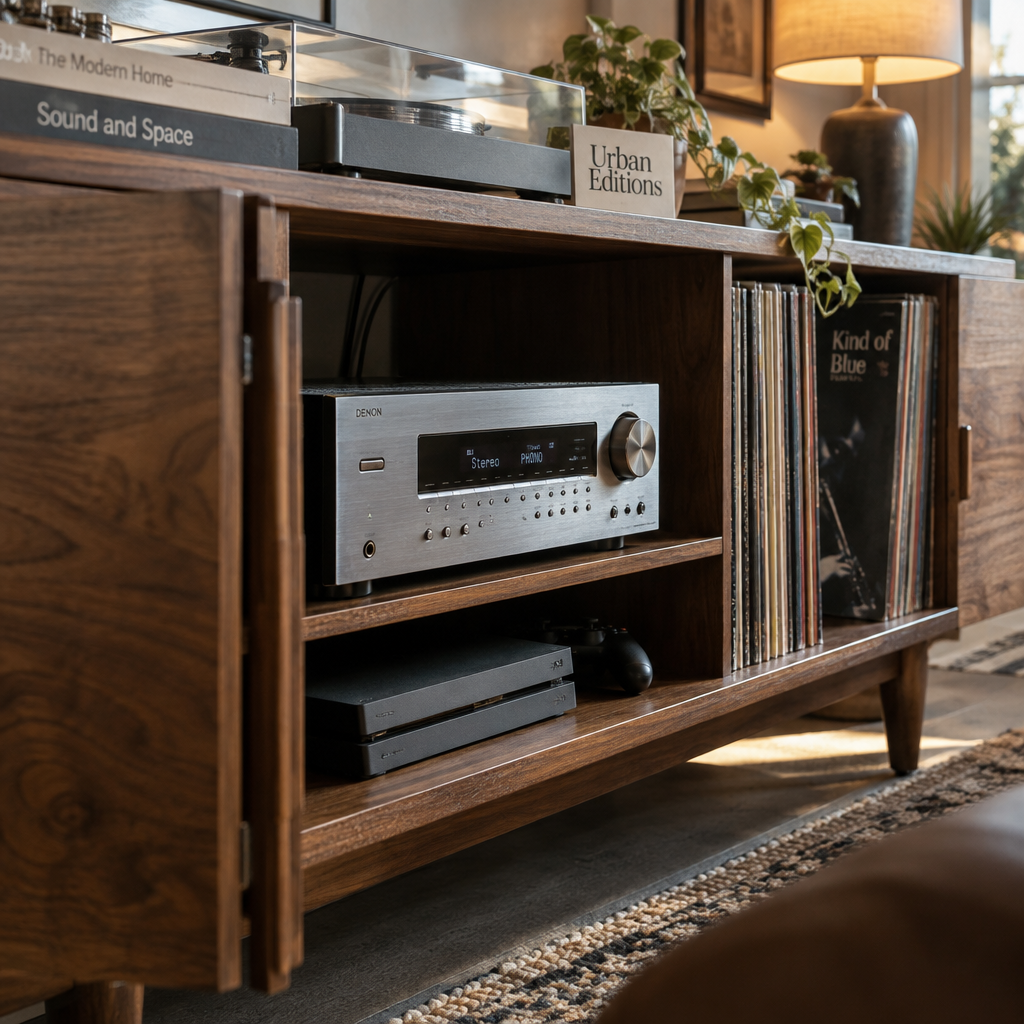
Cables need a route out of the unit, and hi-fi components need the airflow set by their manufacturer. Check the back of every component before choosing enclosed storage; a neat front can still hide a crowded shelf, trapped heat or plugs pressed against the wall.
Leave room around powered components
Read the manual for your amplifier or receiver and follow its clearance guidance. Do not assume that an open front guarantees enough airflow if the equipment sits inside a tight shelf or against a rear panel. Heat can build up when ventilation openings are blocked.
Allow space for the equipment’s controls and connections as well as ventilation. If you often swap cables or connect headphones at the front, make sure the shelf position lets you reach those controls without lifting the component out.
Route cables without pinching them
Before placing the unit, identify the nearest sockets and decide which cables need to reach them. Measure the cable path, including the route around the back of the cabinet, so the finished setup does not rely on a plug being pulled tight.
A cable hole can keep wiring tidy, but its position should match your sockets and equipment. Look out for skirting boards that hold a unit away from the wall, and avoid trapping leads between the furniture and plaster. A little visible cable is better than a damaged connection.
If the setup includes a turntable, amplifier and speakers, label both ends of each lead before you move equipment. That small step makes reconnecting easier and helps you spot a cable that is too short before the furniture is in place.
Choose hardwood and dimensions that suit the room
A built-to-order unit lets you plan around the room as well as the audio setup. The most useful choices are the ones that improve fit and day-to-day access, such as the width for your collection or shelf spacing for your components.
Choose a wood that works with your interior
The Urban Editions designs and makes its furniture in the UK through a family-run joinery, using sustainably sourced solid hardwoods including oak, walnut, ash and iroko. You can order wood samples to compare the grain and finish in your own room, where daylight and nearby flooring can change how a colour reads.
Think about the furniture already in the space. A walnut finish can create contrast against a pale wall; oak or ash can sit comfortably alongside lighter floors. Choose the sample in the room where the unit will live, rather than relying on a screen image.
Set dimensions around use, not appearance alone
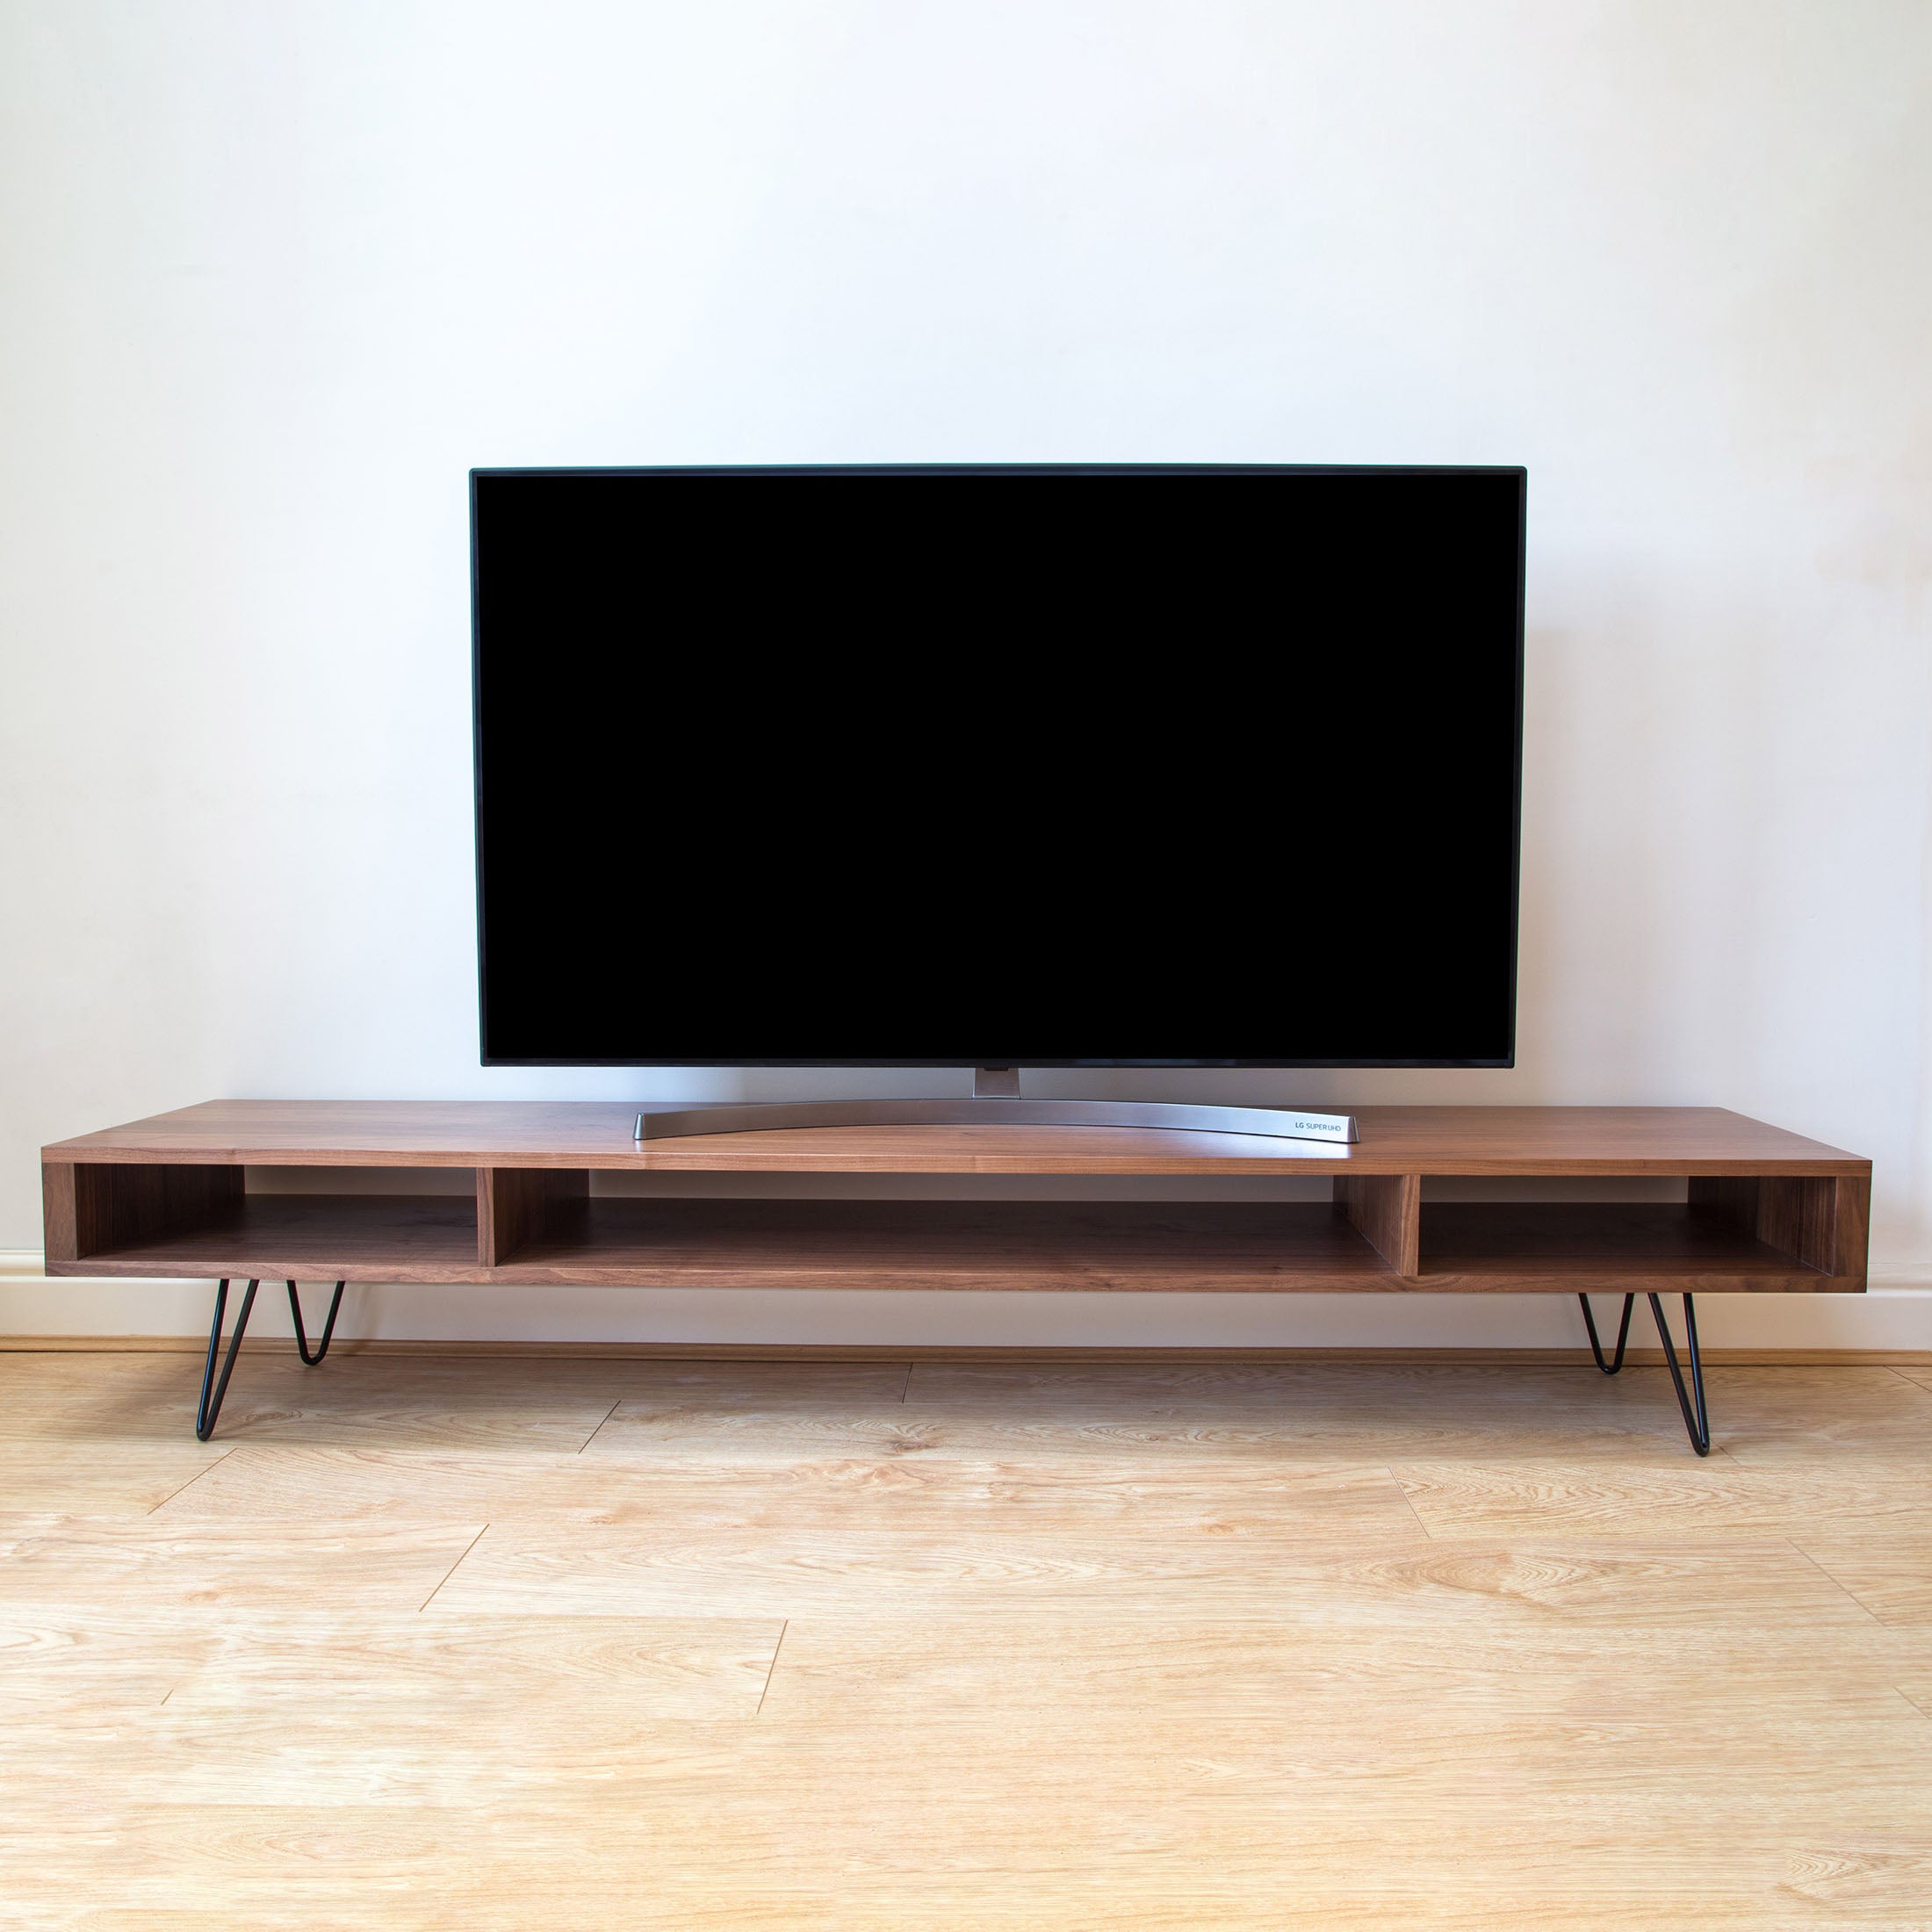
A taller cabinet can free floor space and keep records within reach, while a low, wide unit can sit comfortably below a television or along a long wall. In either case, check that the turntable sits at a convenient height for changing records and that upper shelves do not block access to its controls.
Built-to-order dimensions are most useful when you have a clear measurement to solve: a narrow alcove, a collection that needs more room, or a component that will not fit a standard shelf. Record the available width, height and depth, then include any skirting board, socket or door swing that affects placement.
Custom dimensions also need a practical limit. A very wide unsupported shelf can flex under equipment and records, so ask how the design supports its span rather than specifying width alone. The finished unit should fit the room without compromising stability or access.
Conclusion
Choose a compact stand if your records and components already have separate storage. Pick a wider media unit when you want the whole listening setup together. Before ordering, measure the turntable, records and hi-fi equipment, then compare those figures with the space in your room. For a tall storage-led example, browse the Tall Stack Minimalist Record Player Stand.
Frequently Asked Questions
How much space should I leave behind a record player unit?
Measure the largest plug and cable bend behind your equipment, then add a little room so the unit does not press them against the wall. Check the skirting board too; it can create a gap that changes how far forward the furniture sits.
Can a record player unit sit on carpet?
It can, but thick or uneven carpet may let the cabinet rock. Set the unit on a firm, level area, test it with the turntable in position and use a spirit level to check the surface before playing records.
Should I choose open or closed record storage?
Choose open storage if you browse your records often and want to see the sleeves. Closed storage reduces dust exposure, but check that doors open fully and do not obstruct records while you remove or replace them.
Is a wood sample worth ordering?
Yes, if you’re choosing between finishes or matching existing furniture. View the sample in the room at different times of day, since daylight and artificial lighting can make the same wood appear different.