October SPECIAL OFFER! Sign-up to our newsletter to receive the latest offers and news.
DJ Table: Solid Wood Setups for Home Mixing
Three pieces of equipment can crowd a DJ table before you add a laptop: two decks and a mixer. Start with the space your gear needs, not the table’s overall width, and you’ll avoid a setup that looks generous but leaves controls cramped or cables trapped.
For home mixing, prioritise a clear working surface, firm support and a comfortable height. A solid hardwood desk or media unit can work well; a purpose-built stand only makes sense if its dimensions suit your actual equipment.
Key Takeaways
Measure each item, including plugs and control access
Check usable surface, not overall furniture dimensions
Match working height to your posture
Stable legs and joints matter as much as tabletop weight
Plan laptop, monitor and cable positions before buying
Measure your equipment before choosing a DJ table
Write down the width and depth of every item you plan to use. Your usable surface is the area left once equipment, controls, supports and plugs are accounted for, not the full size listed for the furniture.
Map the real footprint
Include turntables, a mixer or controller, laptop, headphones and any stands. Measure the widest points, including projecting controls, then note where cables leave each device. A plug that sticks out behind a turntable takes up room even though it doesn’t show in the product’s top dimensions.
Allow space to reach the controls without knocking adjacent gear. If you regularly cue records, operate a crossfader or adjust controller knobs, the surface needs to keep those movements clear. A tight fit on paper can feel cramped in use.
Setup
Equipment to map
Furniture to compare
Controller-led
Controller, laptop, monitor position
Desk with a clear, uninterrupted top
Two decks and mixer
Two turntables, mixer, rear connections
Wide desk or suitable media unit
Hybrid setup
Decks, controller or mixer, laptop
Larger clear surface, with stands placed separately
Check how the layout works
Sketch the equipment positions on paper or mark them with masking tape on a clear floor. This makes gaps and overlaps easier to spot before you order furniture. Include a route to the rear connections, not just the visible front edges.
Check the clear span between the furniture’s supports as well as its overall width. A centre support or raised back can block equipment placement, while a deep edge or cable hole can reduce the space available for controls. Compare the actual measurements with your sketch before deciding.
Set the working height for comfortable mixing
A table that fits your equipment still needs to suit the way you mix. A common desk height is around 72–75 cm, but your comfortable working height depends on whether you sit, stand or switch between both. Treat that range as a starting point, then test your posture at home.
Check your mixing position
Stand at a surface close to the height you’re considering and rest your hands where the main controls would sit. Your shoulders should stay relaxed, with your elbows near your sides rather than lifted or reaching down. Try the same position seated if you mix from a chair.
Spend a few minutes mimicking the movements you use most. Reaching across a laptop to cue a track or leaning forward to adjust a mixer gets tiring over a longer session. Prioritise a relaxed reach to the main controls over a tabletop that only looks the right height.
Account for chairs and risers
A chair changes how high the controls feel, so check seat height and legroom together. Your knees need room beneath the furniture, and any keyboard tray or low rail must not press against your legs. If you stand, check that the floor beneath the table is level enough for your preferred stance.
A raised laptop stand or monitor shelf can put screens at a better viewing height without raising the entire work surface. The trade-off is extra equipment on the desk, so include its footprint in your measurements. A separate stand is useful only if it leaves the mixer and deck controls easy to reach.
Build stability from the floor up
A heavy hardwood top doesn’t guarantee a wobble-free setup. Movement can come from uneven flooring, loose joints, narrow supports or a table that flexes under pressure. Check the frame, legs and floor contact, not the tabletop weight alone.
Stability is the whole structure staying firm during use, not simply the weight of the top.
Test the complete structure
Once assembled, press gently near each corner and along the centre of the top. Look for rocking, flex or movement at the joints. A spirit level helps identify a sloping surface, while adjustable feet can compensate for small differences in floor level.
Think about what your setup does during a mix. Touching a jog wheel, moving a fader or cueing a record puts force into the table. A loose stand can pass that movement to sensitive equipment, so tighten fixings and retest after placing the gear.
Choose materials for the room and load
Solid hardwood gives you a durable furniture surface and a distinct natural grain, but weight is a genuine drawback: moving a loaded unit or carrying it upstairs takes planning. Check the furniture’s construction and intended use with the maker, particularly if you’re placing several heavy components on one section.
Material choice also affects the room’s feel. Oak, walnut, ash and iroko have different colours and grain patterns, so request a wood sample if you need to compare finishes against flooring or other furniture. Keep the final decision grounded in support and fit, rather than choosing a surface purely for appearance.
Place your laptop, monitors and cables deliberately
A laptop often takes the space you expected to use for a mixer. Plan its position before setting up the gear, and keep the screen visible without forcing you to reach across working controls. The same applies to monitor speakers: their stands, bases and cable exits all need a place.
Work through the layout in order
Place decks and mixer or controller in the positions you use most.
Add the laptop and check screen visibility and reach.
Mark where speakers and any separate stands will sit.
Trace power and audio cables to their sockets.
Check that every connection stays reachable after the furniture is in place.
Keep power and signal cables accessible
Cables are easier to manage when you plan their route before furniture reaches the wall. Look for a safe path from each device to its power socket and audio connections, without pinching leads under the furniture or across a walkway. Leave enough slack to move equipment for cleaning or maintenance.
A cable opening helps only if it lines up with the equipment and wall sockets. Check its position against your sketch, including the plug heads, which are often wider than the cable itself. Use a correctly rated extension lead where needed and avoid joining extension leads together.
Adapt a desk or media unit when it fits better
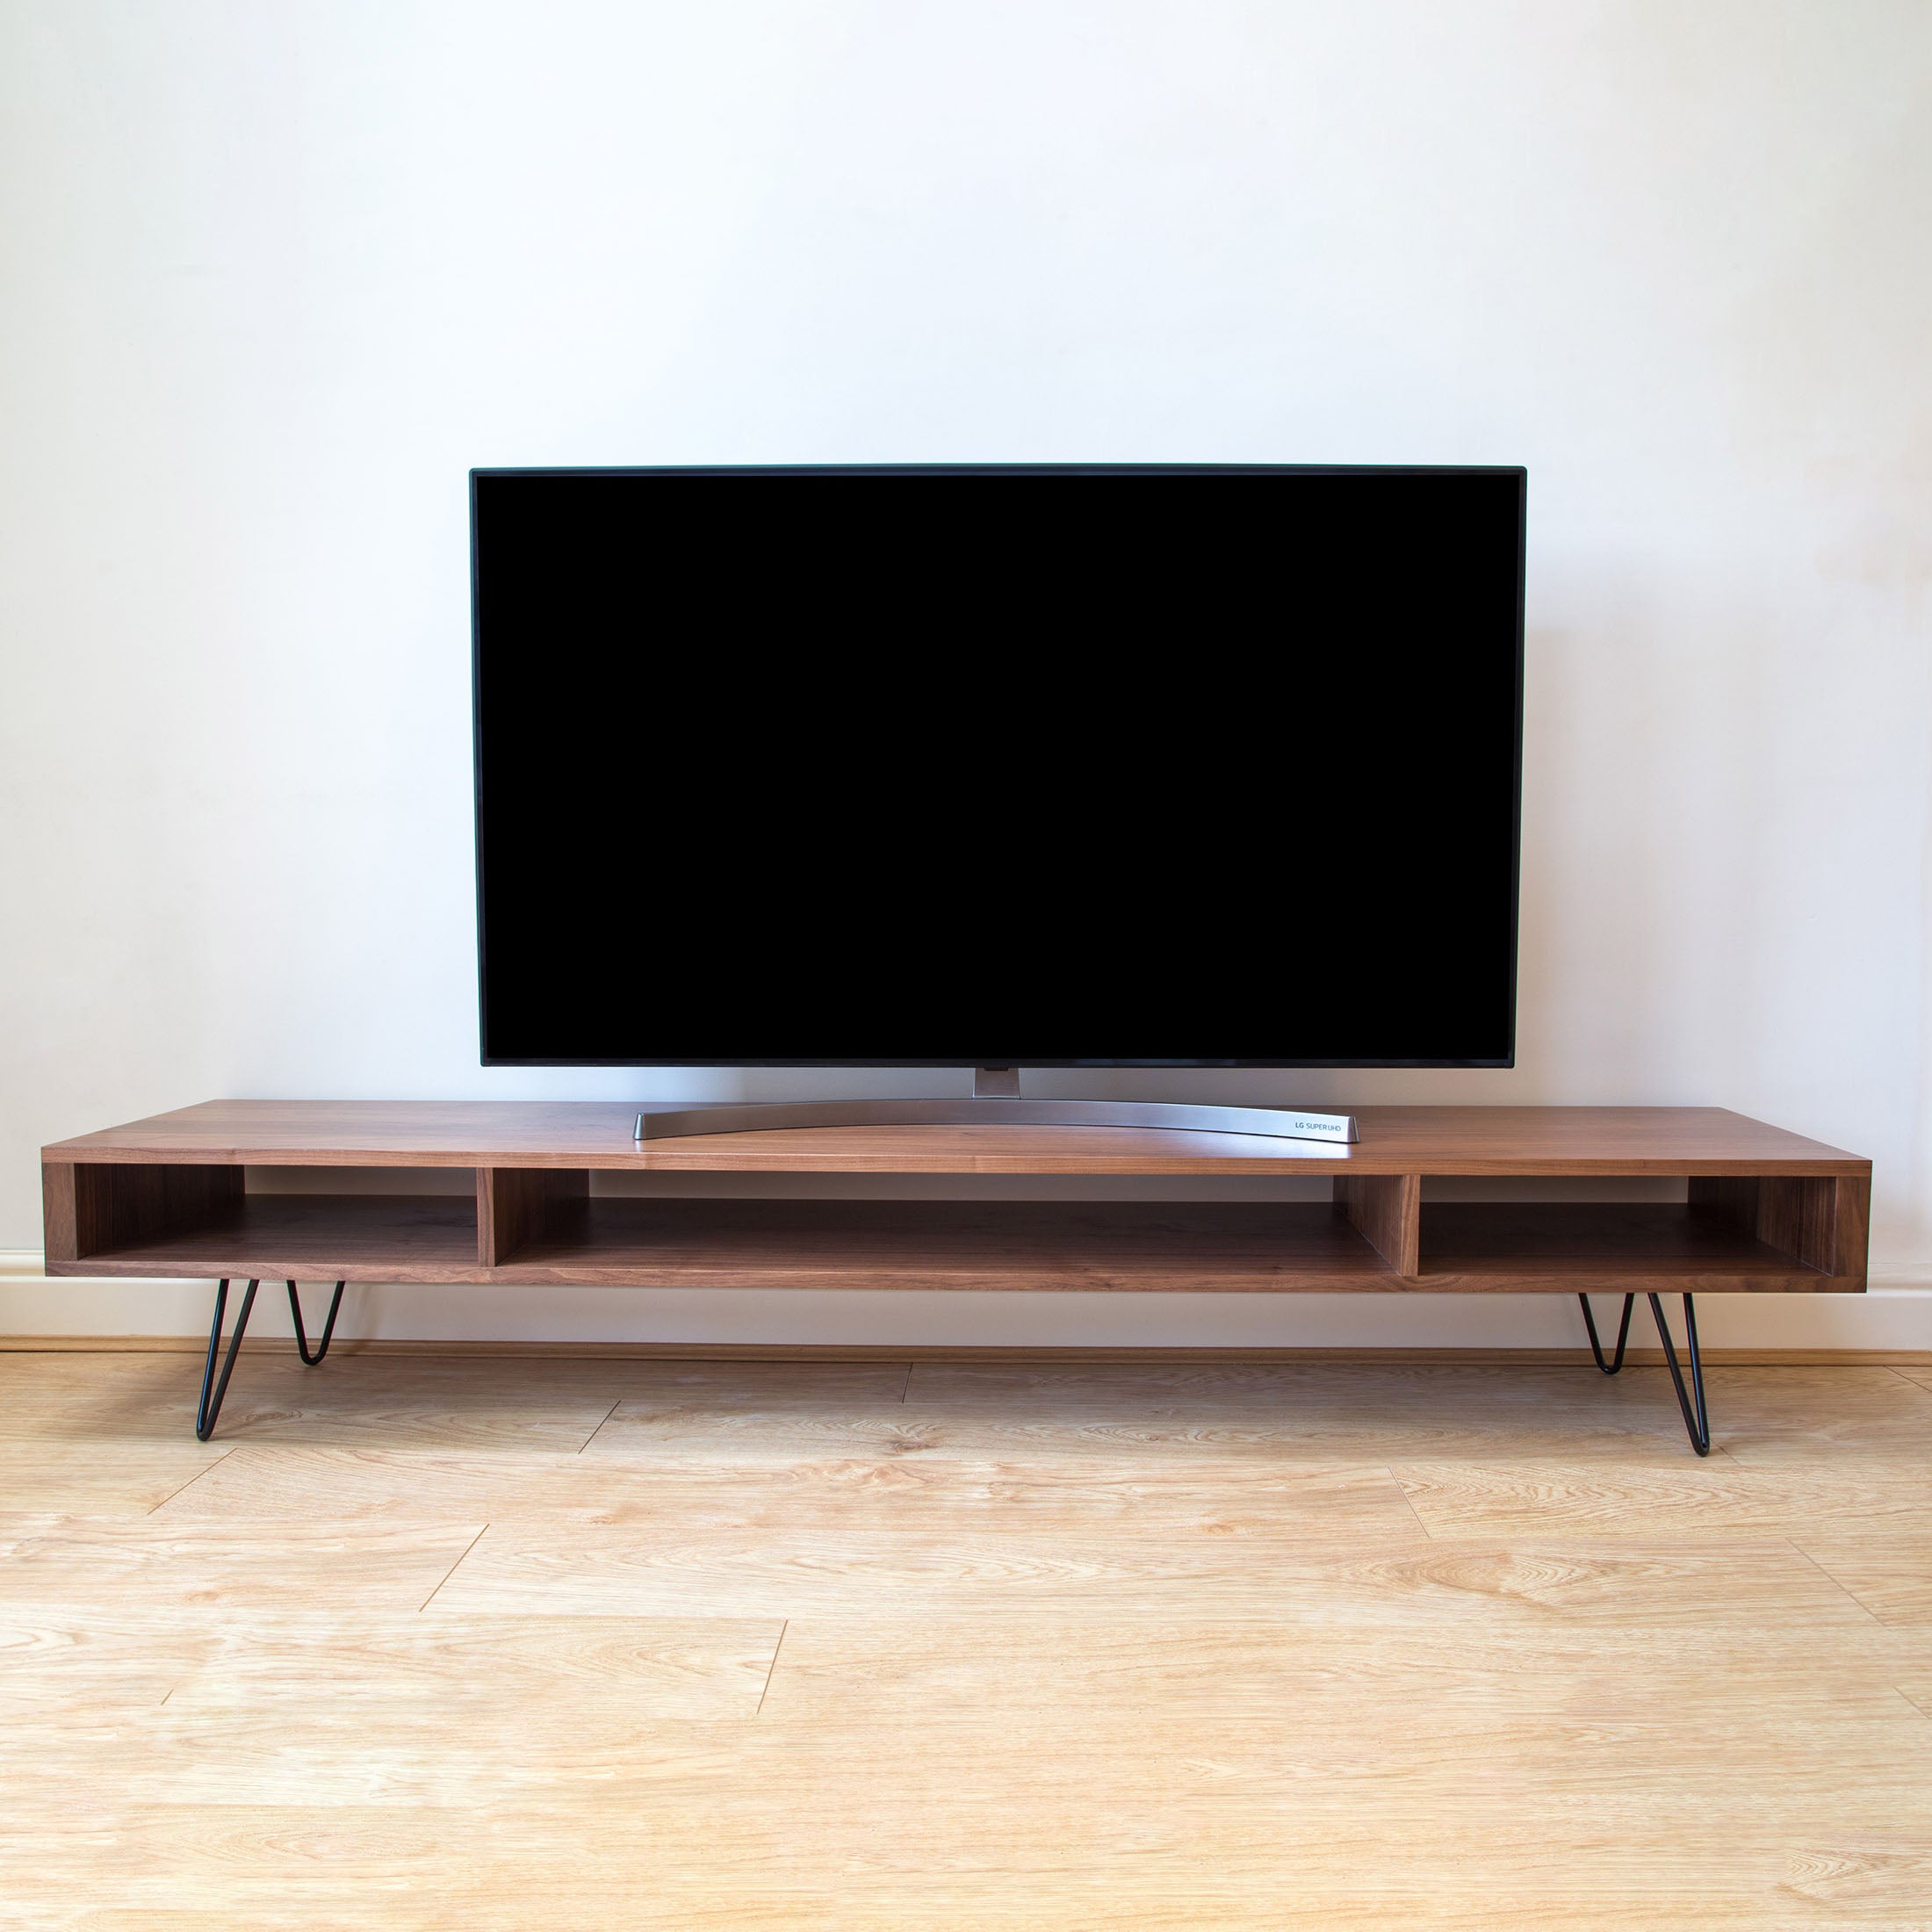
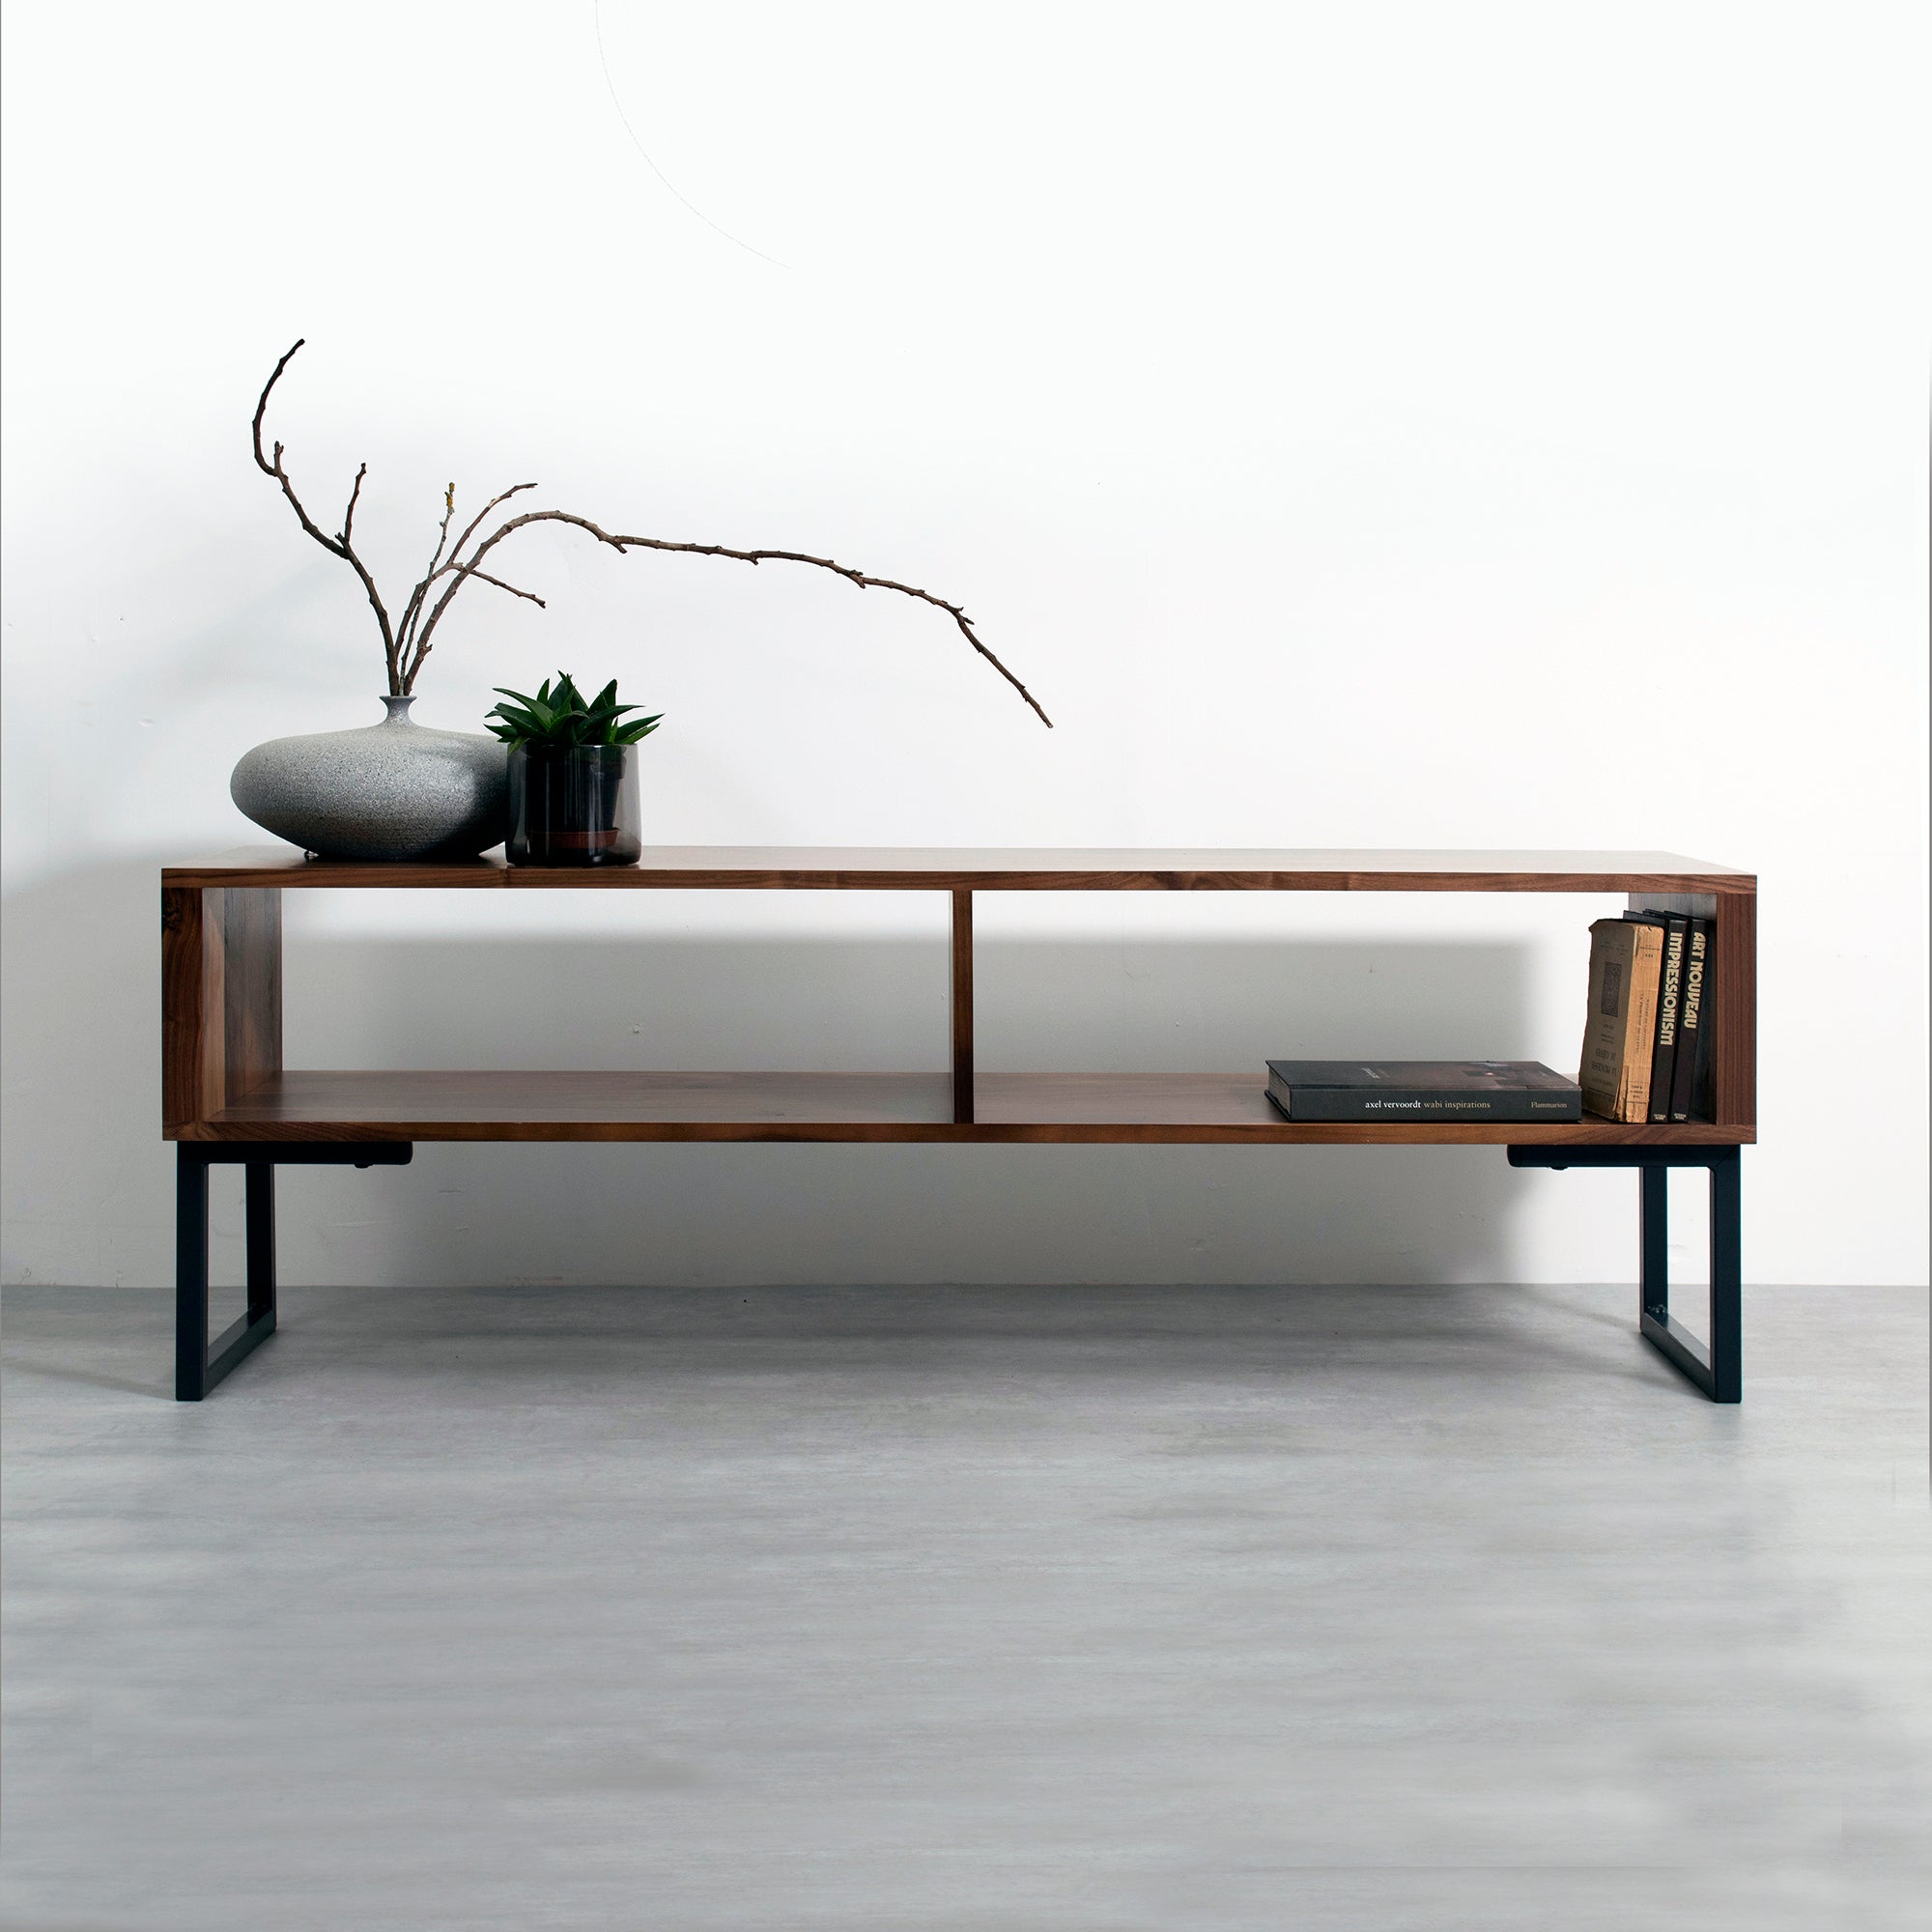
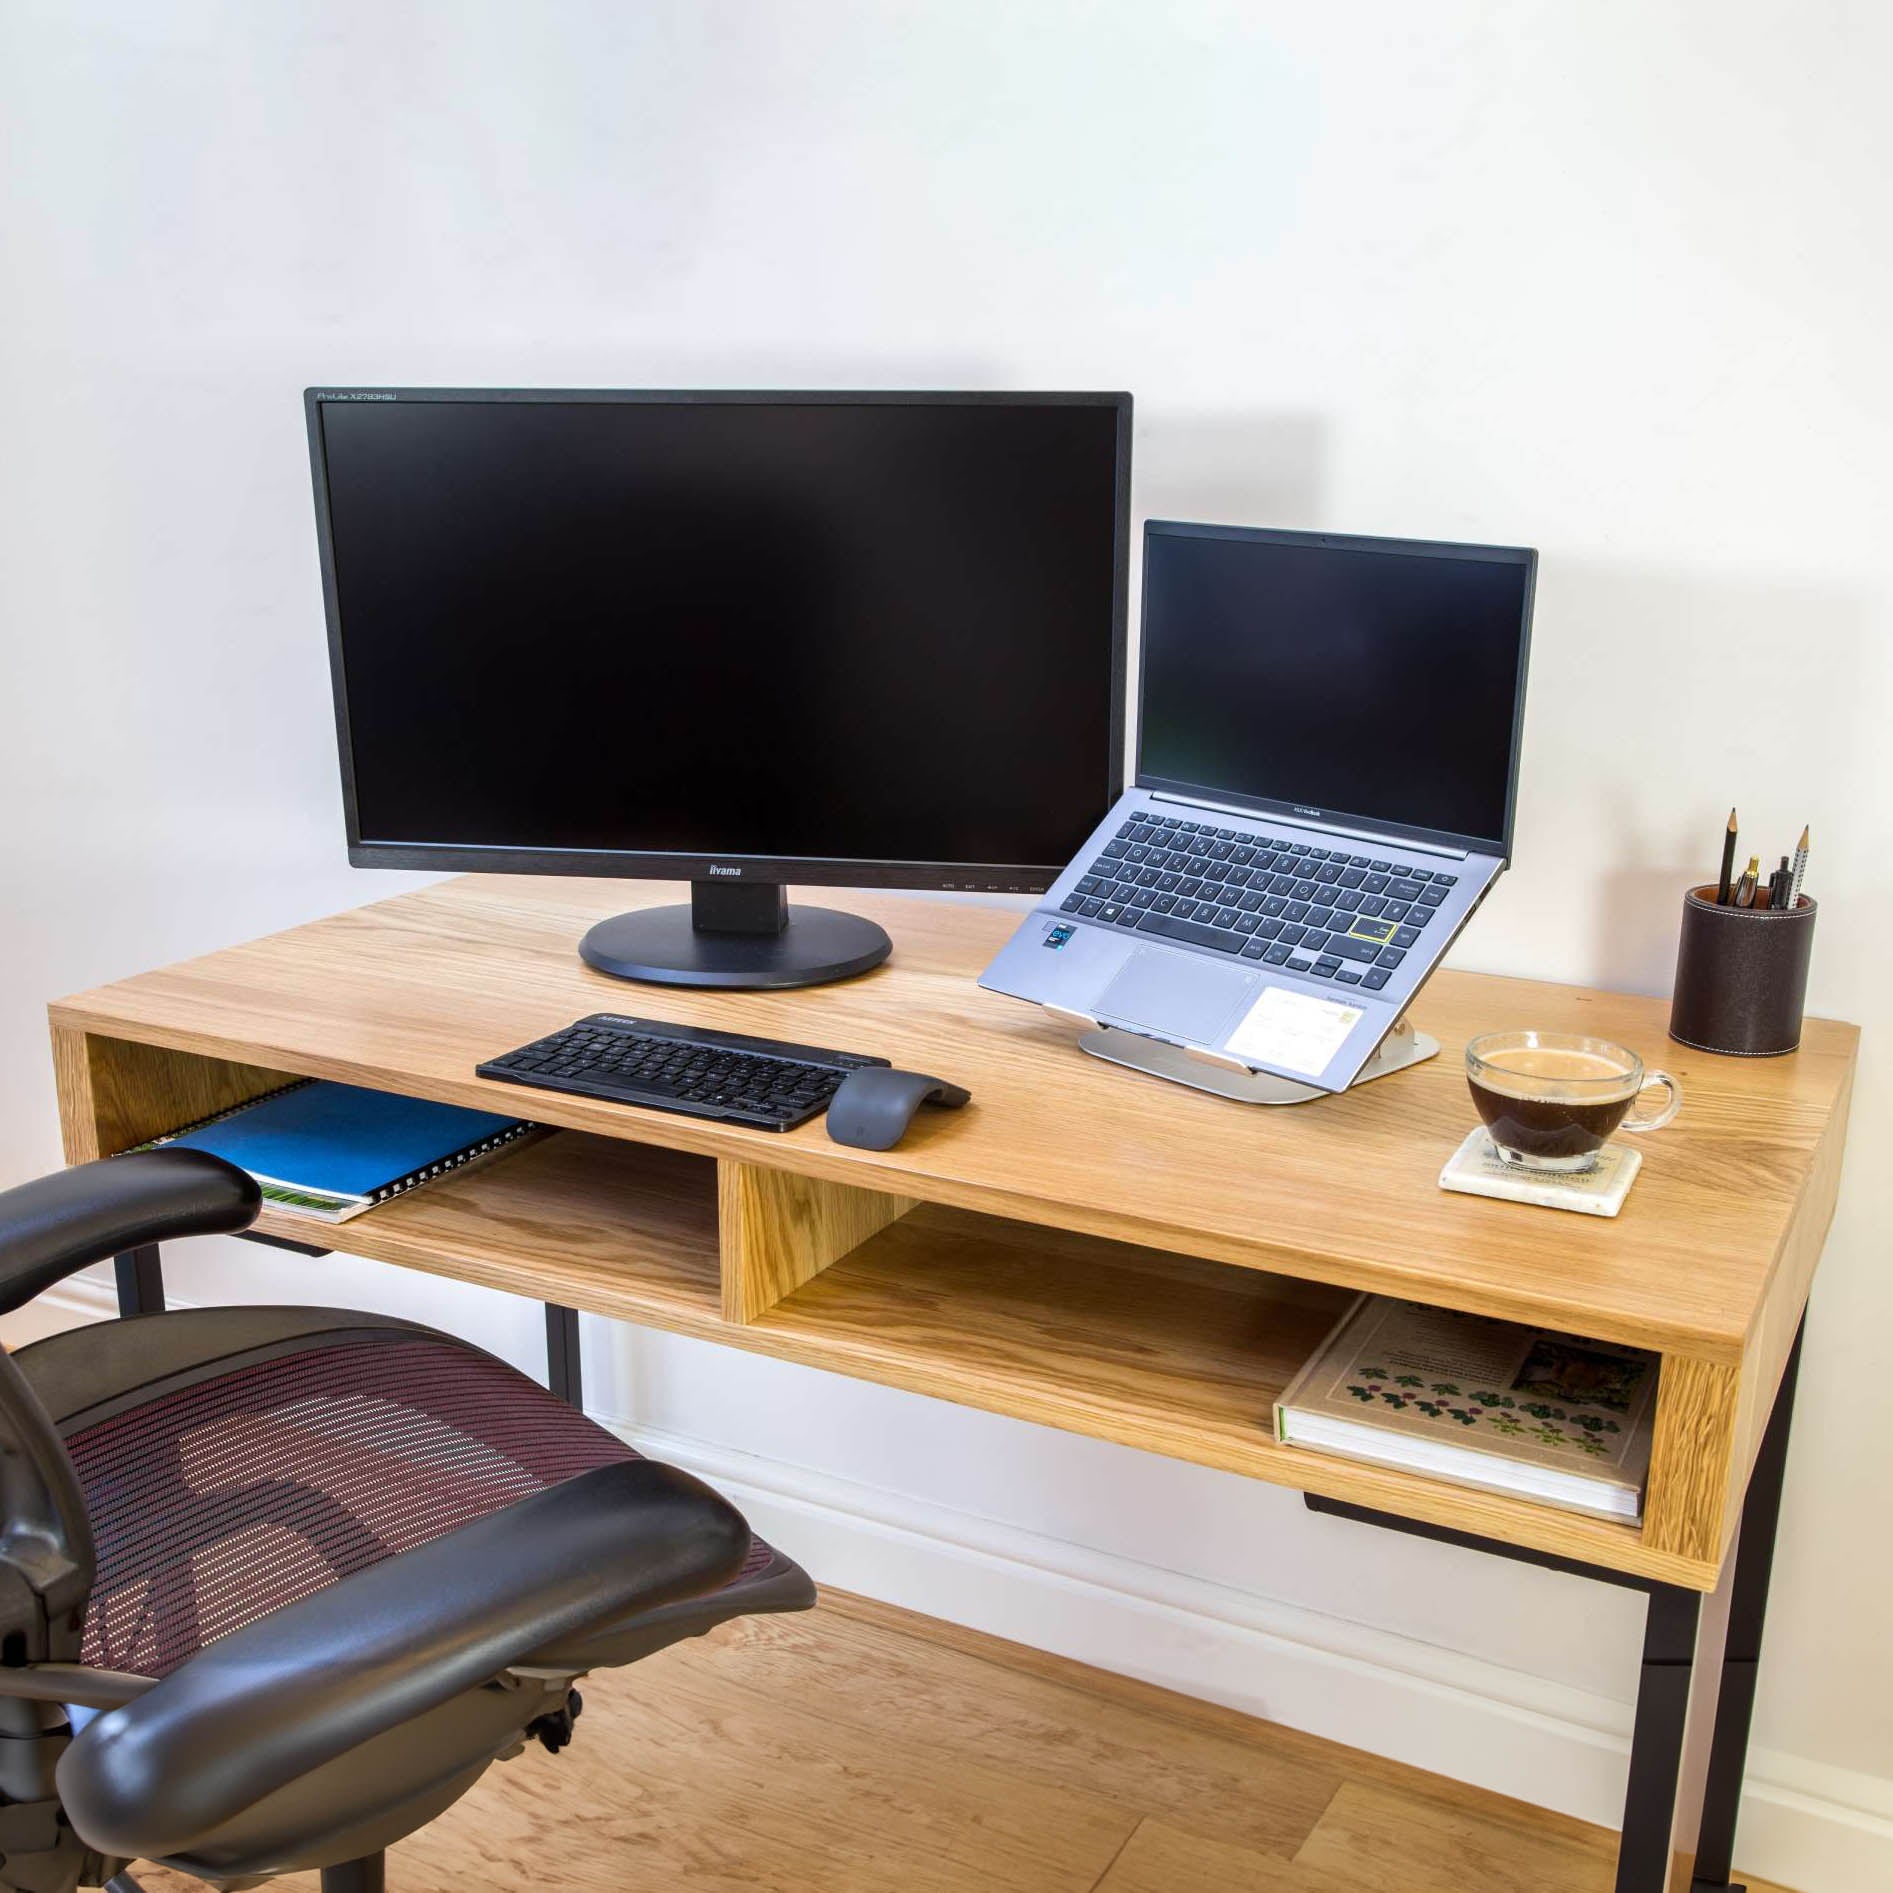
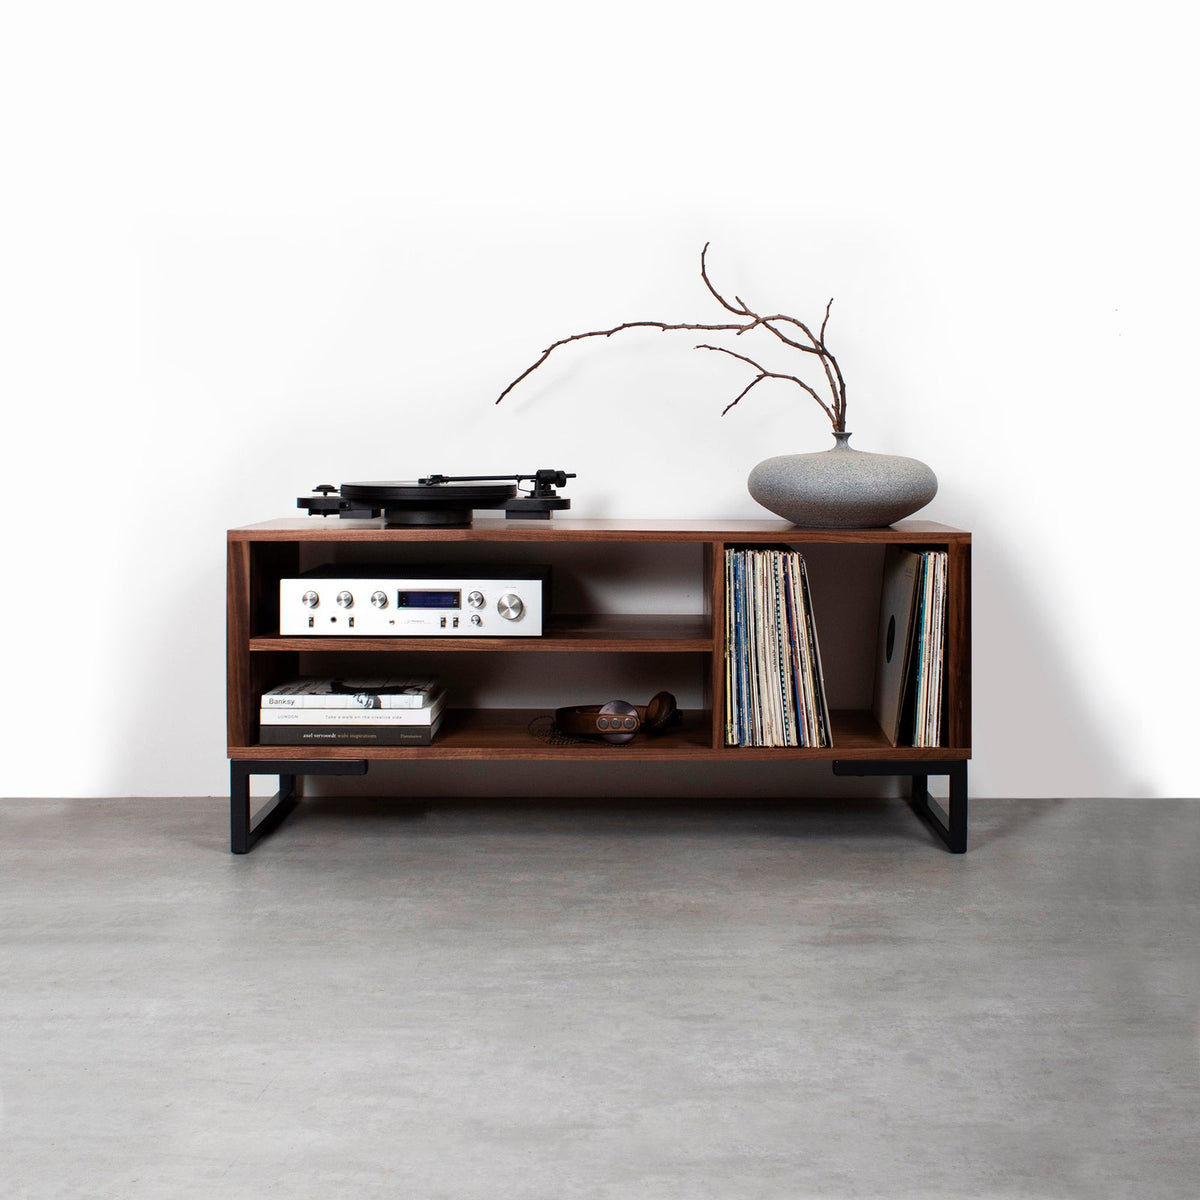
You don’t need furniture labelled for DJs to build a useful mixing space. A desk often suits a controller-led setup because its open surface leaves room for a laptop and controls. A media unit may suit a turntable-and-mixer arrangement if its top is clear and its frame supports the load.
Choose furniture around the equipment
A desk makes sense when you also need space for writing, a computer or seated work. Check that drawers, legs and cable trays won’t interfere with your knees or the backs of your devices. A wide-looking desk can still have limited usable space if a monitor stand or built-in shelf takes up the centre.
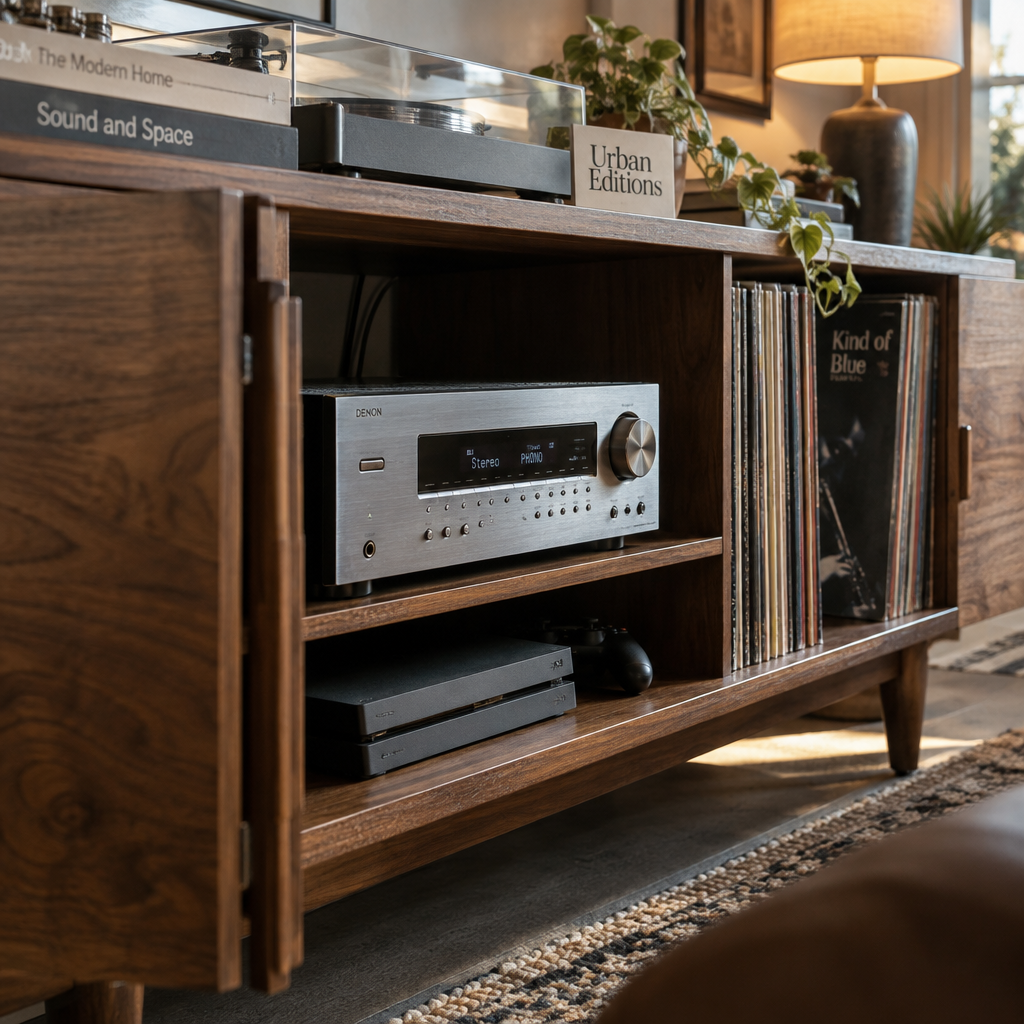
A media unit can keep records and equipment together, but don’t assume a turntable stand will suit a controller-heavy setup. Measure the top and compare it with your gear, including the area needed to operate controls. Buy for your current equipment footprint, then leave room only for additions you genuinely expect.
Match storage to the room
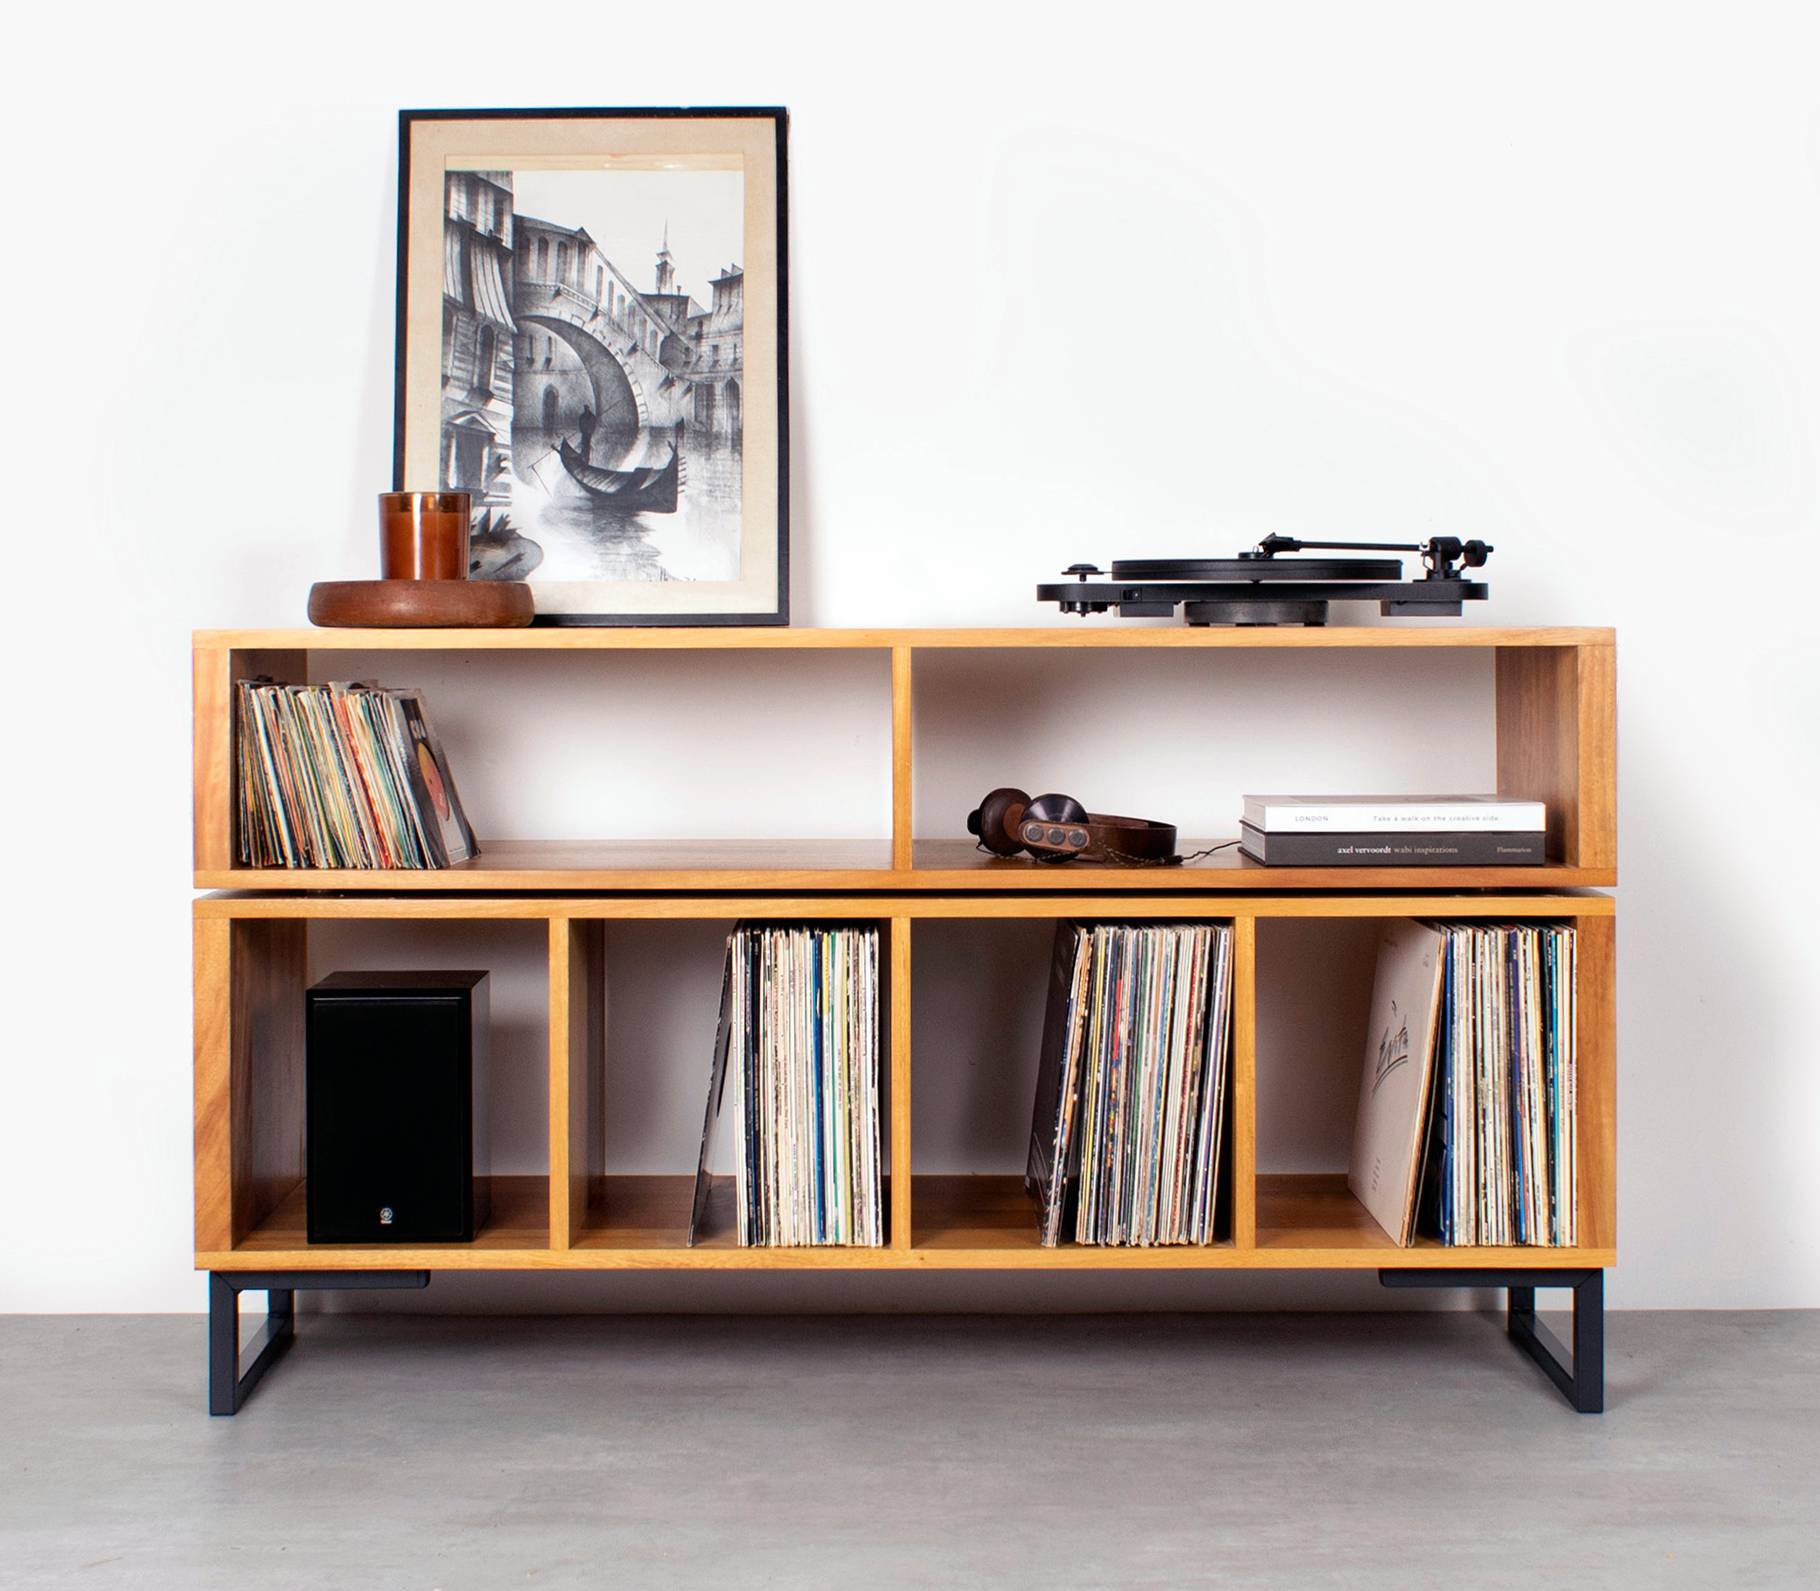
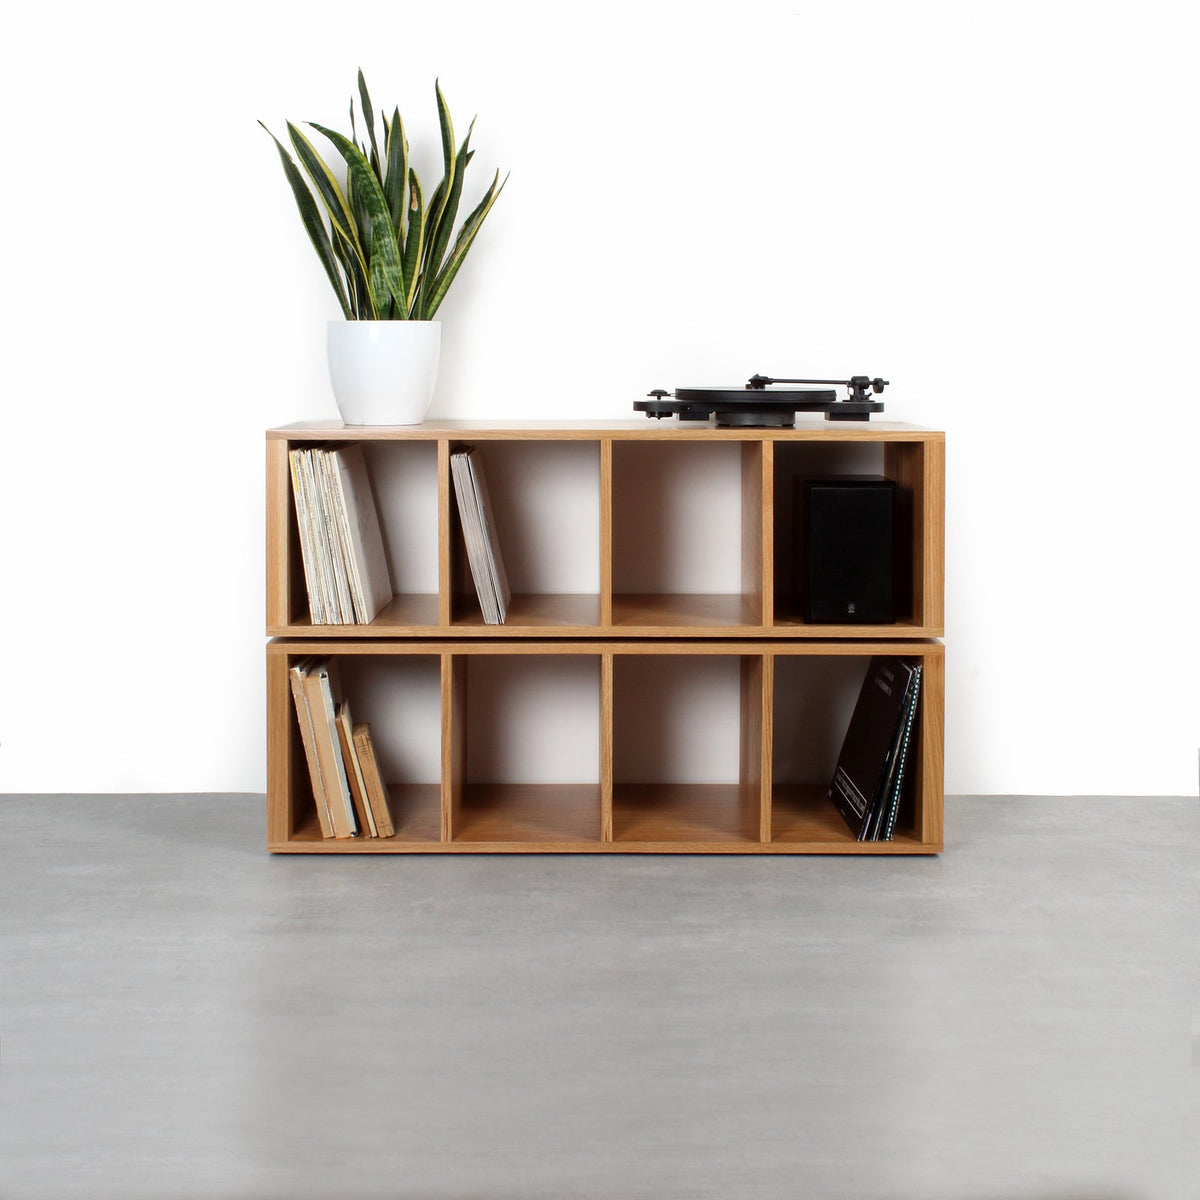
Vinyl storage affects more than the furniture choice. Leave enough access to pull records from their slots, and allow a clear route to stand back and browse them. A low unit can work below a screen, while a desk may be more practical if you mix and work in the same room.
The Urban Editions offers built-to-order solid hardwood desks and console tables, designed and made in the UK in a family-run joinery. You can customise designs and order wood samples; the range uses sustainably sourced oak, walnut, ash and iroko. Free UK delivery and international shipping are available.
Pick a turntable-led stand only after checking the top
A turntable-led stand works best when records and playback equipment shape the room layout. Before choosing one, compare its actual top and storage arrangement with the devices you own. Don’t assume the word “turntable” means there’s room for a controller, mixer or laptop as well.
Separate playback from mixing needs
If your setup centres on a turntable and a small number of components, a dedicated stand can keep records close at hand. Check how your cables exit, whether the controls remain within reach and whether the surface leaves room for the equipment you use together.
If you mix with a controller and laptop, a desk may give you a more useful uninterrupted area. A turntable stand can still store records elsewhere in the room, but only choose that split layout if cables can reach safely and you don’t need to move gear between surfaces.
Make the final check before ordering
Use the measurements you recorded for each device and compare them with the furniture’s listed dimensions. Confirm the position of shelves, supports and cable openings, then consider access for plugging in and cleaning. A product’s overall width doesn’t tell you how much clear space is available on top.
For a turntable-and-vinyl-led room, you can browse The Urban Editions’ Technic vinyl storage cabinet. Check its listed dimensions against your own equipment before ordering, especially if you plan to add a mixer or controller to the surface.
Conclusion
Measure your equipment, map the cables and test your working height before choosing furniture. Pick a desk for a laptop-led setup, or a suitable media unit when turntables and vinyl storage take priority. If a design needs to fit a specific room or layout, compare your measurements with its available customisation options before ordering.
Frequently Asked Questions
How much space should I leave around DJ equipment?
Leave enough clear space to operate every control and reach each plug without shifting neighbouring gear. The amount depends on your equipment’s dimensions and cable direction, so mark the full footprint, including plug heads, before choosing a table.
Can I put DJ equipment on a solid wood desk?
Yes, if the top and frame support your equipment and the surface fits your layout. Check for flex, rocking and obstructed cable routes after assembly; a heavy top alone doesn’t prove the complete desk is stable.
Should monitor speakers sit on the same table?
They can, but speaker placement depends on available space and vibration. Separate stands may free up the work surface; if speakers share the table, make sure their bases don’t block controls or connections.
Is a deeper table always better for mixing?
No. Extra depth only helps if your gear uses it without pushing controls too far away. Compare the equipment’s depth, rear connections and your reach, then choose a surface that stays comfortable from your normal mixing position.